Creative Woodworks & crafts 1998-09, страница 12
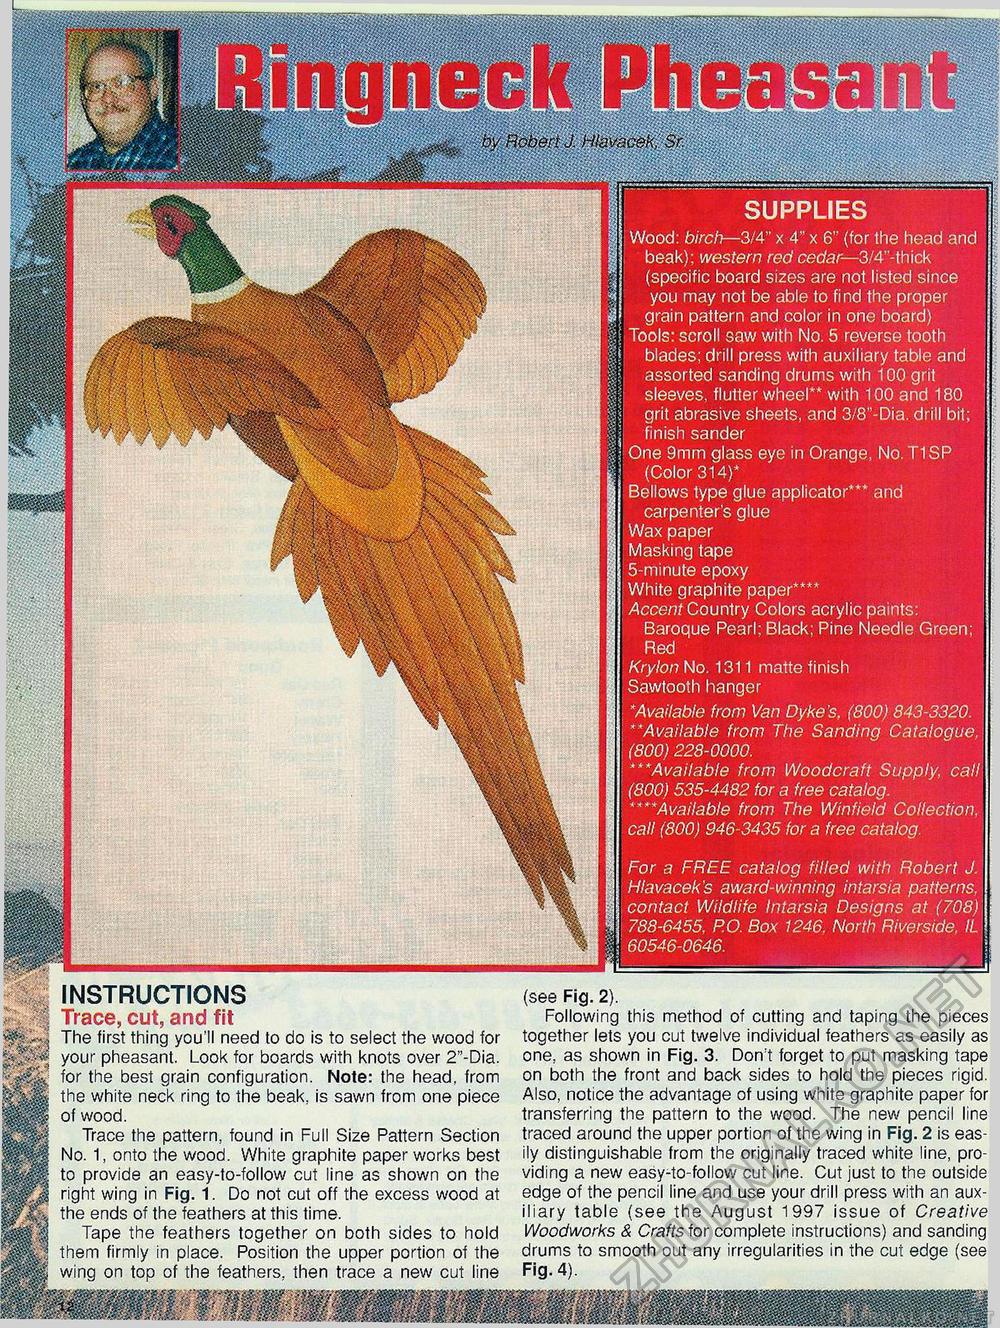
(SUPPLIES Wood: birch—3/4" x 4" x 6" (for the head and beak); western red cedar— 3/4'-thick a (specific board sizes are not listed since | you may not be able to find the proper I grain pattern and color in one board) Tools: scroll saw with No. 5 reverse tooth §[ blades; drill press with auxiliary table and H| assorted sanding drums with 100 grit ||i sleeves, flutter wheel** with 100 and 180 || grit abrasive sheets, and 3/8"-Dia. drill bit; : ■ finish sander |: One 9mm glass eye in Orange, No. T1SP ij (Color 314)* Bellows type glue applicator*** and carpenter's glue Wax paper Masking tape 5-minute epoxy White graphite paper**** Accent Country Colors acrylic paints: Baroque Pearl; Black; Pine Needle Green; Red Krylon No. 1311 matte finish Sawtooth hanger * Available from Van Dyke's, (800) 843-3320. **Available from The Sanding Catalogue, (800) 228-0000. *"*Available from Woodcraft Supply, call (800) 535-4482 for a free catalog. ****Available from The Winfield Collection, call (800) 946-3435 for a free catalog. For a FREE catalog filled with Robert J. Hlavacek's award-winning intarsia patterns, contact Wildlife Intarsia Designs at (708) 788-6455, P.O. Box 1246. North Riverside. IL 60546-0646. INSTRUCTIONS Trace, cut, and fit The first thing you'll need to do is to select the wood for your pheasant. Look for boards with knots over 2"-Dia. for the best grain configuration. Note: the head, from the white neck ring to the beak, is sawn from one piece of wood. Trace the pattern, found in Full Size Pattern Section No. 1, onto the wood. White graphite paper works best to provide an easy-to-follow cut line as shown on the right wing in Fig. 1. Do not cut off the excess wood at the ends of the feathers at this time. Tape the feathers together on both sides to hold them firmly in place. Position the upper portion of the wing on top of the feathers, then trace a new cut line (see Fig. 2). Following this method of cutting and taping the pieces together lets you cut twelve individual feathers as easily as one, as shown in Fig. 3. Don't forget to put masking tape on both the front and back sides to hold the pieces rigid. Also, notice the advantage of using white graphite paper for transferring the pattern to the wood. The new pencil line traced around the upper portion of the wing in Fig. 2 is easily distinguishable from the originally traced white line, providing a new easy-to-follow cut line. Cut just to the outside edge of the pencil line and use your drill press with an auxiliary table (see the August 1997 issue of Creative Woodworks & Crafts for complete instructions) and sanding drums to smooth out any irregularities in the cut edge (see Fig. 4). |


