Creative Woodworks & crafts 1998-09, страница 16
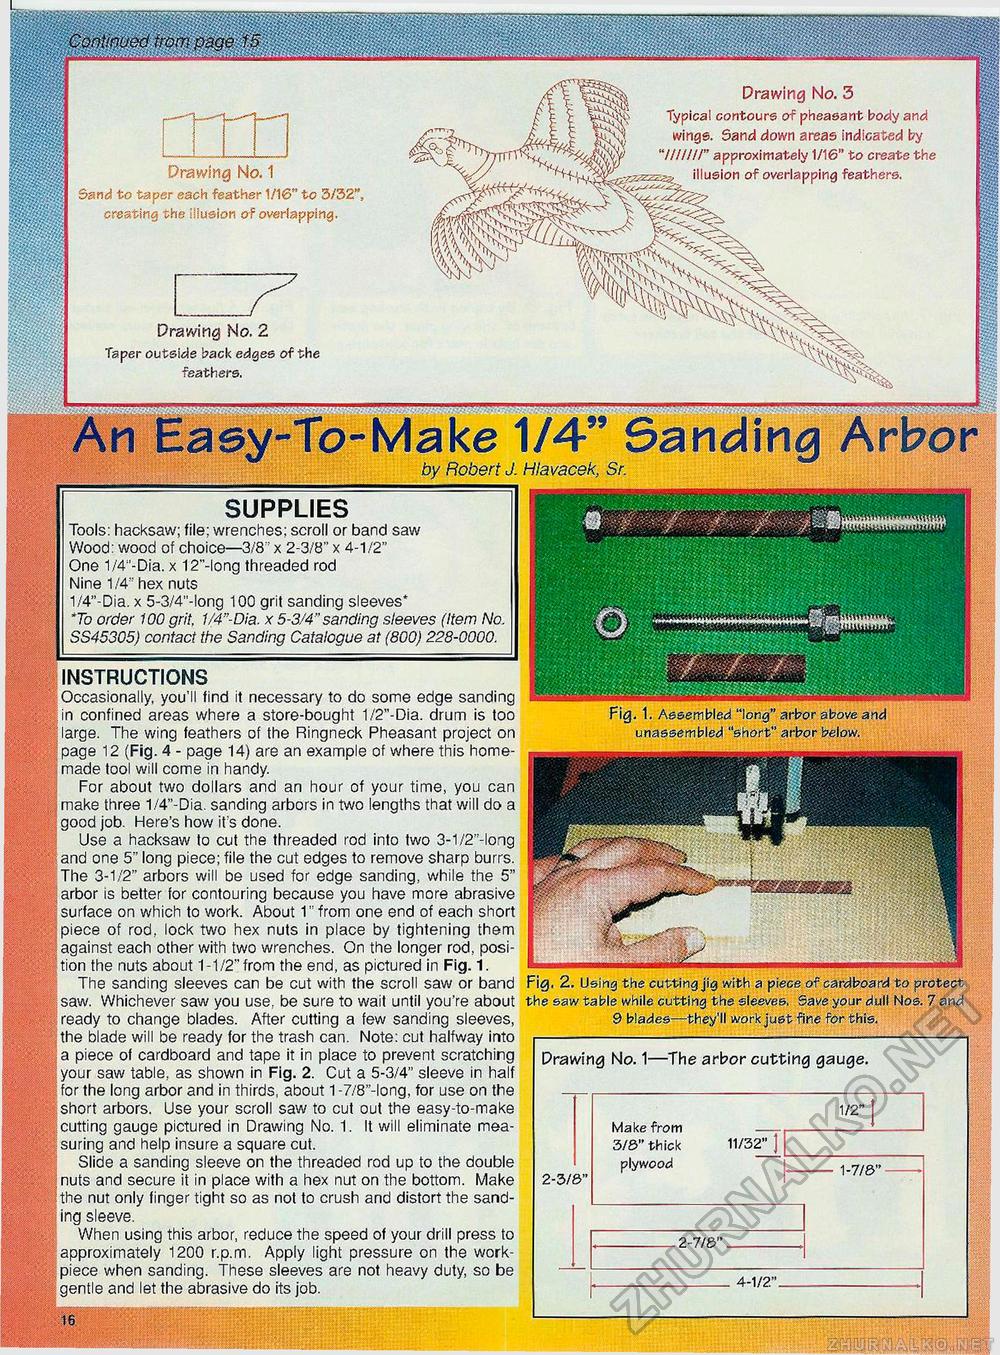
j Drawing No. 3 Typical contours of pheasant body and i wings. Sand down areas indicated by ' "///////" approximately 1/16" to create the -&ZZZZZS, illusion of overlapping feathers. Drawing No. 1 Sand to taper each feather 1/16" to 3/32' creating the illusion of overlapping. Drawing No, 2 Taper outside back edges of the feathers. An Easy-To-Make 1/4" Sanding Arborby Robert J. Hlavacek, Sr. INSTRUCTIONS Occasionally, you'll find it necessary to do some edge sanding I in confined areas where a store-bought 1/2"-Dia. drum is too Marge. The wing feathers of the Ringneck Pheasant project on ;page 12 (Fig. 4 - page 14) are an example of where this homemade tool will come in handy. For about two dollars and an hour of your time, you can I"" ......| make three 1/4"-Dia. sanding arbors in two lengths that will do a " good job. Here's how it's done. Use a hacksaw to cut the threaded rod into two 3-1/2'-long i and one 5" long piece; file the cut edges to remove sharp burrs. The 3-1/2" arbors will be used for edge sanding, while the 5" arbor is better for contouring because you have more abrasive : surface on which to work. About 1" from one end of each short piece of rod, lock two hex nuts in place by tightening them | . against each other with two wrenches. On the longer rod, posi-■ 'tion the nuts about 1-1/2" from the end, as pictured in Fig. 1. The sanding sleeves can be cut with the scroll saw or band IS saw. Whichever saw you use, be sure to wait until you're about ready to change blades. After cutting a few sanding sleeves, the blade will be ready for the trash can. Note: cut halfway into a piece of cardboard and tape it in place to prevent scratching your saw table, as shown in Fig. 2. Cut a 5-3/4" sleeve in half |for the long arbor and in thirds, about 1 -7/8"-long, for use on the short arbors. Use your scroll saw to cut out the easy-to-make v. :cutting gauge pictured in Drawing No. 1. It will eliminate measuring and help insure a square cut. Slide a sanding sleeve on the threaded rod up to the double ; nuts and secure it in place with a hex nut on the bottom. Make : !the nut only finger tight so as not to crush and distort the sanding sleeve. ; When using this arbor, reduce the speed of your drill press to approximately 1200 r.p.m. Apply light pressure on the work-piece when sanding. These sleeves are not heavy duty, so be gentle and let the abrasive do its job. SUPPLIES Tools: hacksaw; file: wrenches; scroll or band saw Wood: wood of choice—3/8 x 2-3/8" x 4-1/2" One 1/4'-Dia. x 12"-long threaded rod Nine 1/4" hex nuts 1/4"-Dia. x 5-3/4"-long 100 grit sanding sleeves* To order 100 grit. 1/4"-Dia. x 5-3/4"sanding sleeves (Item No. SS45305) contact the Sanding Catalogue at (800) 228-0000. Drawing No. 1—The arbor cutting gauge. Make from 3/S" thick plywood 1-7/8"- . 2-7/6". 4-1/2." Fig. 1. Assembled "long" arbor above and unassembled "short" arbor below. Fig, 2. Using the cutting jig with a piece of cardboard to protect the saw table while cutting the sleeves, Save your dull Nos. 7 and 9 blades—they'll work just fine for this. 16 |


