Creative Woodworks & crafts 1999-01, страница 20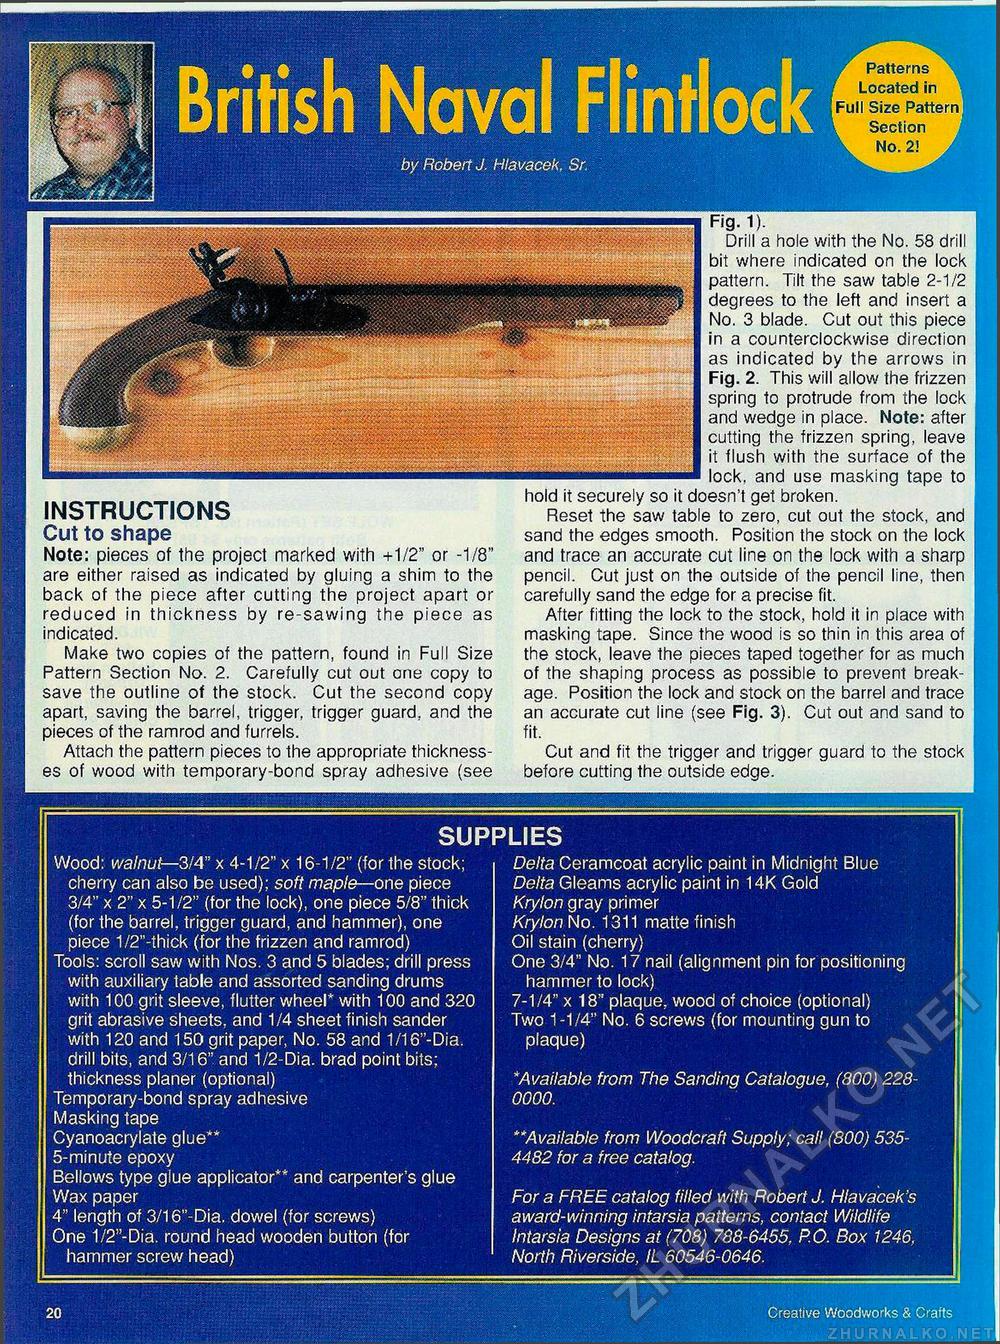
instructions Cut to shape Note: pieces of the project marked with +1/2" or -1/8" are either raised as indicated by gluing a shim to the back of the piece after cutting the project apart or reduced in thickness by re-sawing the piece as indicated. Make two copies of the pattern, found in Full Size Pattern Section No. 2. Carefully cut out one copy to save the outline of the stock. Cut the second copy apart, saving the barrel, trigger, trigger guard, and the pieces of the ramrod and furrels. Attach the pattern pieces to the appropriate thicknesses of wood with temporary-bond spray adhesive (see Fig-1). Drill a hole with the No. 58 drill bit where indicated on the lock pattern. Tilt the saw table 2-1/2 degrees to the left and insert a No. 3 blade. Cut out this piece in a counterclockwise direction as indicated by the arrows in Fig. 2. This will allow the frizzen spring to protrude from the lock and wedge in place. Note: after cutting the frizzen spring, leave it flush with the surface of the lock, and use masking tape to hold it securely so it doesn't get broken. Reset the saw table to zero, cut out the stock, and sand the edges smooth. Position the stock on the lock and trace an accurate cut line on the lock with a sharp pencil. Cut just on the outside of the pencil line, then carefully sand the edge for a precise fit. After fitting the lock to the stock, hold it in place with masking tape. Since the wood is so thin in this area of the stock, leave the pieces taped together for as much of the shaping process as possible to prevent breakage. Position the lock and stock on the barrel and trace an accurate cut line (see Fig. 3). Cut out and sand to fit. Cut and fit the trigger and trigger guard to the stock before cutting the outside edge. supplies Wood: walnut— 3/4" x 4-1/2" x 16-1/2" (for the stock; cherry can also be used); soft maple—one piece 3/4" x 2" x 5-1/2" (for the lock), one piece 5/8" thick (for the barrel, trigger guard, and hammer), one piece 1/2"-thick (for the frizzen and ramrod) Tools: scroll saw with Nos. 3 and 5 blades; drill press with auxiliary table and assorted sanding drums with 100 grit sleeve, flutter wheel* with 100 and 320 grit abrasive sheets, and 1/4 sheet finish sander with 120 and 150 grit paper, No. 58 and 1/16"-Dia. drill bits, and 3/16" and 1/2-Dia. brad point bits; thickness planer (optional) Temporary-bond spray adhesive Masking tape Cyanoacrylate glue** 5-minute epoxy Bellows type glue applicator** and carpenter's glue Wax paper 4" length of 3/16"-Dia. dowel (for screws) One 1/2"-Dia. round head wooden button (for hammer screw head) Delta Ceramcoat acrylic paint in Midnight Blue Delta Gleams acrylic paint in 14K Gold Krylon gray primer Krylon No. 1311 matte finish Oil stain (cherry) One 3/4" No. 17 nail (alignment pin for positioning hammer to lock) 7-1/4" x 18" plaque, wood of choice (optional) Two 1-1/4" No. 6 screws (for mounting gun to plaque) * Available from The Sanding Catalogue, (800) 228 0000. **Available from Woodcraft Supply; call (800) 535-4482 for a free catalog. For a FREE catalog filled with Robert J. Hlavacek's award-winning intarsia patterns, contact Wildlife Intarsia Designs at (708) 788-6455, P.O. Box 1246, North Riverside, IL 60546-0646. 20 Creative Woodworks & Crafts |


