Creative Woodworks & crafts 1999-01, страница 21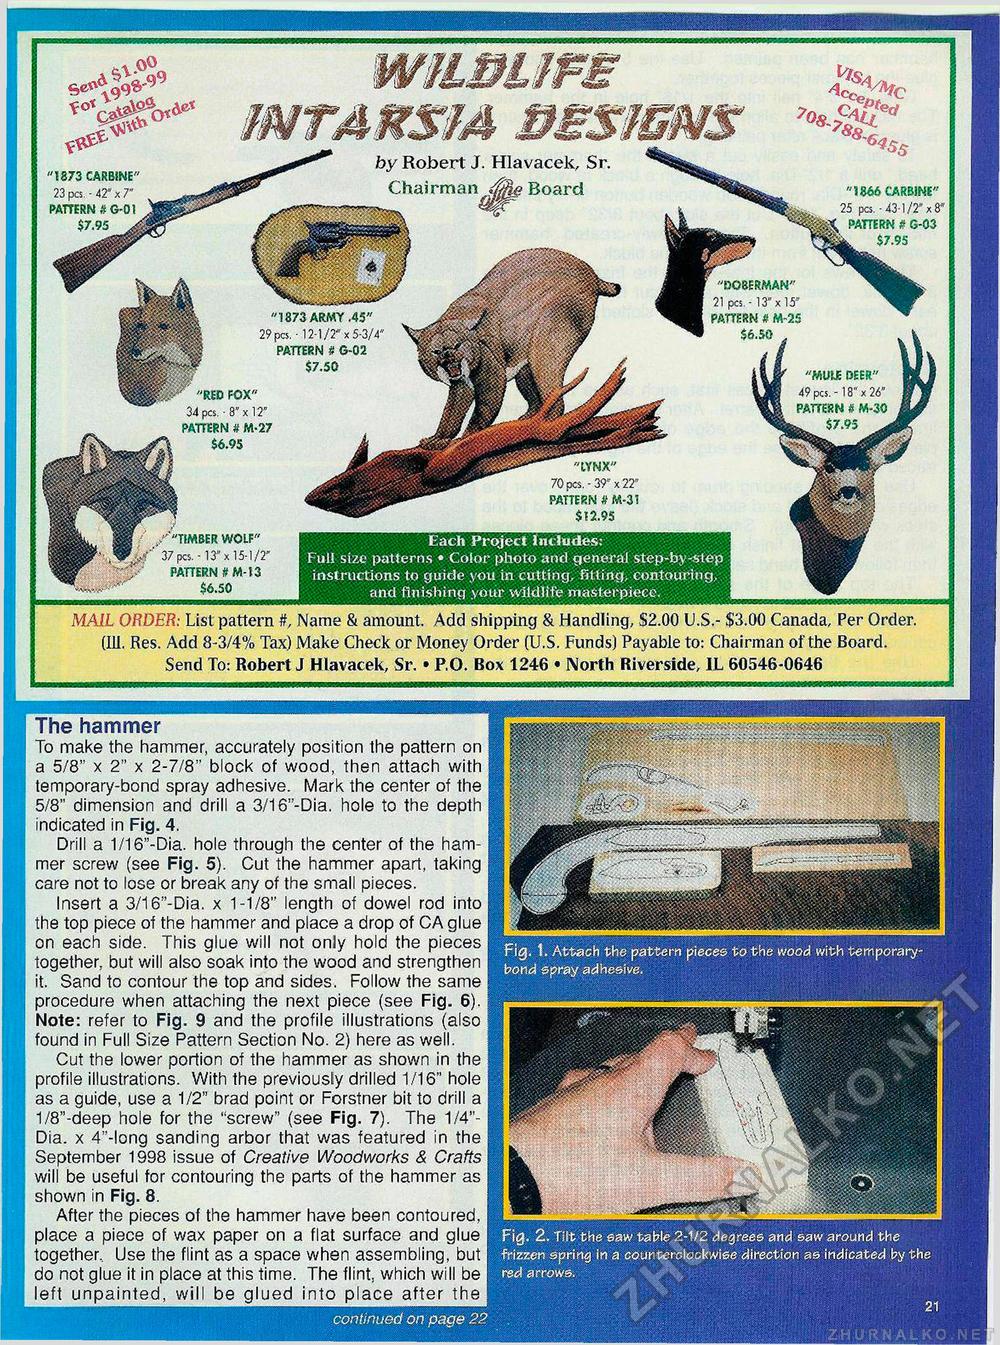
Each Project Includes: Full size patterns • Color photo and general step-by-step instructions to guide you in cutting/fitting, contouring, and finishing your wildlife masterpiece. Fig. 1. Attach the pattern pieces to the wood with temporary-bond spray adhesive. Fig. 2. Tilt the saw table 2-1/2 degrees and saw around the frizzen spring In a counterclockwise direction as indicated by the red arrows. continued on page 22 by Robert J. Hlavacek, Sr. Chairman^jjig Board "1873 CARBINE' 23 pes. - 42* x T PATTERN # G-01 $7.95 A "1866 CARBINE" 25 pes.-43-1/2" x 8 PATTERN # G-03 L $7.95 "B08ERMAN" 21 pes. -13" x 15" PATTERN # M-25 $6.50 . "1873 ARMY .45" 2? pes.-12-1/2" x 5-3/4" PATTERN * G-02 $7.50 "mif. DEER" 49 pes.-18" x 26" PArrERN * M-30 ^ $7.95 ^ ' "RED FOX" 34 pes. - 8" x 12° PATTERN # M-27 $6.95 "IYNX" 70pes.-39"x22" PATTERN # M-31 $52.95 / "TIMBER WOLF" / 37 pes.-13" x 15-1/2' PATTERN # M-13 $6.50 MAIL ORDER: List pattern it, Name & amount. Add shipping & Handling, $2.00 U.S.- $3.00 Canada, Per Order. (III. Res. Add 8-3/4% Tax) Make Check or Money Order (U.S. Funds) Payable to: Chairman of the Board. Send To: Robert J Hlavacek, Sr. • P.O. Box 1246 • North Riverside, IL 60546-0646 The hammer To make the hammer, accurately position the pattern on a 5/8,: x 2" x 2-7/8" block of wood, then attach with temporary-bond spray adhesive. Mark the center of the 5/8" dimension and drill a 3/16"-Dia. hole to the depth indicated in Fig. 4. Drill a 1/16"-Dia. hole through the center of the hammer screw (see Fig. 5). Cut the hammer apart, taking care not to lose or break any of the small pieces. Insert a 3/16"-Dia. x 1-1/8" length of dowel rod into the top piece of the hammer and place a drop of CA glue on each side. This glue will not only hold the pieces together, but will also soak into the wood and strengthen it. Sand to contour the top and sides. Follow the same procedure when attaching the next piece (see Fig. 6). Note: refer to Fig. 9 and the profile illustrations (also found in Full Size Pattern Section No. 2) here as well. Cut the lower portion of the hammer as shown in the profile illustrations. With the previously drilled 1/16" hole as a guide, use a 1/2" brad point or Forstner bit to drill a 1/8"-deep hole for the "screw" (see Fig. 7). The 1/4"-Dia. x 4"-long sanding arbor that was featured in the September 1998 issue of Creative Woodworks <S Crafts will be useful for contouring the parts of the hammer as shown in Fig. 8. After the pieces of the hammer have been contoured, place a piece of wax paper on a flat surface and glue together. Use the flint as a space when assembling, but do not glue it in place at this time. The flint, which will be left unpainted, will be glued into place after the |


