Creative Woodworks & crafts 1999-01, страница 56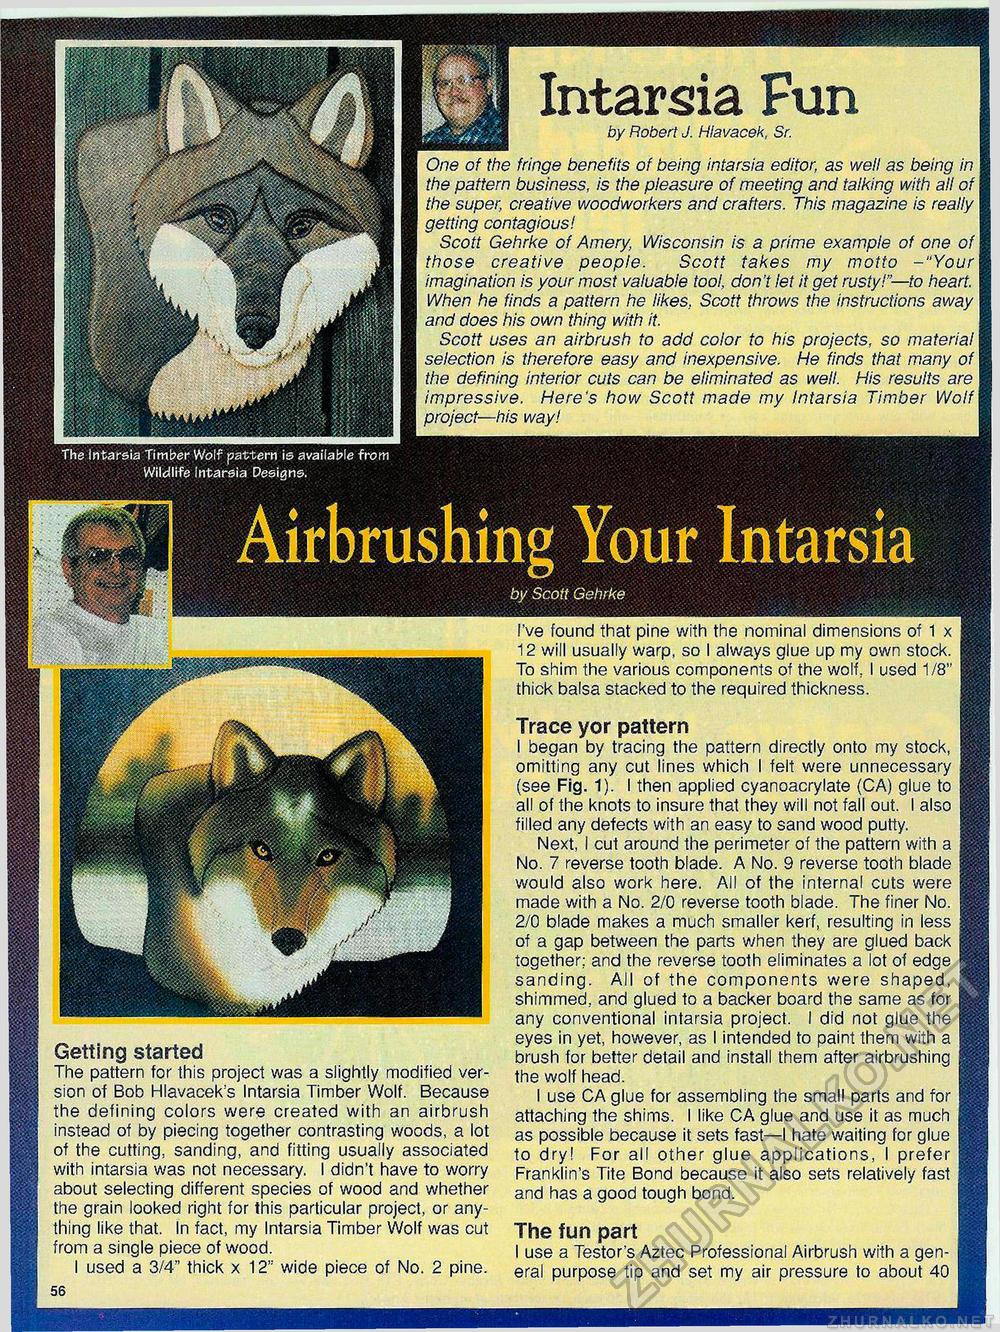
by Robert J. Hiavacek, Sr. One of the fringe benefits of being intarsia editor, as well as being in the pattern business, is the pleasure of meeting and talking with all of the super, creative woodworkers and crafters. This magazine is really getting contagious! Scott Gehrke of Amery, Wisconsin is a prime example of one of those creative people. Scott takes my motto -"Your imagination is your most valuable tool, don't let it get rusty!"—to heart. When he finds a pattern he likes, Scott throws the instructions away and does his own thing with it. Scott uses an airbrush to add color to his projects, so material selection is therefore easy and inexpensive. He finds that many of the defining interior cuts can be eliminated as well. His results are impressive. Here's how Scott made my Intarsia Timber Wolf project—his way! Getting started The pattern for this project was a slightly modified version of Bob Hlavacek's Intarsia Timber Wolf. Because the defining colors were created with an airbrush instead of by piecing together contrasting woods, a lot of the cutting, sanding, and fitting usually associated with intarsia was not necessary. I didn't have to worry about selecting different species of wood and whether the grain looked right for this particular project, or anything like that. In fact, my Intarsia Timber Wolf was cut from a single piece of wood. I used a 3/4" thick x 12" wide piece of No. 2 pine. I've found that pine with the nominal dimensions of 1 x 12 will usually warp, so I always glue up my own stock. To shim the various components of the wolf, I used 1/8" thick balsa stacked to the required thickness. Trace yor pattern I began by tracing the pattern directly onto my stock, omitting any cut lines which I felt were unnecessary (see Fig. 1). I then applied cyanoacrylate (CA) glue to all of the knots to insure that they will not fall out. I also filled any defects with an easy to sand wood putty. Next, I cut around the perimeter of the pattern with a No. 7 reverse tooth blade. A No. 9 reverse tooth blade would also work here. All of the internal cuts were made with a No. 2/0 reverse tooth blade. The finer No. 2/0 blade makes a much smaller kerf, resulting in less of a gap between the parts when they are glued back together; and the reverse tooth eliminates a lot of edge sanding. All of the components were shaped, shimmed, and glued to a backer board the same as for any conventional intarsia project. I did not glue the eyes in yet, however, as I intended to paint them with a brush for better detail and install them after airbrushing the wolf head. I use CA glue for assembling the small parts and for attaching the shims. I like CA glue and use it as much as possible because it sets fast—I hate waiting for glue to dry! For all other glue applications, I prefer Franklin's Tite Bond because it also sets relatively fast and has a good tough bond. The fun part I use a Testors Aztec Professional Airbrush with a general purpose tip and set my air pressure to about 40 Intarsia Fun |


