Creative Woodworks & crafts 1999-10, страница 40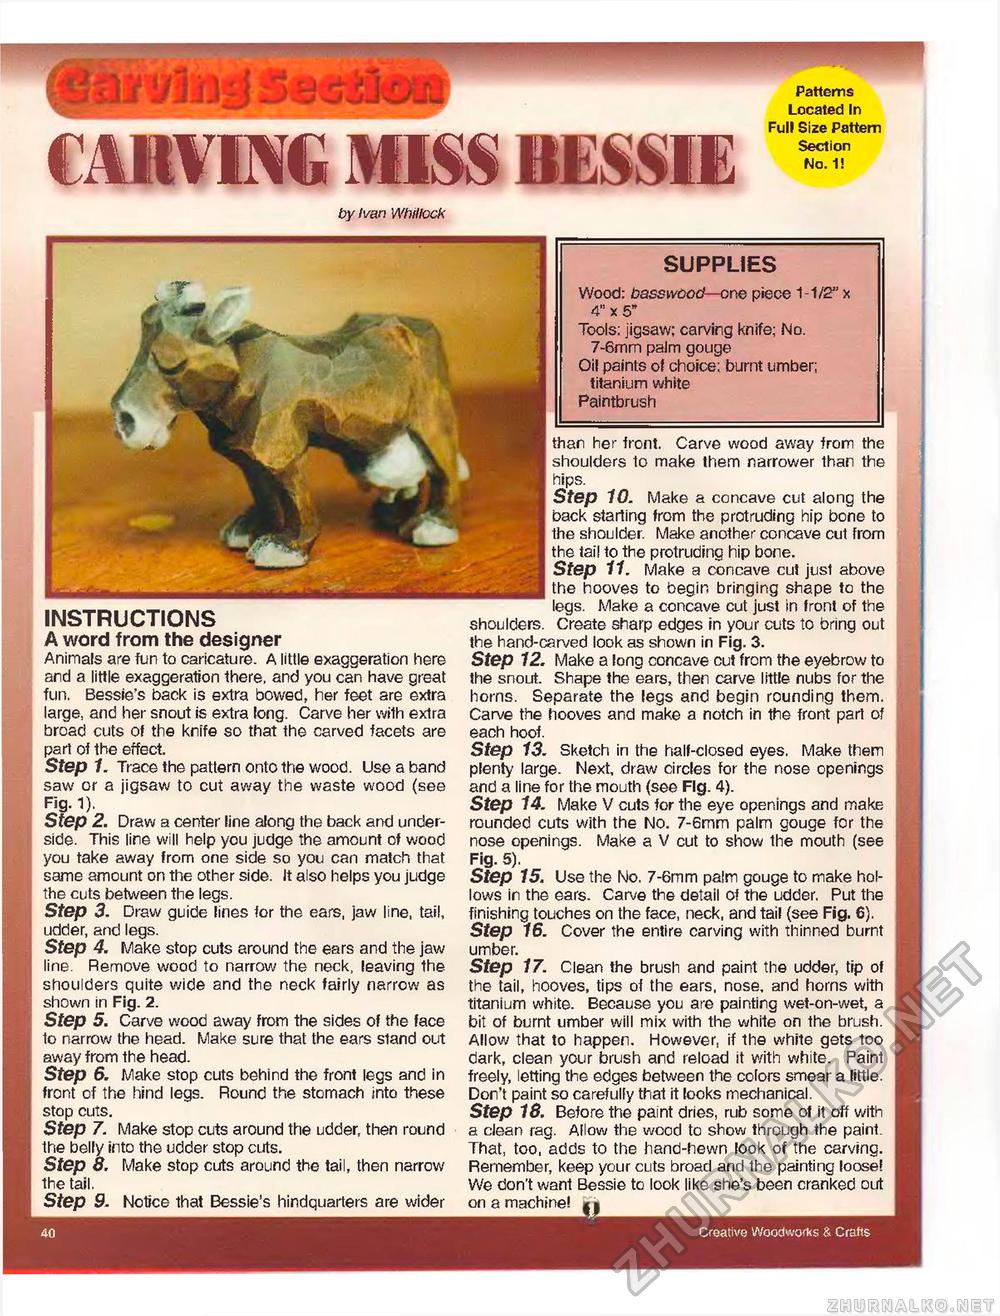
CARVING MISS BESSIE Patterns Located In Full Size Pattern Section No. 1! by Ivan WhtUock SUPPLIES Wood: hasswood—one piece 1-1/2" x 4" x 5" Tools: jigsaw; carving knife; No. 7-6mm palm gouge Oil paints of choice: burnt umber; titanium white Paintbrush INSTRUCTIONS A word from the designer Animals are fun to caricature. A little exaggeration here and a little exaggeration there, and you can have great fun. Bessie's back is extra bowed, her feet are extra large, and her snout is extra long. Carve her with extra broad cuts of the knife so that the carved facets are part of the effect. Step 1. Trace the pattern onto the wood. Use a band saw or a jigsaw to cut away the waste wood (see Fig. 1). Step 2. Draw a center line along the back and underside. This line will help you judge the amount of wood you take away from one side so you can match that same amount on the other side. It also helps you judge the cuts between the legs. Step 3. Draw guide lines for the ears, jaw line, tail, udder, and legs. Step 4. Make stop cuts around the ears and the jaw line. Remove wood to narrow the neck, leaving the shoulders quite wide and the neck fairly narrow as shown in Fig. 2. Step 5. Carve wood away from the sides of the face to narrow the head. Make sure that the ears stand out away from the head. Step 6. Make stop cuts behind the front legs and in front of the hind legs. Round the stomach into these stop cuts. Step 7. Make stop cuts around the udder, then round the belly into the udder stop cuts. Step 8. Make stop cuts around the tail, then narrow the tail. Step 9. Notice that Bessie's hindquarters are wider than her front. Carve wood away from the shoulders to make them narrower than the hips. Step 10. Make a concave cut along the back starting from the protruding hip bone to the shoulder. Make another concave cut from the tail to the protruding hip bone. Step 11. Make a concave cut just above the hooves to begin bringing shape to the legs. Make a concave cut just in front of the shoulders. Create sharp edges in your cuts to bring out the hand-carved look as shown in Fig. 3. Step 12. Make a long concave cut from the eyebrow to the snout. Shape the ears, then carve little nubs for the horns. Separate the legs and begin rounding them. Carve the hooves and make a notch in the front part of each hoof. Step 13. Sketch in the half-closed eyes, Make them plenty large. Next, draw circles for the nose openings and a line for the mouth (see Fig. 4). Step 14. Make V cuts for the eye openings and make rounded cuts with the No. 7-6mm palm gouge for the nose openings. Make a V cut to show the mouth (see Fig. 5). Step 15. Use the No. 7-6mm palm gouge to make hollows in the ears. Carve the detail of the udder. Put the finishing touches on the face, neck, and tail (see Fig. 6), Step 16. Cover the entire carving with thinned burnt umber. Step 17. Clean the brush and paint the udder, tip of the tail, hooves, tips of the ears, nose, and horns with titanium white. Because you are painting wet-on-wet, a bit of burnt umber will mix with the white on the brush. Allow that to happen. However, if the white gets too dark, clean your brush and reload it with white. Paint freely, letting the edges between the colors smear a little. Don't paint so carefully that it looks mechanical. Step 18. Before the paint dries, rub some of it off with a clean rag. Allow the wood to show through the paint. That, too, adds to the hand-hewn look of the carving. Remember, keep your cuts broad and the painting loose! We don't want Bessie to look like she's been cranked out on a machine! * ■ 40 Creative Woodworks & Crafts |


