Creative Woodworks & crafts 1999-10, страница 54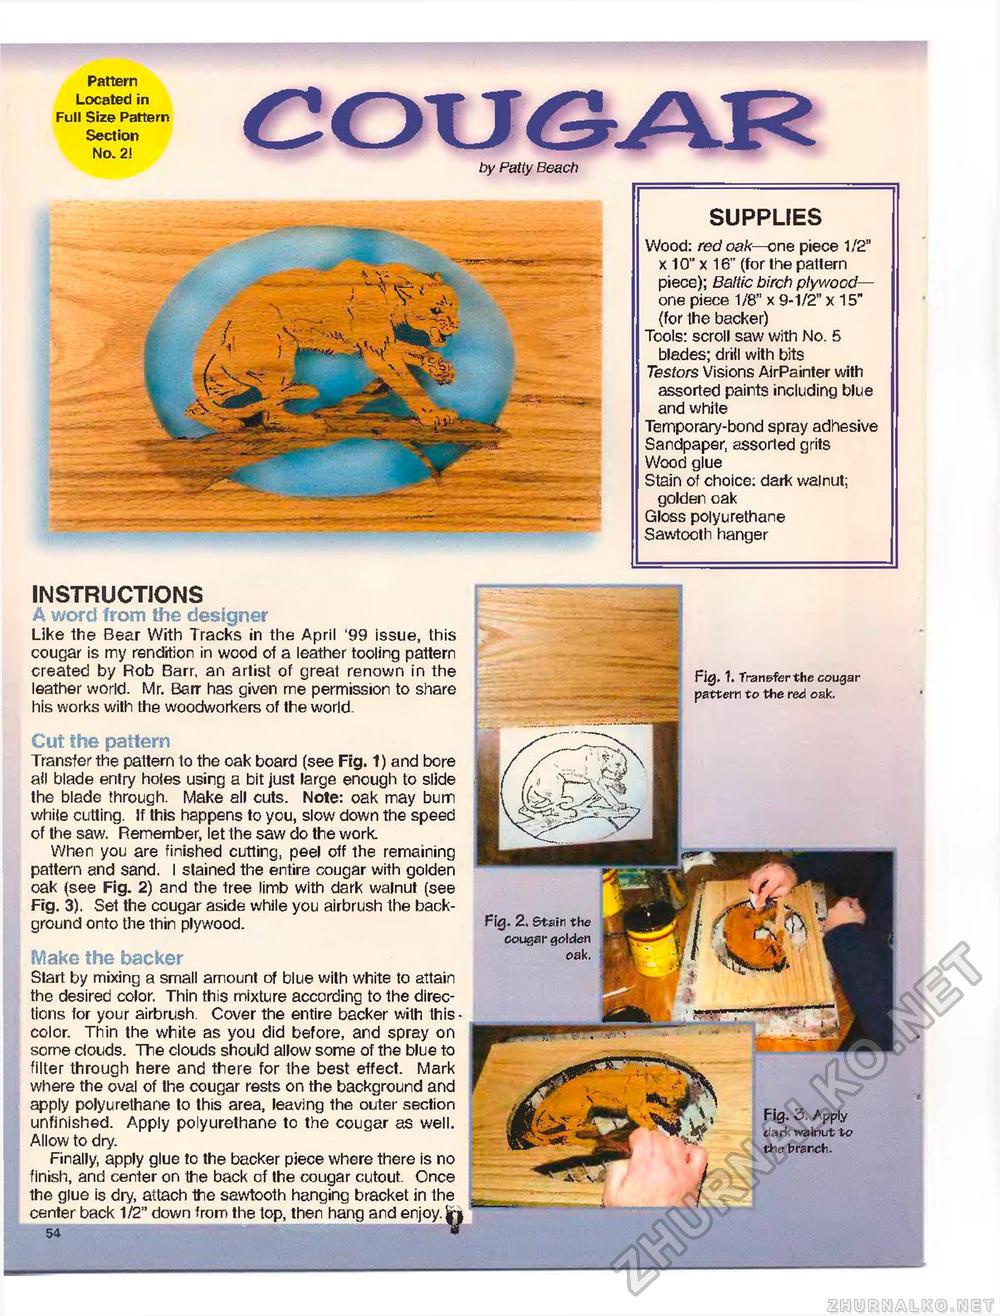
Pattern Located in Full Size Pattern Section No. 2! by Patty Beach ■I I SUPPLIES Wood: red oak—one piece 1/2" x 10" x 16" (for the pattern piece); Baltic birch plywood— one piece 1/8" x 9-1/2" x 15" (for the backer) Tools: scroll saw with No. 5 blades; drill with bits Testors Visions AirPainter with assorted paints including blue and white Temporary-bond spray adhesive Sandpaper, assorted grits Wood glue Stain of choice: dart; walnut; golden oak Gloss polyurethane Sawtooth hanger INSTRUCTIONS A word from the designer Like the Bear With Tracks in the April '99 issue, this cougar is my rendition in wood of a leather tooling pattern created by Rob Barr, an artist of great renown in the leather world. Mr. Barr has given me permission to share his works with the woodworkers of the world- Cut the pattern Transfer the pattern to the oak board (see Fig. 1) and bore all blade entry holes using a bit just large enough to slide the blade through. Make all cuts. Note: oak may bum while cutting. If this happens to you, slow down the speed of the saw. Remember, let the saw do the work. When you are finished cutting, peel off the remaining pattern and sand. I stained the entire cougar with golden oak (see Fig. 2) and the tree limb with dark walnut (see Fig. 3). Set the cougar aside while you airbrush the background onto the thin plywood. Make the backer Start by mixing a small amount of blue with white to attain the desired color. Thin this mixture according to the directions for your airbrush. Cover the entire backer with this -color. Thin the white as you did before, and spray on some clouds. The clouds should allow some of the blue to filter through here and there for the best effect. Mark where the oval of the cougar rests on the background and apply polyurethane to this area, leaving the outer section unfinished. Apply polyurethane to the cougar as well. Allow to dry. Finally, apply glue to the backer piece where there is no finish, and center on the back of the cougar cutout. Once the glue is dry, attach the sawtooth hanging bracket in the center back 1/2" down from the top, then hang and enjoy. 51 Fig. 1. Transfer the cougar pattern to the red oak. Fig. 3. Apply dark walnut to the branch. |


