Creative Woodworks & crafts 2000-03, страница 106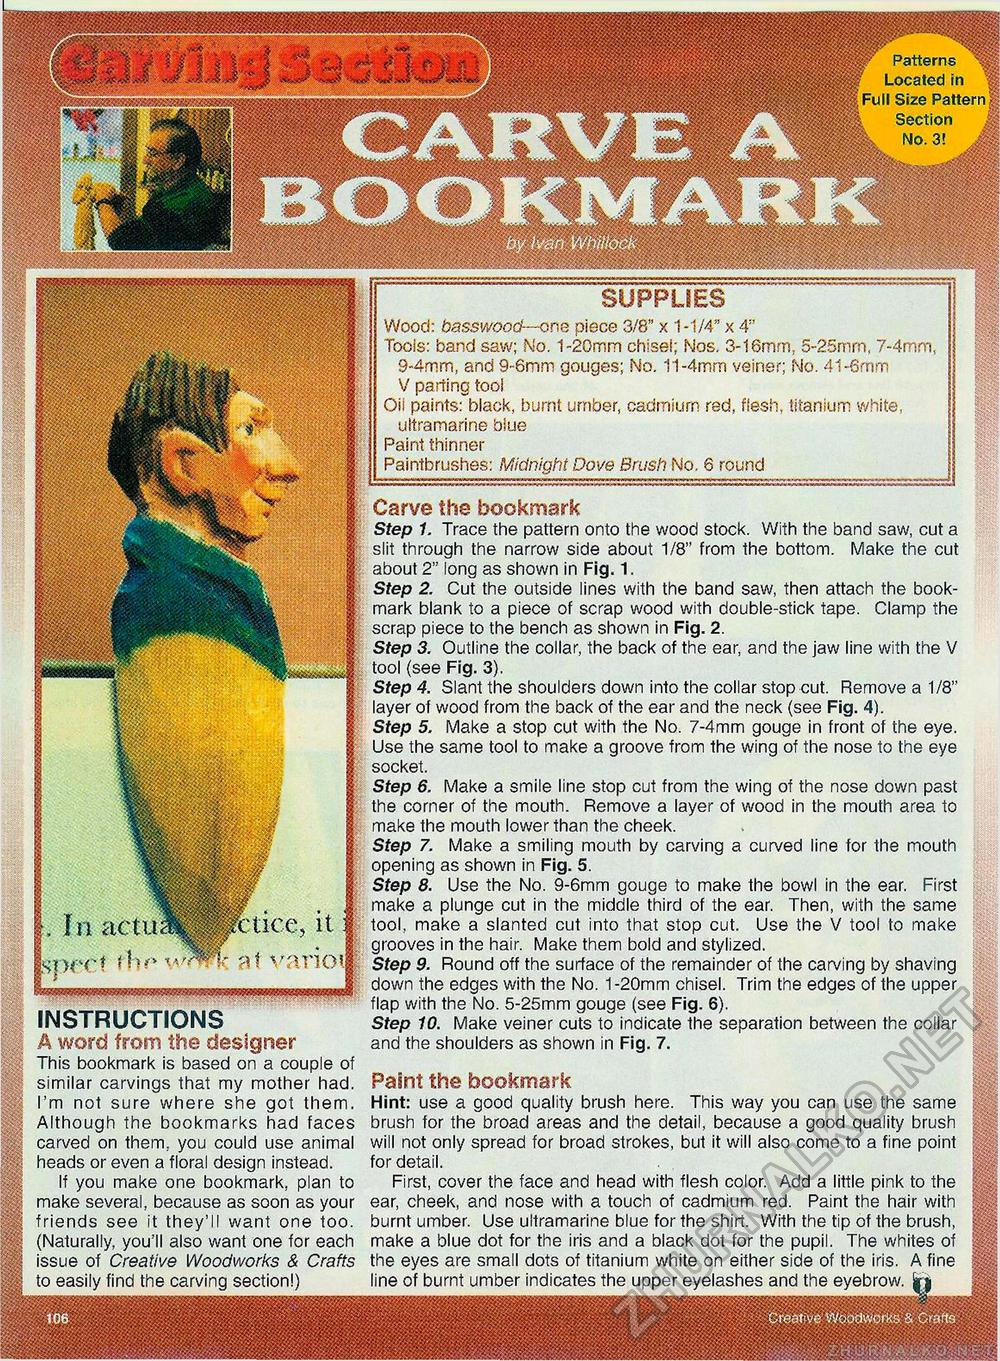
m W Patterns Located in Full Size Pattern Section LNo-3! SUPPLIES Wood: basswood— one piece 3/8" x 1-1/4" x 4" Tools: band saw; No. 1-20mm chisel; Nos. 3-16mm, 5-25mm, 7-4mm 9-4mm, and 9-6mm gouges; No. 11-4mm veiner; No. 41-6mm V parting tool Oil paints: black, burnt umber, cadmium red, flesh, titanium white, ultramarine blue Paint thinner Paintbrushes: Midnight Dove Brush No. 6 round [. In actu'sHp^tice, it l^fX-'C* ?^ ^^^ 3| ^^O!I INSTRUCTIONS A word from the designer This bookmark is based on a couple of similar carvings that my mother had. I'm not sure where she got them. Although the bookmarks had faces carved on them, you could use animal heads or even a floral design instead. If you make one bookmark, plan to make several, because as soon as your friends see it they'll want one too. (Naturally, you'll also want one for each issue of Creative Woodworks & Crafts to easily find the carving section!) Carve the bookmark Step 1. Trace the pattern onto the wood stock. With the band saw, cut a slit through the narrow side about 1/8" from the bottom. Make the cut about 2" long as shown in Fig. 1. Step 2. Cut the outside lines with the band saw, then attach the bookmark blank to a piece of scrap wood with double-stick tape. Clamp the scrap piece to the bench as shown in Fig. 2. Step 3. Outline the collar, the back of the ear, and the jaw line with the V tool (see Fig. 3). Step 4. Slant the shoulders down into the collar stop cut. Remove a 1/8" layer of wood from the back of the ear and the neck (see Fig. 4). Step 5. Make a stop cut with the No. 7-4mm gouge in front of the eye. Use the same tool to make a groove from the wing of the nose to the eye socket. Step 6. Make a smile line stop cut from the wing of the nose down past the corner of the mouth. Remove a layer of wood in the mouth area to make the mouth lower than the cheek. Step 7. Make a smiling mouth by carving a curved line for the mouth opening as shown in Fig. 5. Step 8. Use the No. 9-6mm gouge to make the bowl in the ear. First make a plunge cut in the middle third of the ear. Then, with the same tool, make a slanted cut into that stop cut. Use the V tool to make grooves in the hair. Make them bold and stylized. Step 9. Round off the surface of the remainder of the carving by shaving down the edges with the No. 1-20mm chisel. Trim the edges of the upper flap with the No. 5-25mm gouge (see Fig. 6). Step 10. Make veiner cuts to indicate the separation between the collar and the shoulders as shown in Fig. 7. Paint the bookmark Hint: use a good quality brush here. This way you can use the same brush for the broad areas and the detail, because a good quality brush will not only spread for broad strokes, but it will also come to a fine point for detail. First, cover the face and head with flesh color. Add a little pink to the ear, cheek, and nose with a touch of cadmium red. Paint the hair with burnt umber. Use ultramarine blue for the shirt. With the tip of the brush, make a blue dot for the iris and a black dot for the pupil. The whites of the eyes are small dots of titanium white on either side of the iris. A fine line of burnt umber indicates the upper eyelashes and the eyebrow. Srj 106 m - Creative woodworks, & Ctaffs |


