Creative Woodworks & crafts 2000-03, страница 90
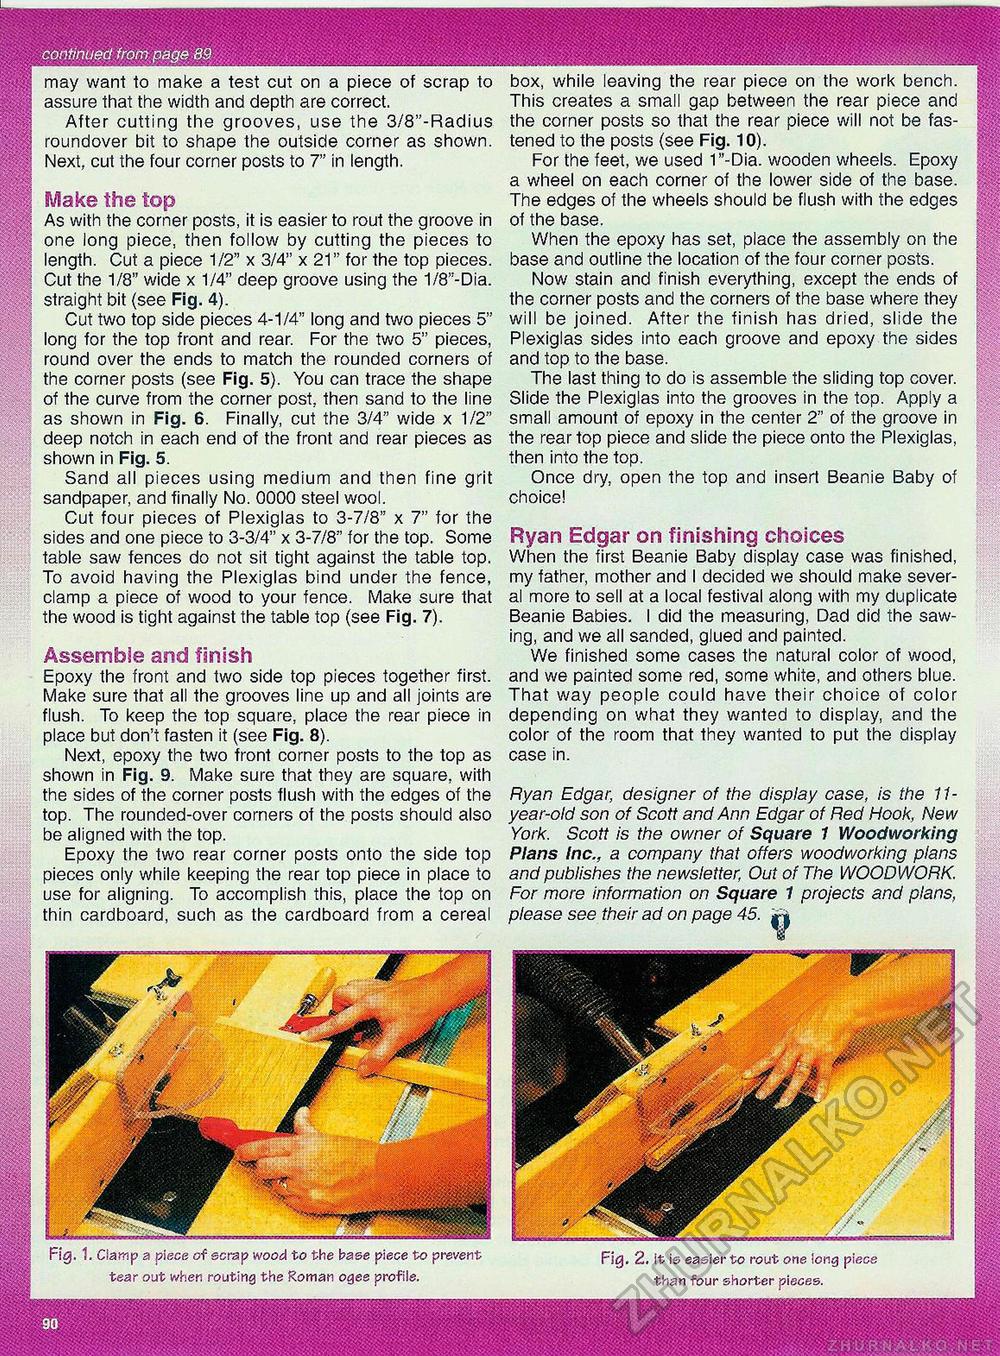
Fig. 1. Clamp a piece of scrap wood to the base piece to prevent tear out when routing the Roman ogee profile. Fig, 2. It is easier to rout one long piece than four shorter pieces. may want to make a test cut on a piece of scrap to assure that the width and depth are correct. After cutting the grooves, use the 3/8"-Radius roundover bit to shape the outside corner as shown. Next, cut the four corner posts to 7" in length. Make the top As with the corner posts, it is easier to rout the groove in one long piece, then follow by cutting the pieces to length. Cut a piece 1/2" x 3/4" x 21" for the top pieces. Cut the 1/8" wide x 1/4" deep groove using the 1/8"-Dia. straight bit (see Fig. 4). Cut two top side pieces 4-1/4" long and two pieces 5" long for the top front and rear. For the two 5" pieces, round over the ends to match the rounded corners of the corner posts (see Fig. 5). You can trace the shape of the curve from the corner post, then sand to the line as shown in Fig. 6. Finally, cut the 3/4" wide x 1/2" deep notch in each end of the front and rear pieces as shown in Fig. 5. Sand all pieces using medium and then fine grit sandpaper, and finally No. 0000 steel wool. Cut four pieces of Plexiglas to 3-7/8" x 7" for the sides and one piece to 3-3/4" x 3-7/8" for the top. Some table saw fences do not sit tight against the table top. To avoid having the Plexiglas bind under the fence, clamp a piece of wood to your fence. Make sure that the wood is tight against the table top (see Fig. 7). Assemble and finish Epoxy the front and two side top pieces together first. Make sure that all the grooves line up and all joints are flush. To keep the top square, place the rear piece in place but don't fasten it (see Fig. 8). Next, epoxy the two front corner posts to the top as shown in Fig. 9. Make sure that they are square, with the sides of the corner posts flush with the edges of the top. The rounded-over corners of the posts should also be aligned with the top. Epoxy the two rear corner posts onto the side top pieces only while keeping the rear top piece in place to use for aligning. To accomplish this, place the top on thin cardboard, such as the cardboard from a cereal box, while leaving the rear piece on the work bench. This creates a small gap between the rear piece and the corner posts so that the rear piece will not be fastened to the posts (see Fig. 10). For the feet, we used 1"-Dia. wooden wheels. Epoxy a wheel on each corner of the lower side of the base. The edges of the wheels should be flush with the edges of the base. When the epoxy has set, place the assembly on the base and outline the location of the four corner posts. Now stain and finish everything, except the ends of the corner posts and the corners of the base where they will be joined. After the finish has dried, slide the Plexiglas sides into each groove and epoxy the sides and top to the base. The last thing to do is assemble the sliding top cover. Slide the Plexiglas into the grooves in the top. Apply a small amount of epoxy in the center 2" of the groove in the rear top piece and slide the piece onto the Plexiglas, then into the top. Once dry, open the top and insert Beanie Baby of choice! Ryan Edgar on finishing choices When the first Beanie Baby display case was finished, my father, mother and I decided we should make several more to sell at a local festival along with my duplicate Beanie Babies. I did the measuring, Dad did the sawing, and we all sanded, glued and painted. We finished some cases the natural color of wood, and we painted some red, some white, and others blue. That way people could have their choice of color depending on what they wanted to display, and the color of the room that they wanted to put the display case in. Ryan Edgar, designer of the display case, is the 11-year-old son of Scott and Ann Edgar of Red Hook, New York. Scott is the owner of Square 1 Woodworking Plans inc., a company that offers woodworking plans and publishes the newsletter, Out of The WOODWORK. For more information on Square 1 projects and plans, please see their ad on page 45. |


