Creative Woodworks & crafts 2000-03, страница 89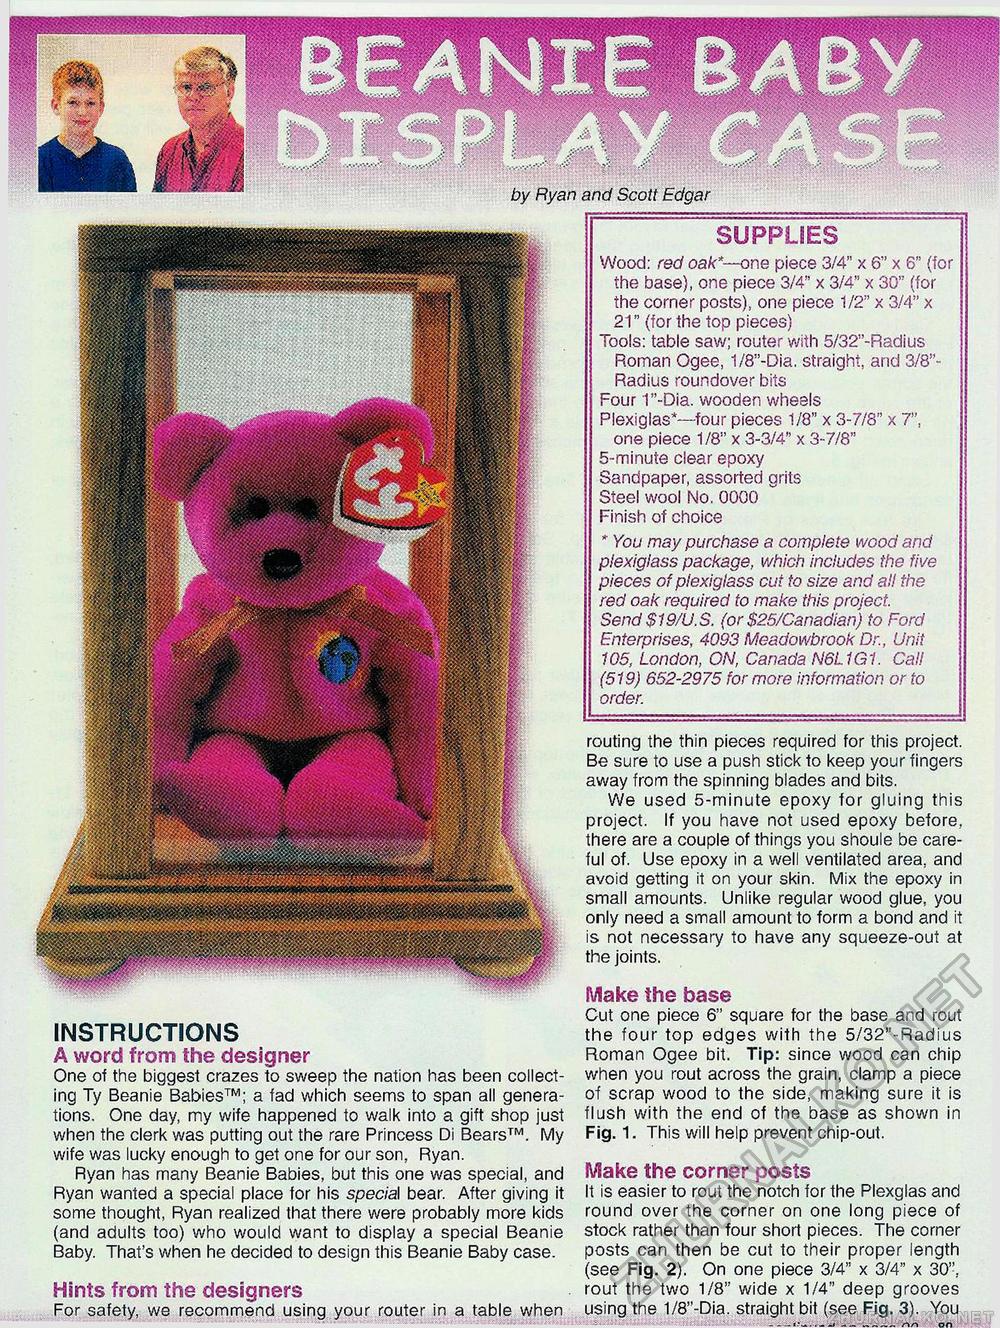
by Ryan and Scott Edgar SUPPLIES Wood: red oak*— one piece 3/4" x 6" x 6" (for the base), one piece 3/4" x 3/4" x 30" (for the corner posts), one piece 1/2" x 3/4" x 21" (for the top pieces) Tools: table saw; router with 5/32"-Radius Roman Ogee, 1/8"-Dia. straight, arid 3/8"-Radius roundover bits Four 1"-Dia. wooden wheels Plexiglas*—four pieces 1/8" x 3-7/8" x 7", one piece 1/8" x 3-3/4" x 3-7/8" 5-minute clear epoxy Sandpaper, assorted grits Steel wool No. 0000 "" Finish of choice * You may purchase a complete wood and plexiglass package, which includes the five pieces of plexiglass cut to size and all the red oak required to make this project. Send $19/U.S. (or $25/Canadian) to Ford Enterprises, 4093 Meadowbrook Dr., Unit 105, London, ON, Canada N6L1G1. Call (519) 652-2975 for more information or to order. INSTRUCTIONS A word from the designer One of the biggest crazes to sweep the nation has been collecting Ty Beanie Babies™; a fad which seems to span all generations. One day, my wife happened to walk into a gift shop just when the clerk was putting out the rare Princess Di Bears™. My wife was lucky enough to get one for our son, Ryan. Ryan has many Beanie Babies, but this one was special, and Ryan wanted a special place for his special bear. After giving it some thought, Ryan realized that there were probably more kids (and adults too) who would want to display a special Beanie Baby. That's when he decided to design this Beanie Baby case. Hints from the designers For safety, we recommend using your router in a table when routing the thin pieces required for this project. Be sure to use a push stick to keep your fingers away from the spinning blades and bits. We used 5-minute epoxy for gluing this project. If you have not used epoxy before, there are a couple of things you shoule be careful of. Use epoxy in a well ventilated area, and avoid getting it on your skin. Mix the epoxy in small amounts. Unlike regular wood glue, you only need a small amount to form a bond and it is not necessary to have any squeeze-out at the joints. Make the base Cut one piece 6" square for the base and rout the four top edges with the 5/32"-Radius Roman Ogee bit. Tip: since wood can chip when you rout across the grain, clamp a piece of scrap wood to the side, making sure it is flush with the end of the base as shown in Fig. 1. This will help prevent chip-out. Make the corner posts It is easier to rout the notch for the Plexglas and round over the corner on one long piece of stock rather than four short pieces. The corner posts can then be cut to their proper length (see Fig. 2). On one piece 3/4" x 3/4" x 30", rout the two 1/8" wide x 1/4" deep grooves using the 1/8"-Dia. straight bit (see Fig. 3). You |


