Creative Woodworks & crafts 2000-03, страница 86
by Dan and Raymond Wilckens SfRfeflF* Patterns Located in Full Size Pattern Section No. 3! OT*'v fft.ff't&i This challenging project has
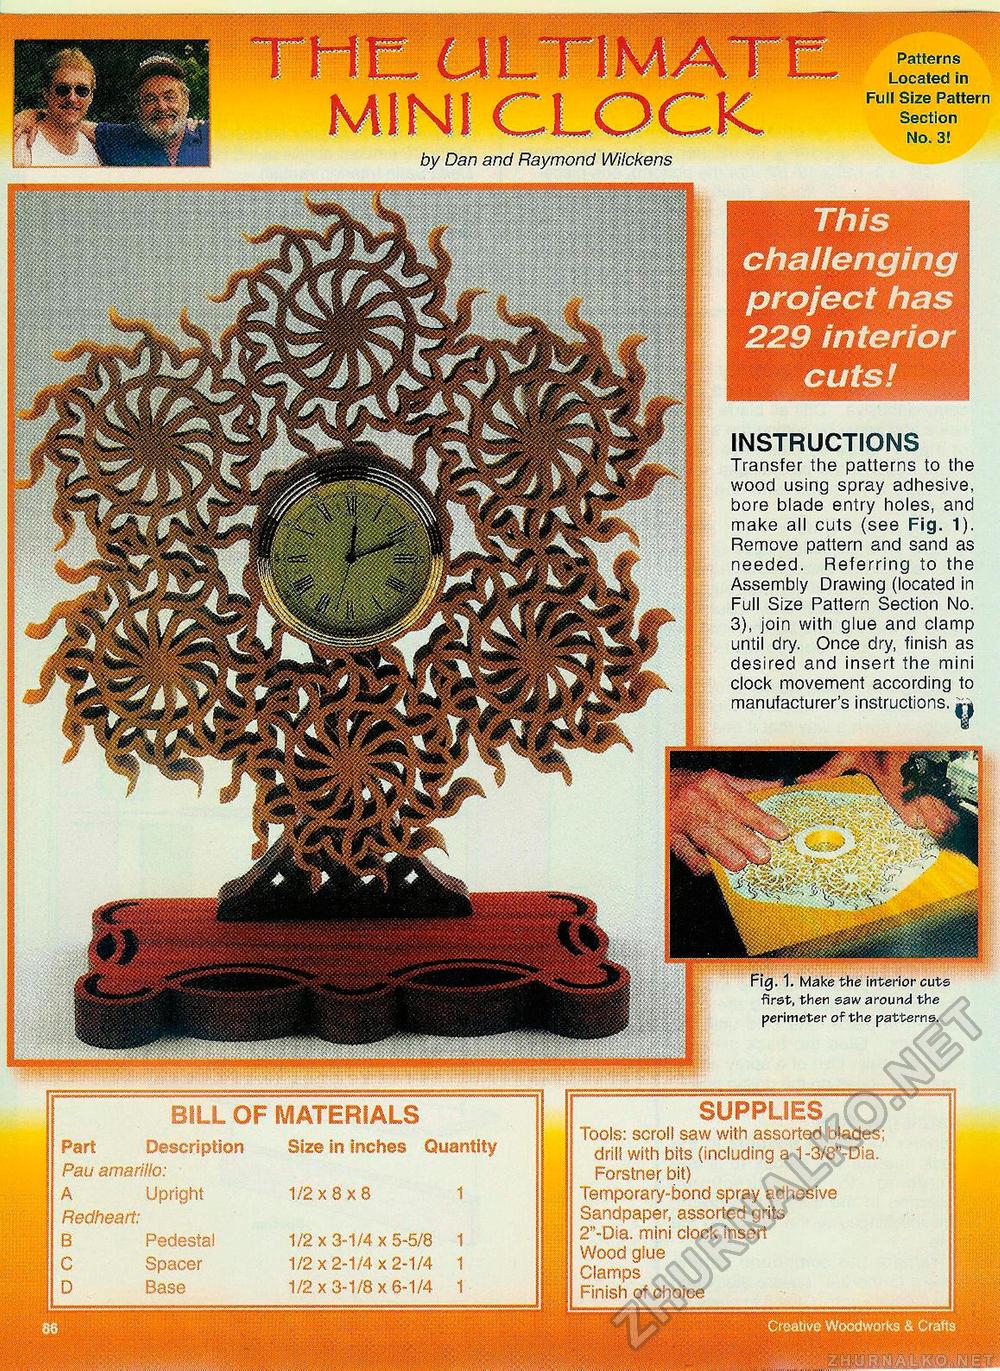
SUPPLIES Toois: scroll saw with assorted blades; j drill with bits {including a 1-3/8"-Dia. j Forstner bit) || Temporary-bond spray adhesive j Sandpaper, assorted grits | 2"-Dia. mini clock insert 1 Wood glue 1 Clamps 1 Finish of choice 'n ■ \,'<<'/<: , ffl/i '„,,'„ '' ' " ? ' INSTRUCTIONS Transfer the patterns to the wood using spray adhesive, bore blade entry holes, and make all cuts (see Fig. 1). Remove pattern and sand as needed. Referring to the Assembly Drawing (located in Full Size Pattern Section No. 3), join with glue and clamp until dry. Once dry, finish as desired and insert the mini clock movement according to manufacturer's instructions. Fig, 1. Make the interior cuts first, then saw around the perimeter of the patterns. |
||||||||||||||||||||||||||||||||


