Creative Woodworks & crafts 2000-04, страница 47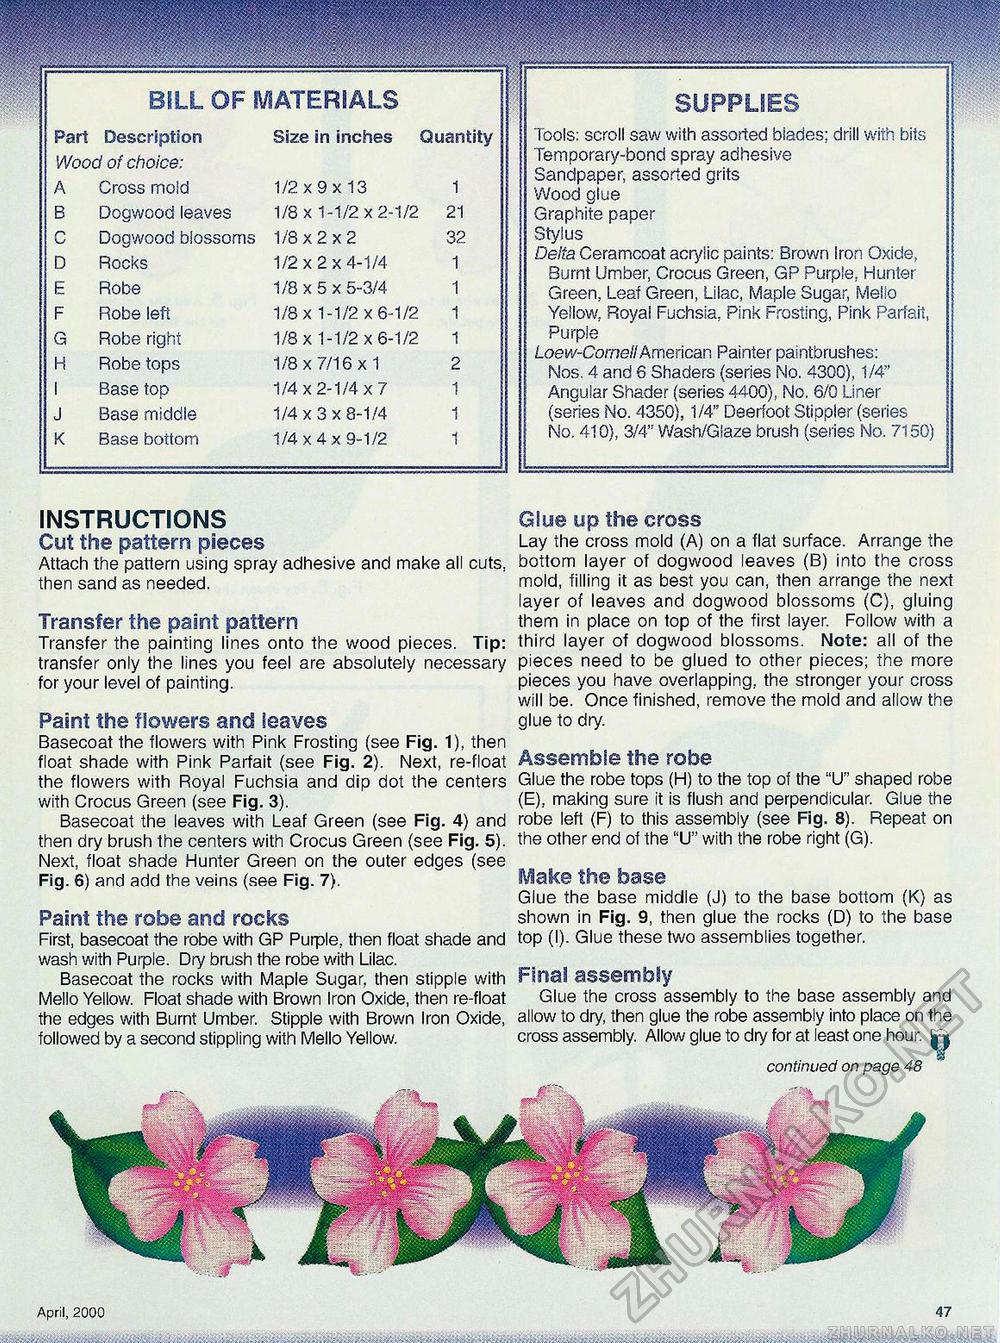
BILL OF MATERIALS SUPPLIES Tools: scroll saw with assorted blades; drill with bits Temporary-bond spray adhesive Sandpaper, assorted grits Wood glue Graphite paper Stylus Delta Ceramcoat acrylic paints: Brown Iron Oxide, Burnt Umber, Crocus Green, GP Purple, Hunter Green, Leaf Green, Lilac, Maple Sugar, Melio Yellow, Royal Fuchsia, Pink Frosting, Pink Parfait, Purple Loew-CornellAmerican Painter paintbrushes: Nos. 4 and 6 Shaders (series Mo. 4300), 1/4" Angular Shader (series 4400), No. 6/0 Liner (series No. 4350), 1/4" Deerfoot Stippier (series No. 410), 3/4" Wash/Glaze brush (series No. 7150) Part Description Wood of choice: A Cross mold B Dogwood leaves C Dogwood blossoms D Rocks E Robe F Robe left G Robe right H Robe tops I Base top J Base middle K Base bottom Size in inches Quantity
INSTRUCTIONS Cut the pattern pieces Attach the pattern using spray adhesive and make all cuts, then sand as needed. Transfer the paint pattern Transfer the painting lines onto the wood pieces. Tip: transfer only the lines you feel are absolutely necessary for your level of painting. Paint the flowers and leaves Basecoat the flowers with Pink Frosting (see Fig. 1), then float shade with Pink Parfait (see Fig. 2). Next, re-float the flowers with Royal Fuchsia and dip dot the centers with Crocus Green (see Fig. 3). Basecoat the leaves with Leaf Green (see Fig. 4) and then dry brush the centers with Crocus Green (see Fig. 5). Next, float shade Hunter Green on the outer edges (see Fig. 6) and add the veins (see Fig. 7). Paint the robe and rocks First, basecoat the robe with GP Purple, then float shade and wash with Purple. Dry brush the robe with Lilac. Basecoat the rocks with Maple Sugar, then stipple with Mello Yellow. Float shade with Brown Iron Oxide, then re-float the edges with Burnt Umber. Stipple with Brown Iron Oxide, followed by a second stippling with Mello Yellow. Glue up the cross Lay the cross mold (A) on a flat surface. Arrange the bottom layer of dogwood leaves (B) into the cross mold, filling it as best you can, then arrange the next layer of leaves and dogwood blossoms (C), gluing them in place on top of the first layer. Follow with a third layer of dogwood blossoms. Note: all of the pieces need to be glued to other pieces; the more pieces you have overlapping, the stronger your cross will be. Once finished, remove the mold and allow the glue to dry. Assemble the robe Glue the robe tops (H) to the top of the "U" shaped robe (E). making sure it is flush and perpendicular. Glue the robe left (F) to this assembly (see Fig. 8). Repeat on the other end of the "U" with the robe right (G). Make the base Glue the base middle (J) to the base bottom (K) as shown in Fig. 9, then glue the rocks (D) to the base top (I). Glue these two assemblies together. Final assembly Glue the cross assembly to the base assembly and allow to dry, then glue the robe assembly into place on the cross assembly. Allow glue to dry for at least one hour. ^ continued on page 48 April, 2000 |


