Creative Woodworks & crafts 2000-06, страница 16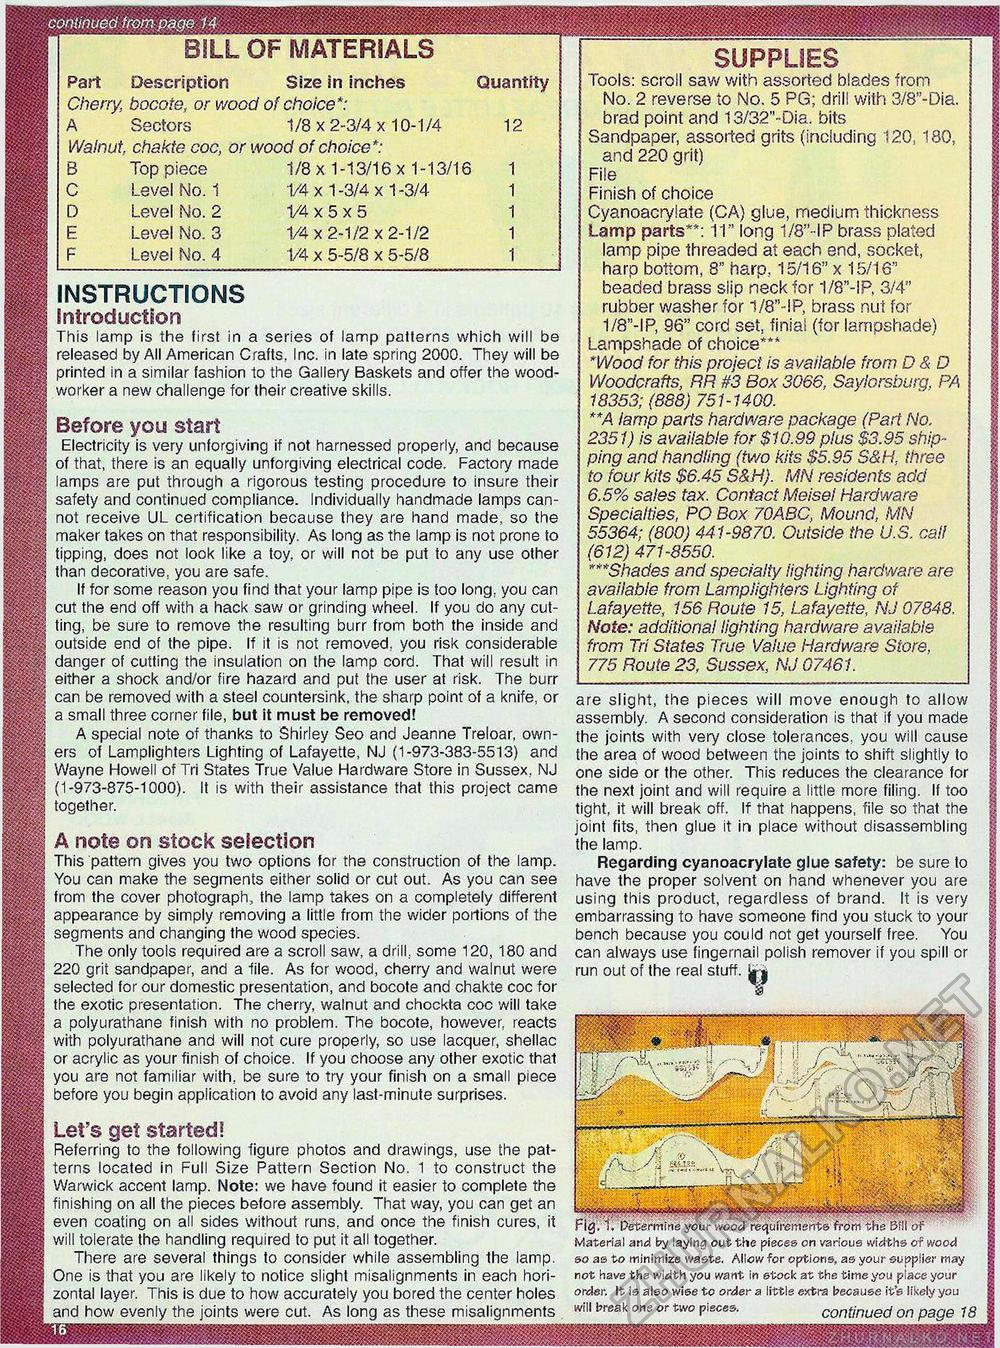
BILL OF MATERIALS SUPPLIES Tools: scroll saw with assorted blades from No. 2 reverse to No. 5 PG; drill with 3/8"-Dia. brad point and 13/32"~Dia. bits Sandpaper, assorted grits (including 120, 180, and 220 grit) File Finish of choice Cyanoacrylate (CA) glue, medium thickness Lamp parts**: 11" long 1/8"-IP brass plated lamp pipe threaded at each end, socket, harp bottom, 8" harp, 15/16" x 15/16" beaded brass slip neck for 1/8"-IP, 3/4" rubber washer for 1/8"-IP, brass nut for 1/8"-IP, 96" cord set, finial (for lampshade) Lampshade of choice*** 'Wood for this project is available from D & D Woodcrafts, RR #3 Box 3066, Sayiorsburg. PA 18353; (888) 751-1400. **A lamp parts hardware package (Part No. 2351) is available for $10.99 plus $3.95 shipping and handling (two kits $5.95 S&H, three to four kits $6.45 S&H). MN residents add 6.5% sales tax. Contact Meisei Hardware Specialties, PO Box 70ABC, Mound. MN 55364; (800) 441-9870. Outside the U.S. call (612) 471-8550. ***Shades and specialty lighting hardware are available from Lamplighters Lighting of Lafayette, 156 Route 15, Lafayette, NJ 07848. Note: additional lighting hardware available from Tri States True Value Hardware Store, 775 Route 23, Sussex, NJ 07461. Part Description Size in inches Cherry, bocote, or wood of choice*: A Sectors 1/8 x 2-3/4 x 10-1/4 Walnut, chakte coc, or wood of choice*: B Top piece 1/8x1-13/16x1-13/16 C Level No. 1 1/4x1 -3/4 x 1 -3/4 D Level No. 2 V4 x 5 x 5 E Level No. 3 V4 x 2-1/2 x 2-1/2 F Level No. 4 1/4 x 5-5/8 x 5-5/8 Quantity INSTRUCTIONS introduction This lamp is the first in a series of lamp patterns which will be released by All American Crafts, Inc. in late spring 2000. They will be printed in a similar fashion to the Gallery Baskets and offer the woodworker a new challenge for their creative skills. Before you start Electricity is very unforgiving if not harnessed properly, and because of that, there is an equally unforgiving electrical code. Factory made lamps are put through a rigorous testing procedure to insure their safety and continued compliance. Individually handmade lamps cannot receive UL certification because they are hand made, so the maker takes on that responsibility. As long as the lamp is not prone to tipping, does not look like a toy, or will not be put to any use other than decorative, you are safe. If for some reason you find that your lamp pipe is too long, you can cut the end off with a hack saw or grinding wheel. If you do any cutting, be sure to remove the resulting burr from both the inside and outside end of the pipe. If it is not removed, you risk considerable danger of cutting the insulation on the lamp cord. That will result in either a shock and/or fire hazard and put the user at risk. The burr can be removed with a steel countersink, the sharp point of a knife, or a small three corner file, but it must be removed! A special note of thanks to Shirley Seo and Jeanne Treloar, owners of Lamplighters Lighting of Lafayette, NJ (1-973-383-5513) and Wayne Howell of Tri States True Value Hardware Store in Sussex, NJ (1-973-875-1000). It is with their assistance that this project came together. A note on stock selection This pattern gives you two options tor the construction of the lamp. You can make the segments either solid or cut out. As you can see from the cover photograph, the lamp takes on a completely different appearance by simply removing a little from the wider portions of the segments and changing the wood species. The only tools required are a scroll saw, a drill, some 120, 180 and 220 grit sandpaper, and a file. As for wood, cherry and walnut were selected for our domestic presentation, and bocote and chakte coc for the exotic presentation. The cherry, walnut and chockta coc will take a polyurathane finish with no problem. The bocote, however, reacts with polyurathane and will not cure properly, so use lacquer, shellac or acrylic as your finish of choice. If you choose any other exotic that you are not familiar with, be sure to try your finish on a small piece before you begin application to avoid any last-minute surprises. Let's get started! Referring to the following figure photos and drawings, use the patterns located in Full Size Pattern Section No. 1 to construct the Warwick accent lamp. Note: we have found it easier to complete the finishing on all the pieces before assembly. That way, you can get an even coating on all sides without runs, and once the finish cures, it will tolerate the handling required to put it all together. There are several things to consider while assembling the lamp. One is that you are likely to notice slight misalignments in each horizontal layer. This is due to how accurately you bored the center holes and how evenly the joints were cut. As long as these misalignments are slight, the pieces will move enough to allow assembly. A second consideration is that if you made the joints with very close tolerances, you will cause the area of wood between the joints to shift slightly to one side or the other. This reduces the clearance for the next joint and will require a little more filing. If too tight, it will break off. If that happens, file so that the joint fits, then glue it in place without disassembling the lamp. Regarding cyanoacrylate glue safety: be sure to have the proper solvent on hand whenever you are using this product, regardless of brand. It is very embarrassing to have someone find you stuck to your bench because you could not get yourself free. You can always use fingernail polish remover if you spill or run out of the real stuff, ir-j mm Fig. 1. Peter-mine your wood requirements from the Bill of Material and by laying out the pieces on various widths of wood so as to minimize waste. Allow for options, as your supplier may not have the width you want in stock at the time you piace your order. It is also wise to order a little extra because it's likely you will break one or two pieces. continued on page 18 |


