Creative Woodworks & crafts 2000-06, страница 36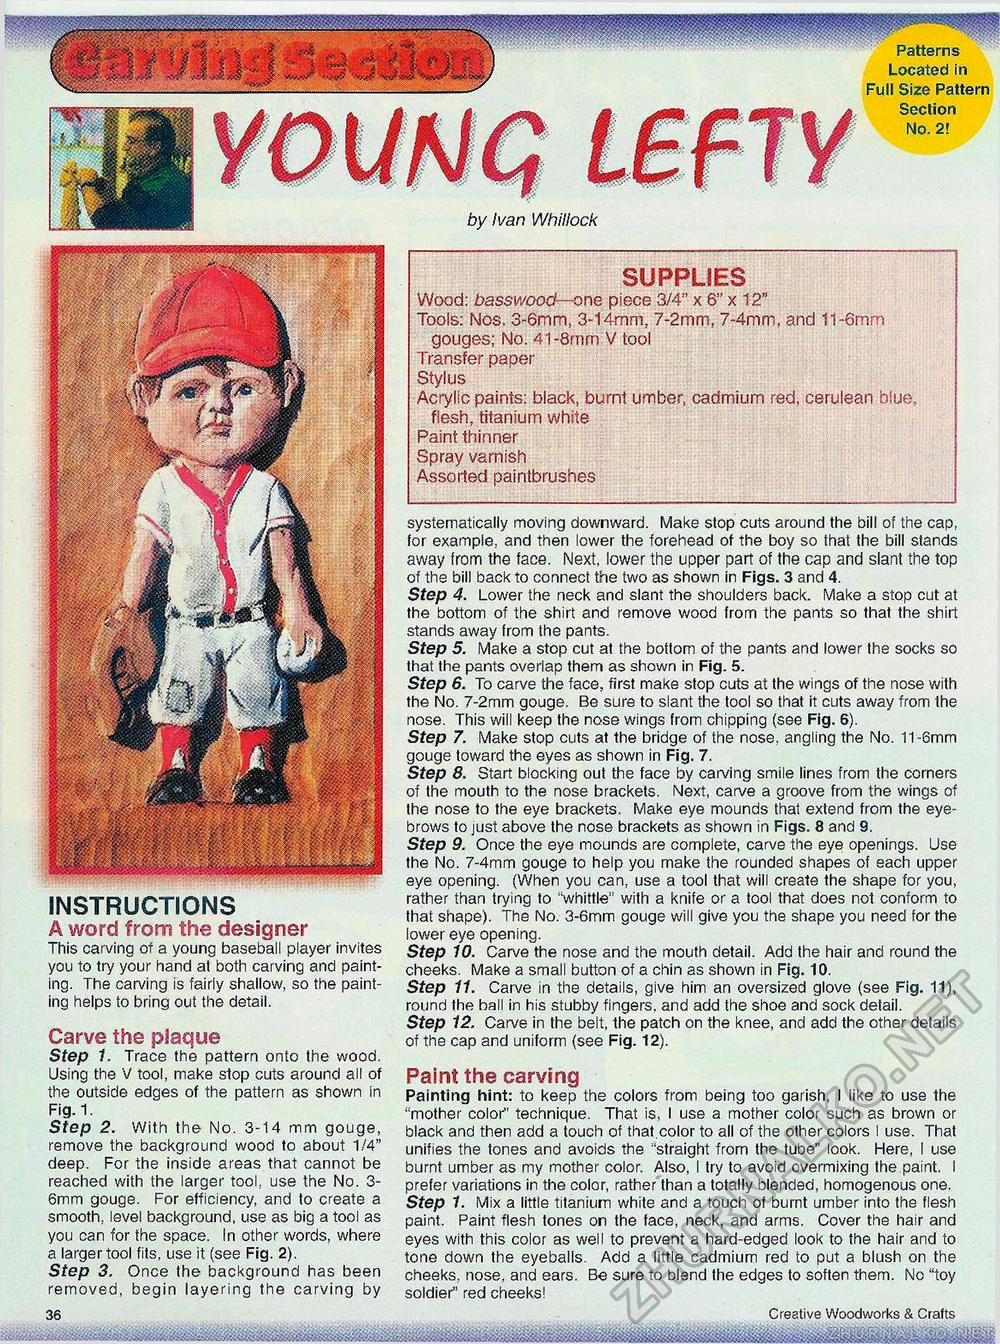
Patterns Located in Full Size Pattern Section No. 2! by Ivan Whillock INSTRUCTIONS A word from the designer This carving of a young baseball player invites you to try your hand at both carving and painting. The carving is fairly shallow, so the painting helps to bring out the detail. Carve the plaque Step 1. Trace the pattern onto the wood. Using the V tool, make stop cuts around all of the outside edges of the pattern as shown in Fig. 1. Step 2. With the No. 3-14 mm gouge, remove the background wood to about 1/4" deep. For the inside areas that cannot be reached with the larger tool, use the No. 3-6mm gouge. For efficiency, and to create a smooth, level background, use as big a tool as you can for the space. In other words, where a larger tool fits, use it (see Fig. 2). Step 3. Once the background has been removed, begin layering the carving by 36 SUPPLIES Wood: basswood— one piece 3/4" x 6" x 12" Tools: Nos. 3-6mm, 3-14mm, 7-2mm, 7-4mm, and 11-6mm gouges; No. 41-8mm V tool Transfer paper Stylus Acrylic paints: black, burnt umber, cadmium red, cerulean blue, flesh, titanium white Paint thinner Spray varnish Assorted paintbrushes systematically moving downward. Make stop cuts around the bill of the cap, for example, and then lower the forehead of the boy so that the bill stands away from the face. Next, lower the upper part of the cap and slant the top of the bill back to connect the two as shown in Figs. 3 and 4. Step 4. Lower the neck and slant the shoulders back. Make a stop cut at the bottom of the shirt and remove wood from the pants so that the shirt stands away from the pants. Step 5. Make a stop cut at the bottom of the pants and lower the socks so that the pants overlap them as shown in Fig. 5. Step 6. To carve the face, first make stop cuts at the wings of the nose with the No. 7-2mm gouge. Be sure to slant the tool so that it cuts away from the nose. This will keep the nose wings from chipping (see Fig. 6). Step 7. Make stop cuts at the bridge of the nose, angling the No. 11-6mm gouge toward the eyes as shown in Fig. 7. Step 8. Start blocking out the face by carving smile lines from the corners of the mouth to the nose brackets. Next, carve a groove from the wings of the nose to the eye brackets. Make eye mounds that extend from the eyebrows to just above the nose brackets as shown in Figs. 8 and 9. Step 9. Once the eye mounds are complete, carve the eye openings. Use the No. 7-4mm gouge to help you make the rounded shapes of each upper eye opening. (When you can, use a tool that will create the shape for you, rather than trying to "whittle" with a knife or a tool that does not conform to that shape). The No. 3-6mm gouge will give you the shape you need for the lower eye opening. Step 10. Carve the nose and the mouth detail. Add the hair and round the cheeks. Make a small button of a chin as shown in Fig. 10. Step 11. Carve in the details, give him an oversized glove (see Fig. 11), round the ball in his stubby fingers, and add the shoe and sock detail. Step 12. Carve in the belt, the patch on the knee, and add the other details of the cap and uniform (see Fig. 12). Paint the carving Painting hint: to keep the colors from being too garish, I like to use the "mother color" technique. That is, I use a mother color such as brown or black and then add a touch of that.color to all of the other colors I use. That unifies the tones and avoids the "straight from the tube" look. Here, I use burnt umber as my mother color. Also, I try to avoid overmixing the paint. I prefer variations in the color, rather than a totally blended, homogenous one. Step 1. Mix a little titanium white and a touch of burnt umber into the flesh paint. Paint flesh tones on the face, neck, and arms. Cover the hair and eyes with this color as well to prevent a hard-edged look to the hair and to tone down the eyeballs. Add a little cadmium red to put a blush on the cheeks, nose, and ears. Be sure to blend the edges to soften them. No "toy soldier" red cheeks! Creative Woodworks & Crafts |


