Creative Woodworks & crafts 2000-10, страница 16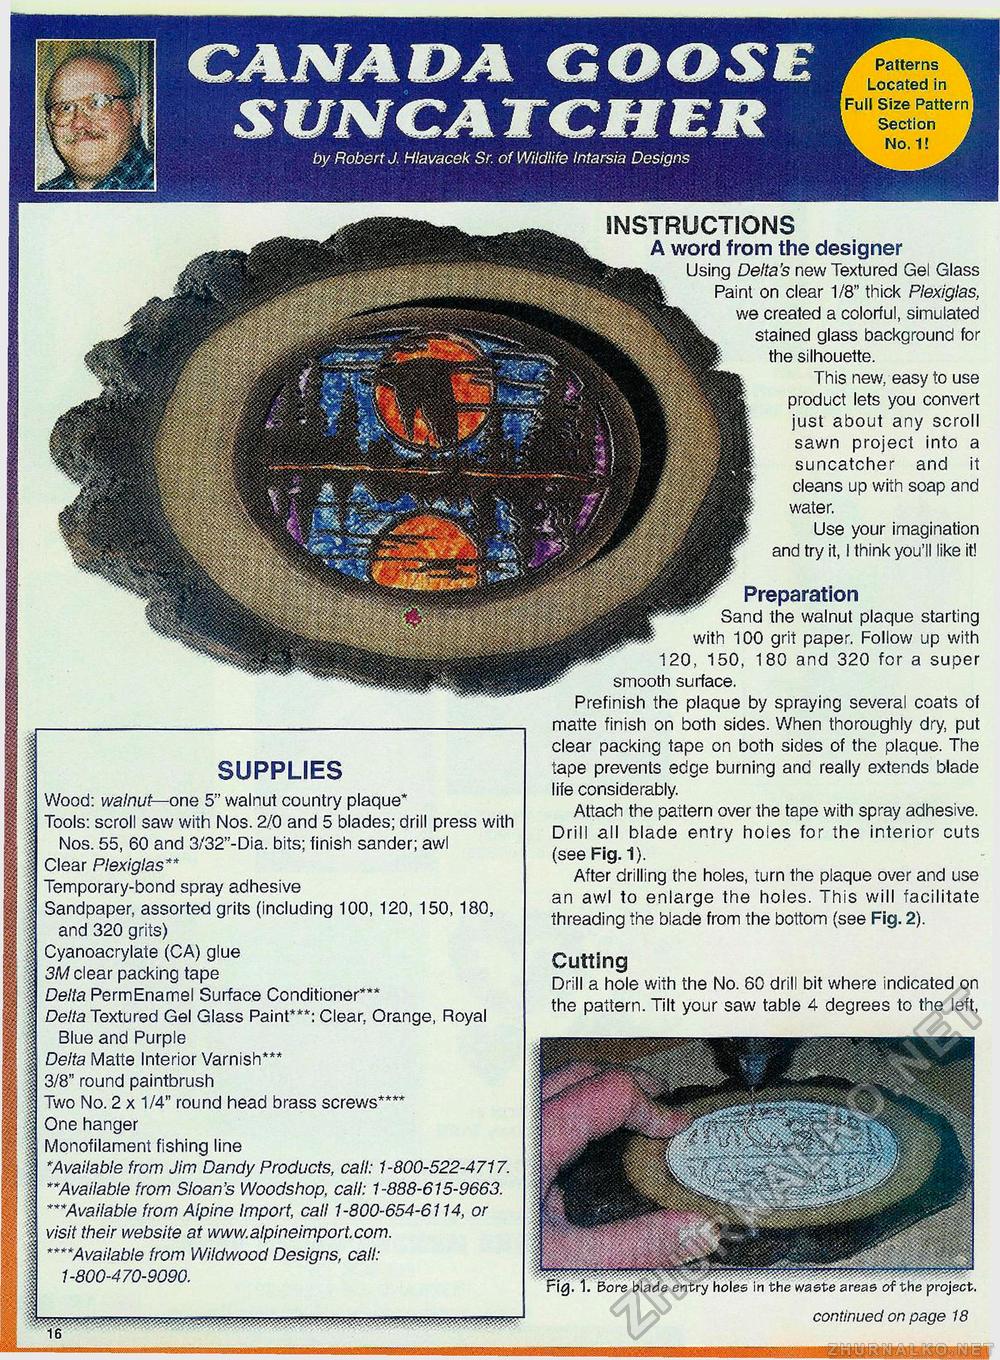
r Patterns 1 Located in * Full Size Pattern L Section , No. 1! A cajvaoa goose SUPPLIES | Wood: walnut-—one 5" walnut country plaque* I Tools: scroll saw with Nos. 2/0 and 5 blades; drill press with 1 Nos. 55, 60 and 3/32"-Dia. bits; finish sander; awl I Clear Plexiglas** | Temporary-bond spray adhesive | Sandpaper, assorted grits (including 100, 120, 150, 180, | and 320 grits) | Cyanoacrylate (CA) glue | 3M clear packing tape | Delta PermEnamel Surface Conditioner*** | Delta Textured Gel Glass Paint***: Clear, Orange, Royal | Blue and Purple | Delta Matte Interior Varnish*** I 3/8" round paintbrush | Two No. 2 x 1/4" round head brass screws**** | One hanger | Monofilament fishing line | *Available from Jim Dandy Products, call: 1-800-522-4717. 1 **Available from Sloan's Woodshop, call: 1-888-615-9663. I ***Available from Alpine Import, call 1-800-654-6114, or | visit their website at www.alpineimport.com. | ****Available from Wildwood Designs, call: i 1-800-470-9090. I 16 by Robert J. Hlavacek Sr. of Wildlife Intarsia Designs imlii continued on page 18 INSTRUCTIONS A word from the designer Using Delta's new Textured Gel Glass Paint on clear 1/8" thick Plexiglas, we created a colorful, simulated stained glass background for the silhouette. This new, easy to use product lets you convert just about any scroll sawn project into a suncatcher and it cleans up with soap and water. Use your imagination and try it, I think you'll like it! Preparation Sand the walnut plaque starting with 100 grit paper. Follow up with 120, 150, 180 and 320 for a super smooth surface. Prefinish the plaque by spraying several coats of matte finish on both sides. When thoroughly dry, put clear packing tape on both sides of the plaque. The tape prevents edge burning and really extends blade life considerably. Attach the pattern over the tape with spray adhesive. Drill all blade entry hoies for the interior cuts (see Fig. 1). After drilling the holes, turn the plaque over and use an awl to enlarge the holes. This will facilitate threading the biade from the bottom (see Fig. 2). Cutting Drill a hole with the No. 60 drill bit where indicated on the pattern. Tilt your saw table 4 degrees to the left, |


