Creative Woodworks & crafts 2000-10, страница 44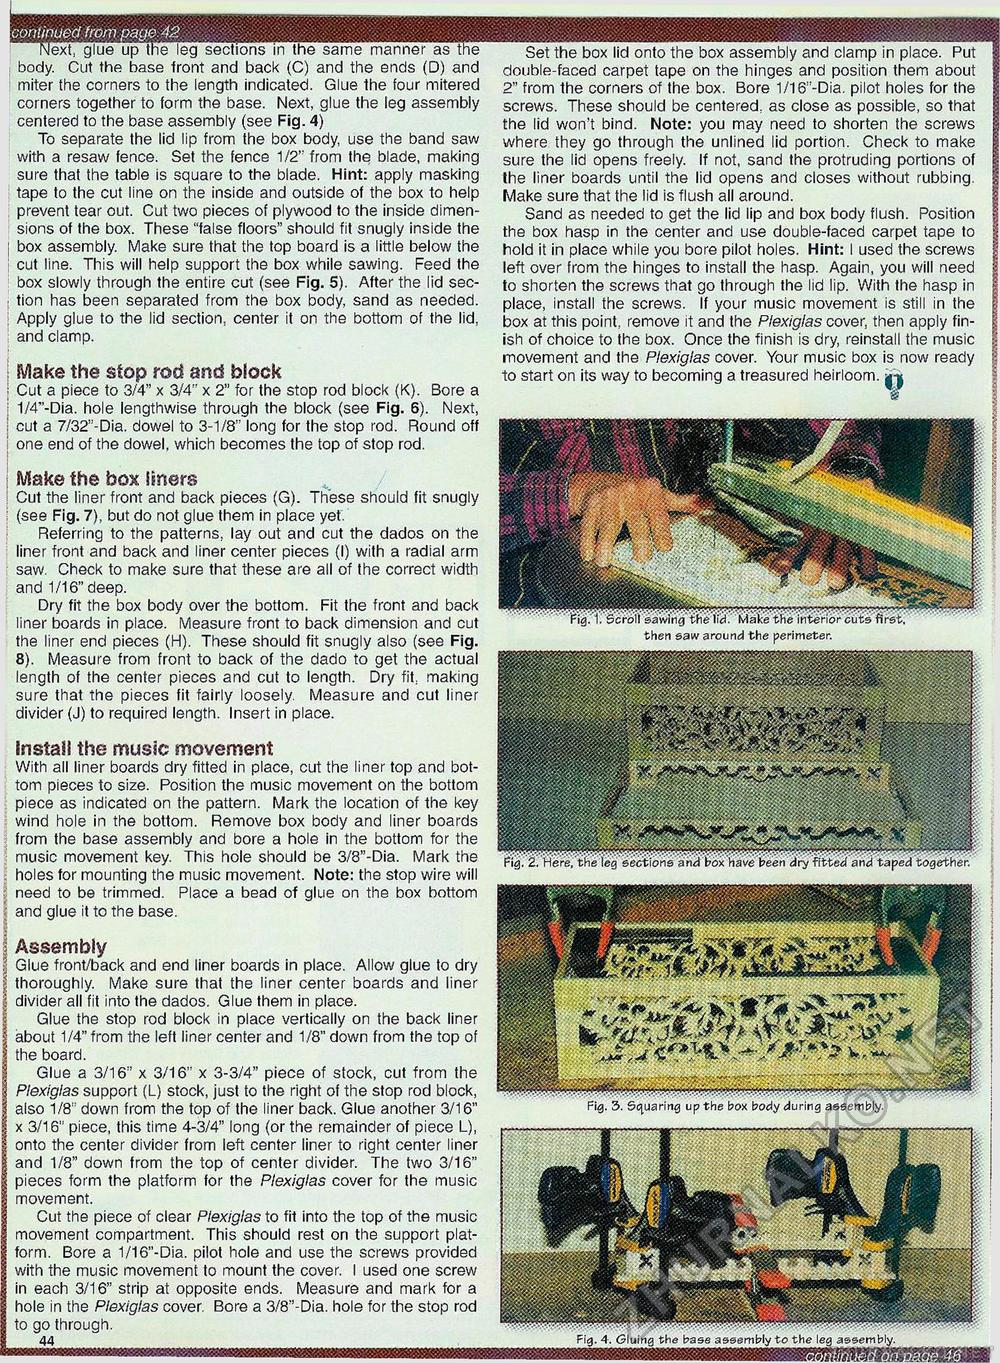
body. Cut the base front and back (C) and the ends (D) and miter the corners to the length indicated. Glue the four mitered corners together to form the base. Next, glue the leg assembly centered to the base assembly (see Fig. 4) To separate the lid lip from the box body, use the band saw with a resaw fence. Set the fence 1/2" from the blade, making sure that the table is square to the blade. Hint: apply masking tape to the cut line on the inside and outside of the box to help prevent tear out. Cut two pieces of plywood to the inside dimensions of the box. These "false floors" should fit snugly inside the box assembly. Make sure that the top board is a little below the cut line. This will help support the box while sawing. Feed the box slowly through the entire cut (see Fig. 5). After the lid section has been separated from the box body, sand as needed. Apply glue to the lid section, center it on the bottom of the lid, ■ and clamp. Make the stop rod and block | Cut a piece to 3/4" x 3/4" x 2" for the stop rod block (K). Bore a 1/4"-Dia. hole lengthwise through the block (see Fig. 6). Next, \ cut a 7/32"-Dia. dowel to 3-1/8" long for the stop rod. Round off i one end of the dowel, which becomes the top of stop rod. Make the box liners ! Cut the liner front and back pieces (G). These should fit snugly : (see Fig. 7), but do not glue them in place yet. Referring to the patterns, lay out and cut the dados on the liner front and back and liner center pieces (I) with a radial arm saw. Check to make sure that these are all of the correct width and 1/16" deep. Dry fit the box body over the bottom. Fit the front and back liner boards in place. Measure front to back dimension and cut the liner end pieces (H). These should fit snugly also (see Fig. 8). Measure from front to back of the dado to get the actual length of the center pieces and cut to length. Dry fit, making sure that the pieces fit fairly loosely Measure and cut liner divider (J) to required length. Insert in place. Install the music movement With all liner boards dry fitted in place, cut the liner top and bottom pieces to size. Position the music movement on the bottom piece as indicated on the pattern. Mark the location of the key wind hole in the bottom. Remove box body and liner boards from the base assembly and bore a hole in the bottom for the music movement key. This hole should be 3/3"-Dia. Mark the holes for mounting the music movement. Note: the stop wire will need to be trimmed. Place a bead of glue on the box bottom and glue it to the base. s Assembly I Glue front/back and end liner boards in place. Allow glue to dry | thoroughly. Make sure that the liner center boards and liner 5 divider all fit into the dados. Glue them in place. | Glue the stop rod block in place vertically on the back liner | about 1/4" from the left liner center and 1/8" down from the top of | the board. I Glue a 3/16" x 3/16" x 3-3/4" piece of stock, cut from the | Plexiglas support (L) stock, just to the right of the stop rod block, also 1/8" down from the top of the liner back. Glue another 3/16" x 3/16" piece, this time 4-3/4" long (or the remainder of piece L), onto the center divider from left center liner to right center liner and 1/8" down from the top of center divider. The two 3/16" pieces form the platform for the Plexiglas cover for the music movement. Cut the piece of clear Plexiglas to fit into the top of the music movement compartment. This should rest on the support platform. Bore a 1/16"-Dia. pilot hole and use the screws provided with the music movement to mount the cover. I used one screw in each 3/16" strip at opposite ends. Measure and mark for a hole in the Plexiglas cover. Bore a 3/8"-Dia. hole for the stop rod to go through. double-faced carpet tape on the hinges and position them about 2" from the corners of the box. Bore 1/16"-Dia. pilot holes for the screws. These should be centered, as close as possible, so that the lid won't bind. Note: you may need to shorten the screws where they go through the unlined lid portion. Check to make sure the lid opens freely. If not, sand the protruding portions of the liner boards until the lid opens and closes without rubbing. Make sure that the lid is flush all around. Sand as needed to get the lid lip and box body flush. Position the box hasp in the center and use double-faced carpet tape to hold it in place while you bore pilot holes. Hint: I used the screws left over from the hinges to install the hasp. Again, you will need to shorten the screws that go through the lid lip. With the hasp in place, install the screws. If your music movement is still in the box at this point, remove it and the Plexiglas cover, then apply finish of choice to the box. Once the finish is dry, reinstall the music movement and the Plexiglas cover. Your music box is now ready to start on its way to becoming a treasured heirloom. then saw around the perimeter. |


