Creative Woodworks & crafts 2000-10, страница 57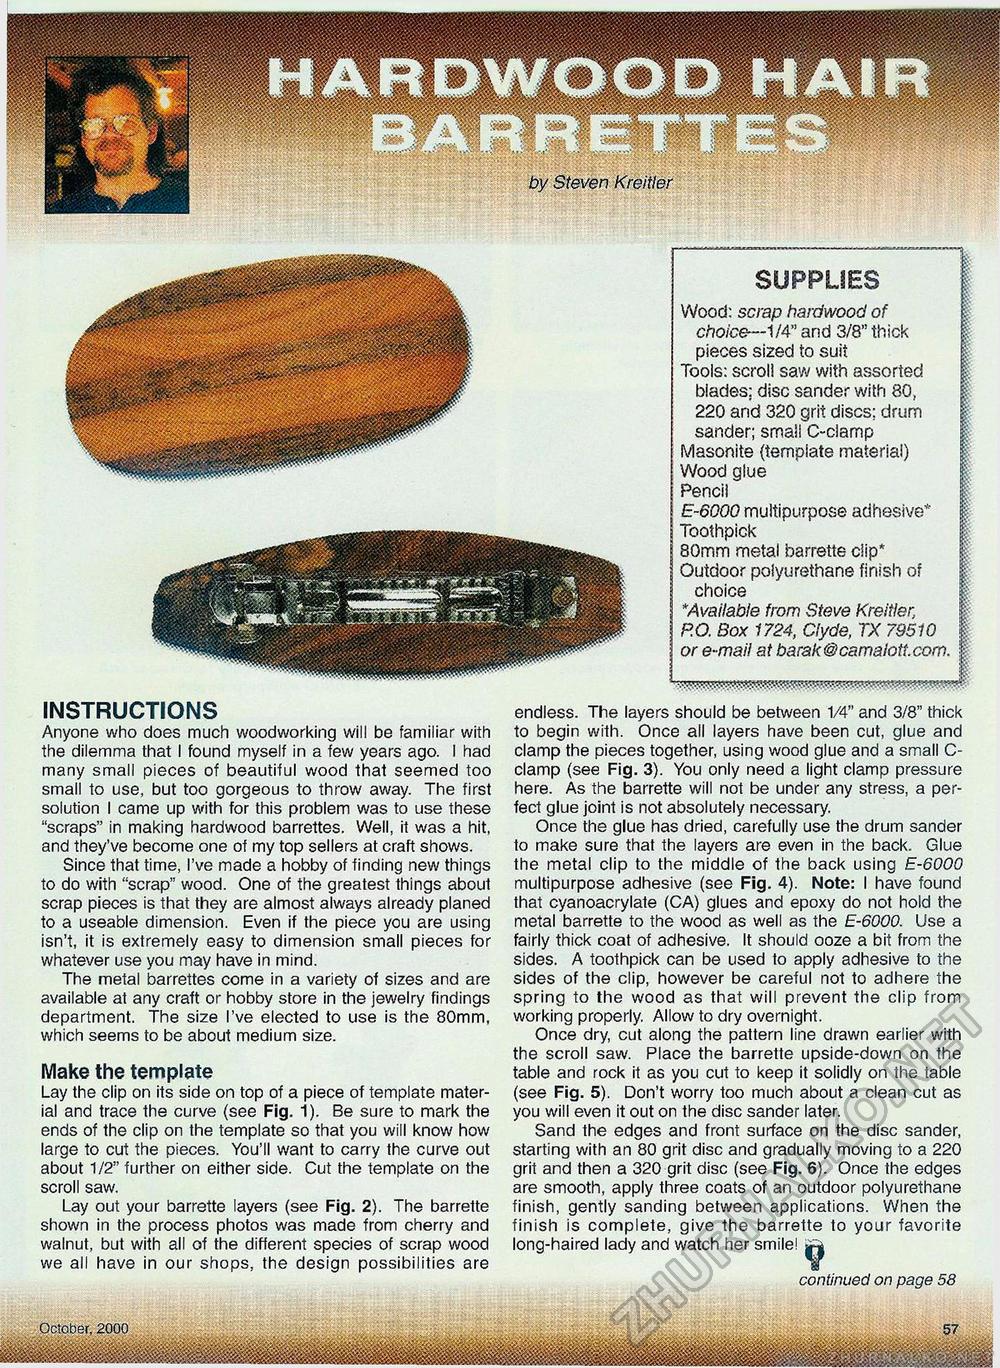
SUPPLIES Wood: scrap hardwood of choice—1/4" and 3/8" thick pieces sized to suit Tools: scroll saw with assorted blades; disc sander with 80, 220 and 320 grit discs; drum sander; small C-clamp Masonite {template material) Wood glue Pencil E-6000 multipurpose adhesive* Toothpick 80mm metal barrette clip* Outdoor polyurethane finish of choice *Available from Steve Kreitler, P.O. Box 1724, Clyde, TX 79510 or e-mail at barak@camalott.com. INSTRUCTIONS Anyone who does much woodworking will be familiar with the dilemma that I found myself in a few years ago. I had many small pieces of beautiful wood that seemed too small to use, but too gorgeous to throw away. The first solution I came up with for this problem was to use these "scraps" in making hardwood barrettes. Well, it was a hit, and they've become one of my top sellers at craft shows. Since that time, I've made a hobby of finding new things to do with "scrap" wood. One of the greatest things about scrap pieces is that they are almost always already planed to a useable dimension. Even if the piece you are using isn't, it is extremely easy to dimension small pieces for whatever use you may have in mind. The metal barrettes come in a variety of sizes and are available at any craft or hobby store in the jewelry findings department. The size I've elected to use is the 80mm, which seems to be about medium size. Make the template Lay the clip on its side on top of a piece of template material and trace the curve (see Fig. 1). Be sure to mark the ends of the clip on the template so that you will know how large to cut the pieces. You'll want to carry the curve out about 1/2" further on either side. Cut the template on the scroll saw. Lay out your barrette layers (see Fig. 2). The barrette shown in the process photos was made from cherry and walnut, but with all of the different species of scrap wood we all have in our shops, the design possibilities are endless. The layers should be between 1/4" and 3/8" thick to begin with. Once all layers have been cut, glue and clamp the pieces together, using wood glue and a small C-clamp (see Fig. 3). You only need a light clamp pressure here. As the barrette will not be under any stress, a perfect glue joint is not absolutely necessary. Once the glue has dried, carefully use the drum sander to make sure that the layers are even in the back. Glue the metal clip to the middle of the back using E-6000 multipurpose adhesive (see Fig. 4). Note: I have found that cyanoacrylate (CA) glues and epoxy do not hold the metal barrette to the wood as well as the E-6000. Use a fairly thick coat of adhesive. It should ooze a bit from the sides. A toothpick can be used to apply adhesive to the sides of the clip, however be careful not to adhere the spring to the wood as that will prevent the clip from working properly. Allow to dry overnight. Once dry, cut along the pattern line drawn earlier with the scroll saw. Place the barrette upside-down on the table and rock it as you cut to keep it solidly on the table (see Fig. 5). Don't worry too much about a clean cut as you will even it out on the disc sander later. Sand the edges and front surface on the disc sander, starting with an 80 grit disc and gradually moving to a 220 grit and then a 320 grit disc (see Fig. 6). Once the edges are smooth, apply three coats of an outdoor polyurethane finish, gently sanding between applications. When the finish is complete, give the barrette to your favorite long-haired lady and watch her smile! ^ continued on page 58 |


