Creative Woodworks & crafts 2001-01, страница 38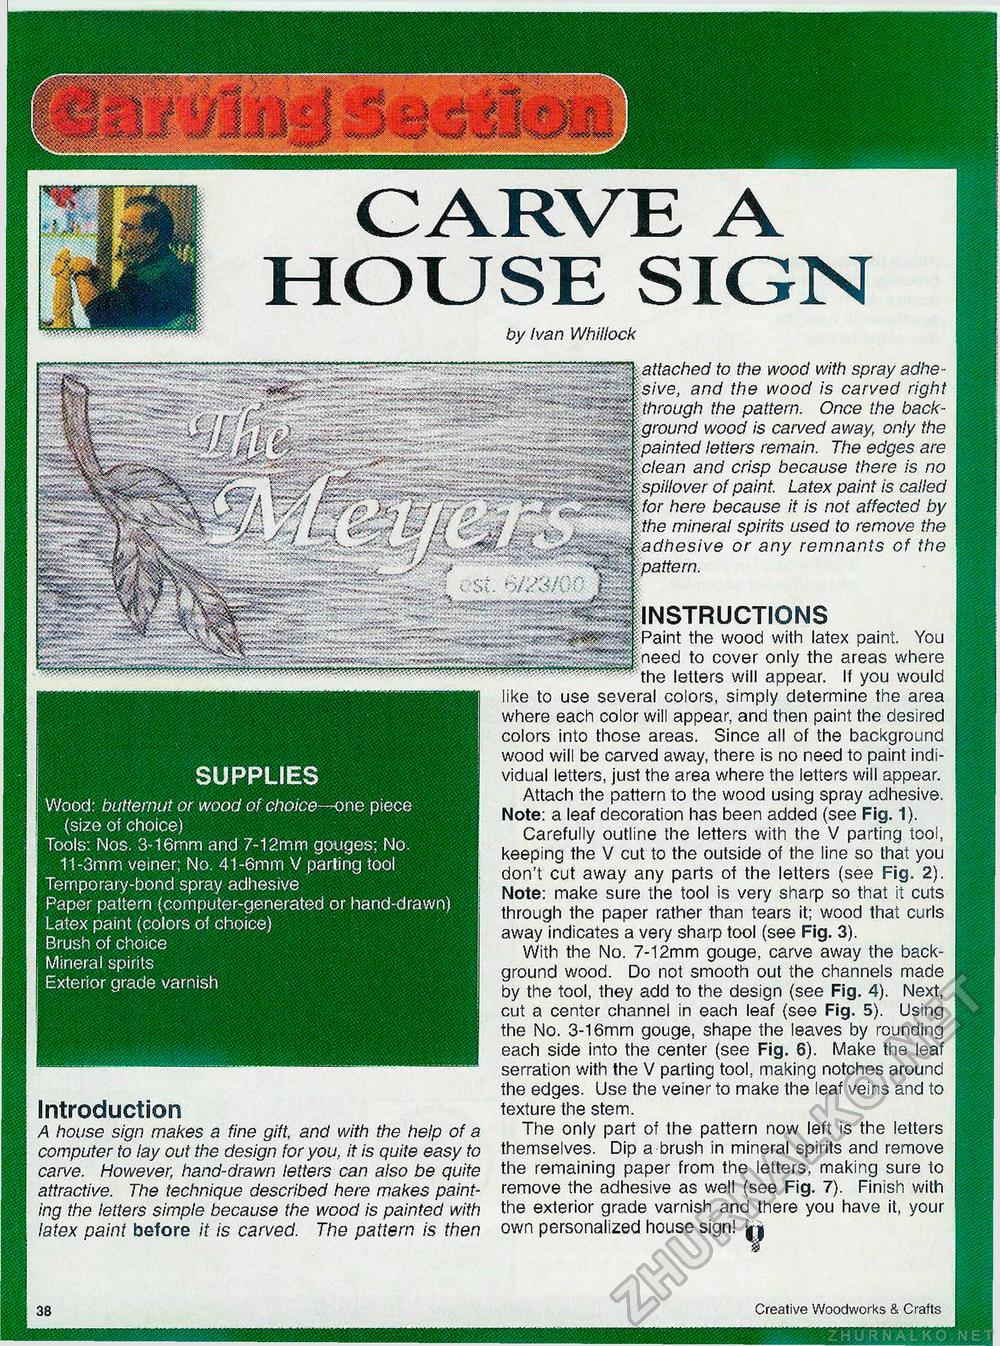
•-.♦.••v.:-. pattern. GARVE A HOUSE SIGN by Ivan Whillock attached to the wood with spray adhesive, and the wood is carved right through the pattern. Once the background wood is carved away, only the painted letters remain. The edges are clean and crisp because there is no spillover of paint. Latex paint is called for here because it is not affected by the mineral spirits used to remove the ^-A adhesive or any remnants of the SUPPLIES Wood: butternut or wood of choice—one piece (size of choice) Tools: Nos. 3-16mm and 7-12mm gouges; No. 11-3mm veiner; No. 41-6mm V parting tool Temporary-bond spray adhesive Paper pattern (computer-generated or hand-drawn) Latex paint (colors of choice) Brush of choice Mineral spirits Exterior grade varnish Introduction A house sign makes a fine gift, and with the help of a computer to lay out the design for you, it is quite easy to carve. However, hand-drawn letters can also be quite attractive. The technique described here makes painting the letters simple because the wood is painted with latex paint before it is carved. The pattern is then INSTRUCTIONS Paint the wood with latex paint. You need to cover only the areas where the letters will appear. If you would like to use several colors, simply determine the area where each color will appear, and then paint the desired colors into those areas. Since all of the background wood will be carved away, there is no need to paint individual letters, just the area where the letters will appear. Attach the pattern to the wood using spray adhesive. Note: a leaf decoration has been added (see Fig. 1). Carefully outline the letters with the V parting tool, keeping the V cut to the outside of the line so that you don't cut away any parts of the letters (see Fig. 2). Note: make sure the tool is very sharp so that it cuts through the paper rather than tears it; wood that curls away indicates a very sharp tool (see Fig. 3). With the No. 7-12mm gouge, carve away the background wood. Do not smooth out the channels made by the tool, they add to the design (see Fig. 4). Next, cut a centor channel in each leaf (see Fig. 5). Using the No. 3-16mm gouge, shape the leaves by rounding each side into the center (see Fig. 6). Make the leaf serration with the V parting tool, making notches around the edges. Use the veiner to make the leaf veins and to texture the stem. The only part of the pattern now left is the letters themselves. Dip a brush in mineral spirits and remove the remaining paper from the letters, making sure to remove the adhesive as well (see Fig. 7). Finish with the exterior grade varnish and there you have it, your own personalized house sign! 38 Creative Woodworks &. Crafts |


