Creative Woodworks & crafts 2001-01, страница 8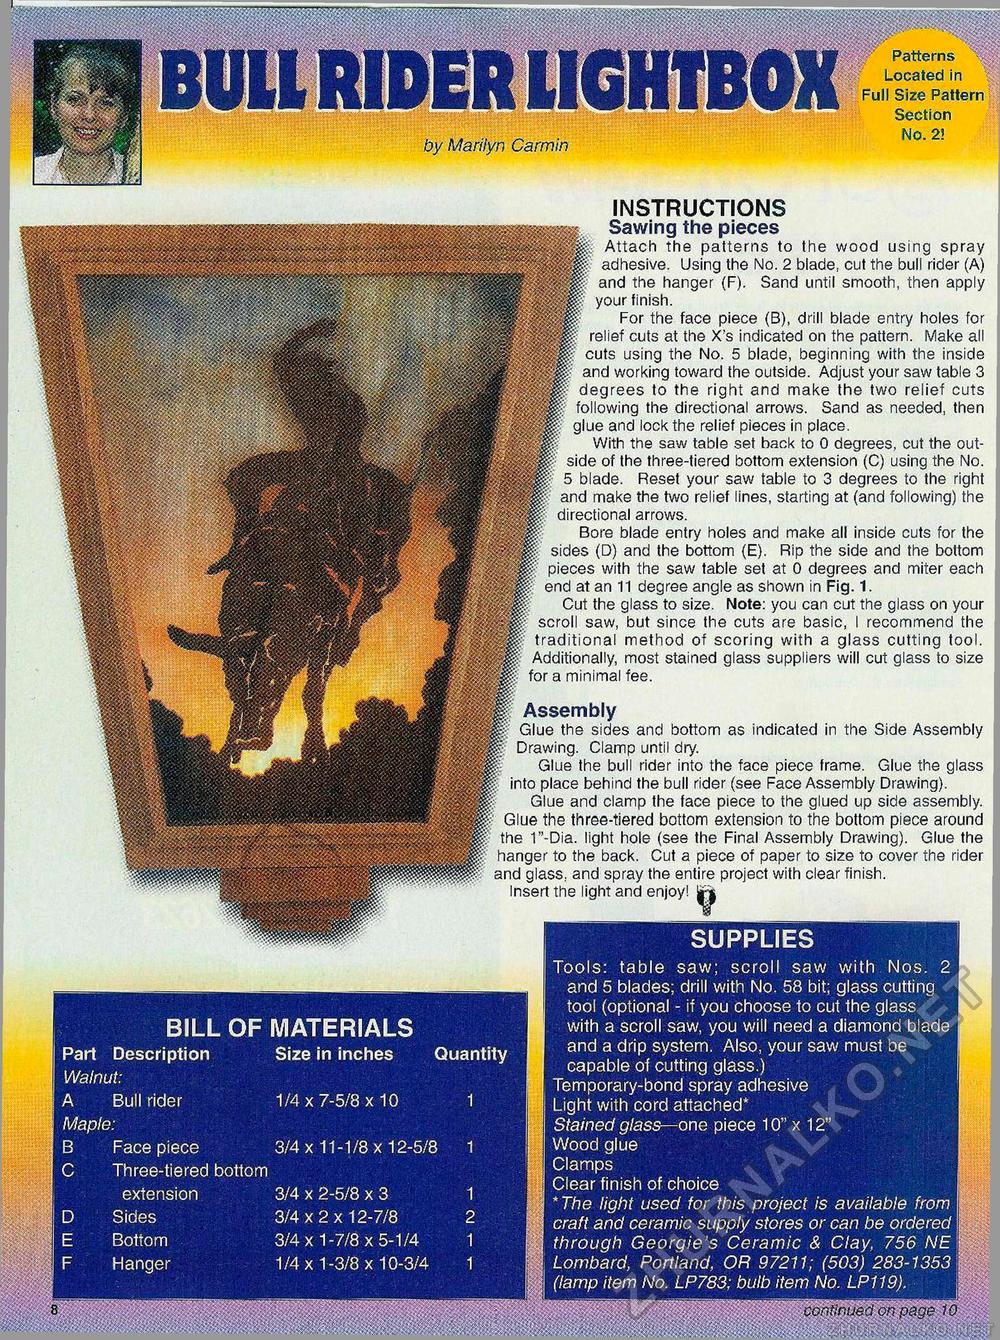
BULL RIDER LIGHTBOXby Marilyn Carmin Patterns Located in Full Size Pattern Section No. 2! continued on page 10 BILL OF MATERIALS Part Description Size in inches Quantity Walnut: A Bull rider 1/4x7-5/8x10 1 Maple: B Face piece 3/4 x 11-1/8 x 12-5/8 1 C Three-tiered bottom extension 3/4 x 2-5/8 x 3 1
SUPPLIES Tools: table saw; scroll saw with Nos. 2 and 5 blades; drill with No. 58 bit; glass cutting tool (optional - if you choose to cut the glass with a scroll saw, you will need a diamond blade and a drip system. Also, your saw must be capable of cutting glass.) Temporary-bond spray adhesive Light with cord attached* Stained glass— one piece 10" x 12" Wood glue Clamps Clear finish of choice *The light used for this project is available from craft and ceramic supply stores or can be ordered through Georgie's Ceramic & Clay, 756 NE Lombard, Portland, OR 97211; (503) 283-1353 (lamp item No. LP783; bulb item No. LP119). INSTRUCTIONS |l||gps§|p, Sawing the pieces Attach the patterns to the wood using spray llllllit adhesive. Using the No. 2 blade, cut the bull rider (A) $ '' I anc* the hanger (F)- Sand until smooth, then apply I your finish. £ H? £ For the face piece (B), drill blade entry holes for P $ relief cuts at the X's indicated on the pattern. Make all III' ' $ cuts using the No. 5 blade, beginning with the inside III': 1 and working toward the outside. Adjust your saw table 3 m t degrees to the right and make the two relief cuts ■ P. m following the directional arrows. Sand as needed, then 9'ue and |ockthe relief pieces in place. With the saw table set hack to 0 degrees, cut the out- Piltlllt: s'c'e lhe tbree-tiered bottom extension (C) using the No. |lp|® 5 blade. Reset your saw table to 3 degrees to the right ' Wm f anc' rnake the two relief lines, starting at (and following) the directional arrows. Bore blade entry holes and make all inside cuts for the sides (D) and the bottom (E). Rip the side and the bottom Wmmf: pieces with the saw table set at 0 degrees and miter each HHp? end at an 11 degree angle as shown in Fig. 1. W4m. Cut the glass to size. Note: you can cut the glass on your Pl|||f scroll saw, but since the cuts are basic, I recommend the traditional method of scoring with a glass cutting tool. (ftp Additionally, most stained glass suppliers will cut glass to size Ipl for a minimal fee. HBS m Assembly Glue the sides and bottom as indicated in the Side Assembly P?- Drawing. Clamp until dry. Glue the bull rider into the face piece frame. Glue the glass | into place behind the bull rider (see Face Assembly Drawing). Glue and clamp the face piece to the glued up side assembly. ? Glue the three-tiered bottom extension to the bottom piece around the 1"-Dia. light hole (see the Final Assembly Drawing). Glue the hanger to the back. Cut a piece of paper to size to cover the rider and glass, and spray the entire project with clear finish. Insert the light and enjoy! |


