Creative Woodworks & crafts 2001-06, страница 24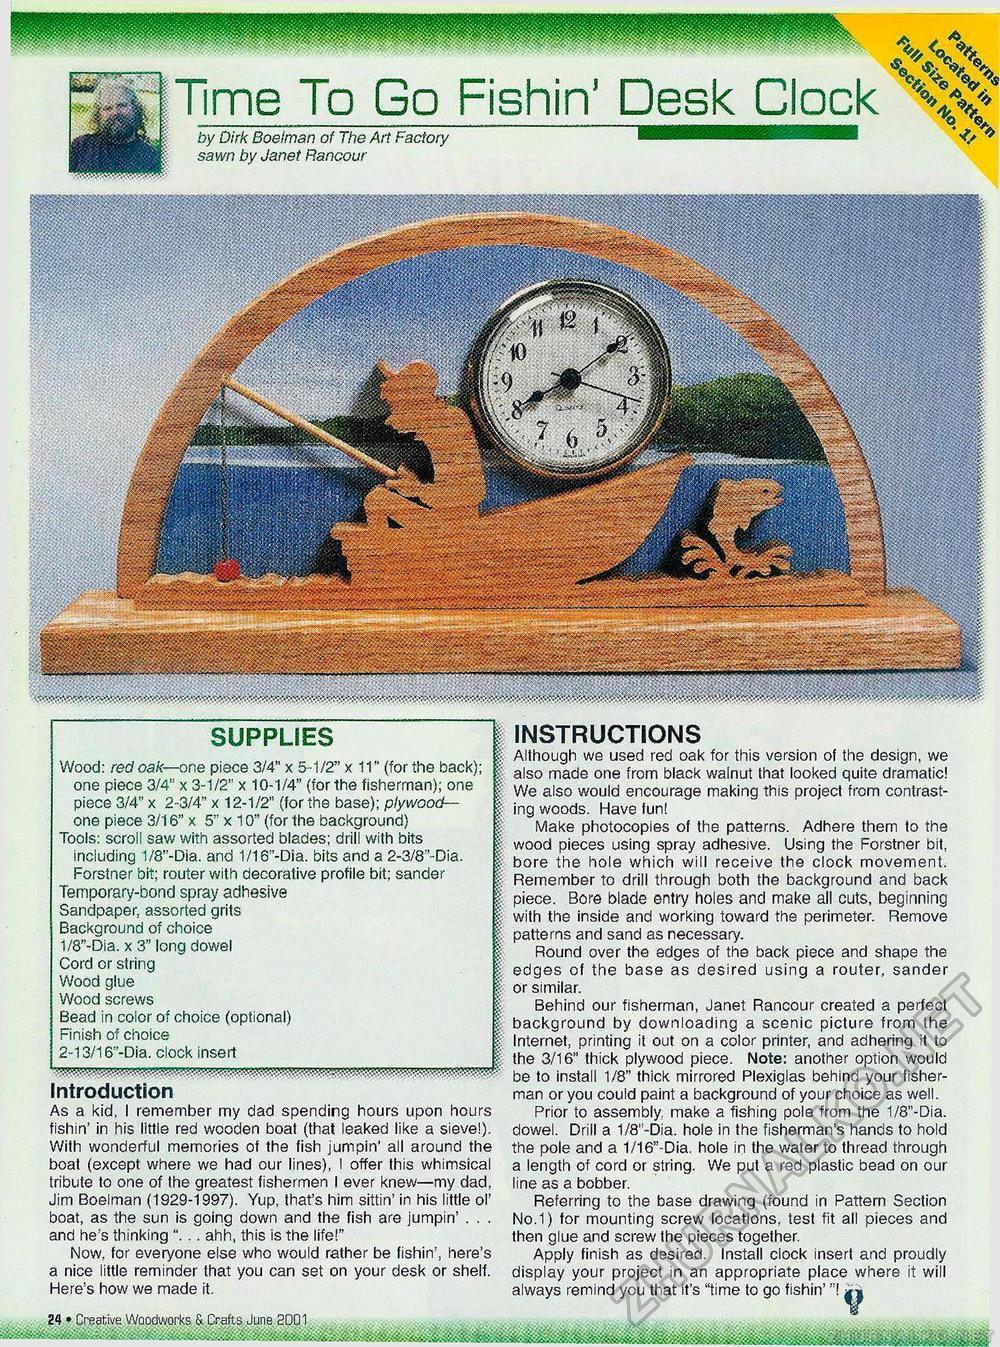
Time To Go Fishin' Desk Clock by Dirk Boeiman of The Art Factory sawn by Janet Rancour SUPPLIES Wood: red oak—one piece 3/4" x 5-1/2" x 11" (for the back); £ one piece 3/4" x 3-1/2" x 10-1/4" (for the fisherman); one % piece 3/4" x 2-3/4" x 12-1/2" (for the base); plywood— one piece 3/16" x 5" x 10" (for the background) % Tools: scroll saw with assorted blades; drill with bits including 1/8"-Dia. and 1/16"-Dia. bits and a 2-3/8'-Dia. I Forstner bit; router with decorative profile bit; sander Temporary-bond spray adhesive | Sandpaper, assorted grits % Background of choice % 1/8"-Dia. x 3" long dowel | Cord or string | Wood glue | Wood screws | Bead in color of choice (optional) if Finish of choice | 2-13/16"-Dia. clock insert | Introduction As a kid, I remember my dad spending hours upon hours fishin' in his little red wooden boat (that leaked like a sieve!). With wonderful memories of the fish jumpin' all around the boat (except where we had our lines), I offer this whimsical tribute to one of the greatest fishermen I ever knew—my dad, Jim Boeiman (1929-1997). Yup, that's him sittin' in his little oF boat, as the sun is going down and the fish are jumpin' . . . and he's thinking ". . . ahh, this is the life!" Now, for everyone else who would rather be fishin', here's a nice little reminder that you can set on your desk or shelf. Here's how we made it. IB * Creative Woodworks S. drafts June 2001 INSTRUCTIONS Although we used red oak for this version of the design, we also made one from black walnut that looked quite dramatic! We also would encourage making this project from contrasting woods. Have fun! Make photocopies of the patterns. Adhere them to the wood pieces using spray adhesive. Using the Forstner bit, bore the hole which will receive the clock movement. Remember to drill through both the background and back piece. Bore blade entry holes and make all cuts, beginning with the inside and working toward the perimeter. Remove patterns and sand as necessary. Round over the edges of the back piece and shape the edges of the base as desired using a router, sander or similar. Behind our fisherman, Janet Rancour created a perfect background by downloading a scenic picture from the Internet, printing it out on a color printer, and adhering it to the 3/16" thick plywood piece. Note: another option would be to install 1/8" thick mirrored Plexiglas behind your fisherman or you could paint a background of your choice as well. Prior to assembly make a fishing pole from the 1/8"-Dia. dowel. Drill a 1/8"-Dia. hole in the fisherman's hands to hold the pole and a 1/16"-Dia. hole in the water to thread through a length of cord or string. We put a red plastic bead on our line as a bobber. Referring to the base drawing (found in Pattern Section No.1) for mounting screw locations, test fit all pieces and then glue and screw the pieces together. Apply finish as desired. Install clock insert and proudly display your project in an appropriate place where it will always remind you that it's "time to go fishin'"! ^ |


