Creative Woodworks & crafts 2001-06, страница 47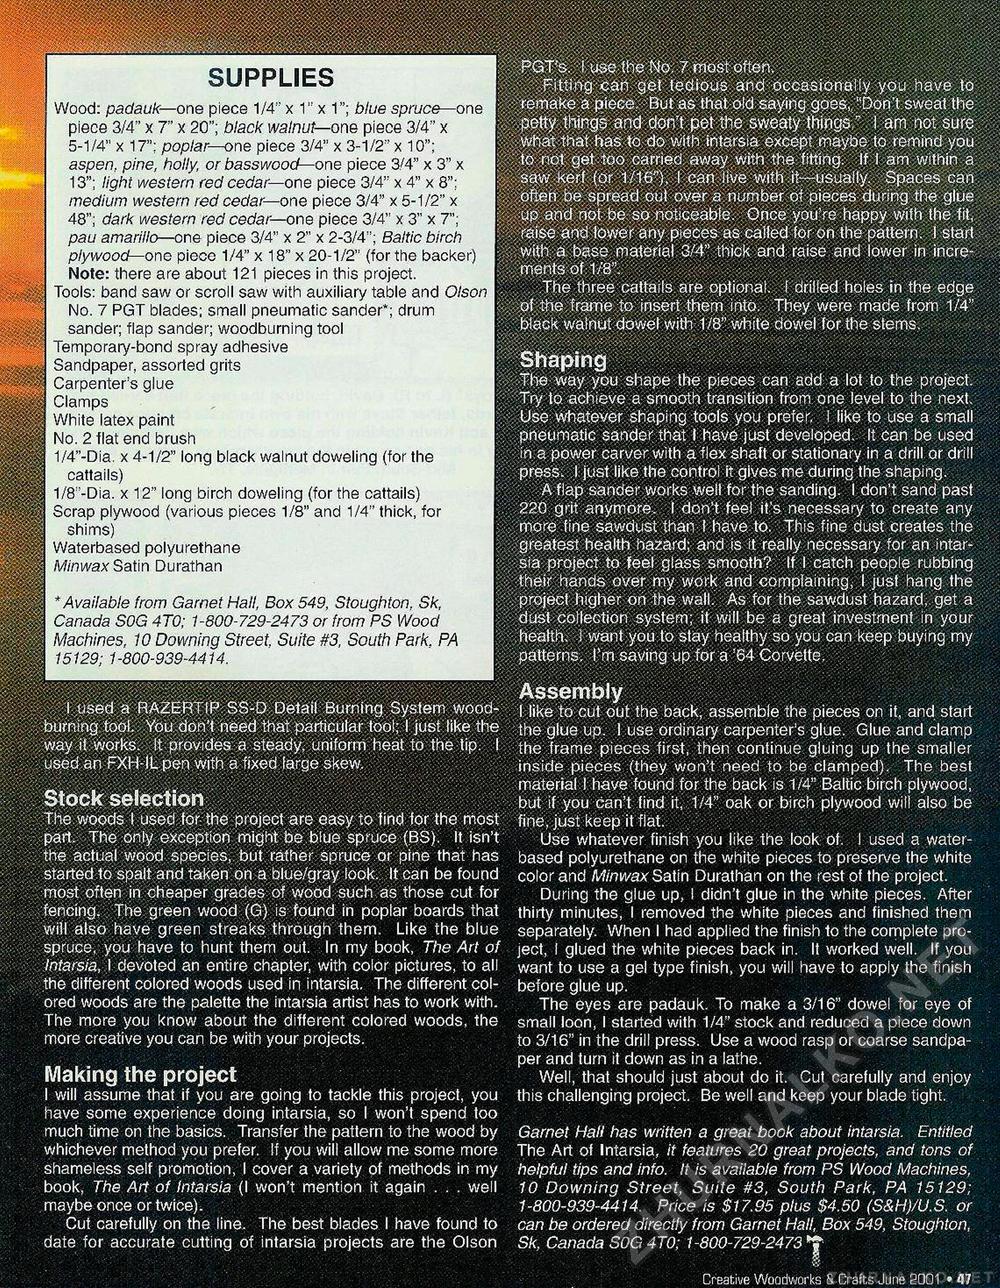
liPI? • •••••• SUPPLIES Wood: padauk— one piece 1/4" x 1" x 1"; h/ue spruce—one piece 3/4" x 7" x 20"; black walnut—one piece 3/4" x 5-1/4" x 17"; poplar—one piece 3/4" x 3-1/2" x 10"; aspen, pine, holly, or basswood— one piece 3/4" x 3" x 13"; light western red cedar— one piece 3/4" x 4" x 8": medium western red cedar—one piece 3/4" x 5-1/2" x 48"; dark western red cedar— one piece 3/4" x 3" x 7"; pau amariilo—one piece 3/4" x 2" x 2-3/4"; Baltic birch plywood— one piecc 1/4" x 18" x 20-1/2" (for the backer) Note: there are about 121 pieces in this project. Tools: band saw or scroll saw with auxiliary table and Olson No. 7 PGT blades; small pneumatic sander*; drum sander; flap sander; woodburning tool Temporary-bond spray adhesive Sandpaper, assorted grits Carpenter's glue Clamps White latex paint No. 2 flat end brush 1/4"-Dia. x 4-1/2" long black walnut doweling (for the cattails) 1/8"-Dia. x 12" long birch doweling (for the cattails) Scrap plywood (various pieces 1/8" and 1/4" thick, for shims) Waterbased polyurethane Minwax Satin Durathan * Available from Garnet Hall, Box 549, Stoughton. Sk, Canada SOG 4T0; 1-800-729-2473 or from PS Wood Machines, 10 Downing Street. Suite #3, South Park. PA 15129; 1-800-939-4414. get tediou^ancf joccastSnaily you have to remake a piece. But as that old saying goes, "Don t sweat the r * petty things.and don't pet the sweaty things." I am. not sore C;: what that has to do with intarsia except maybe to remind you to not get too carried away with the fitting. If 1 am within a . saA'^kerf (or: 1/16"). I .cph live w.ifH.ih-usually.. Spaces can often be spread out over a number of pieces during the glue |• tip and be so noticeable. Once you're happy with the fit, raise and lower any pieces as:called for on the pattern. T start with: a base material 3/4" thick and raise and lower in increments of 1/8". :. The three cattails are optional, ( drilled holes in the edge of the,frame to insert them into. They were made from 1/4" black walnut dowel with i/8" white dowel for the stems. Shaping The way you shape the pieces can add a lot to the project. Try to achieve a smooth transition from one level to the next. - Use whatever shaping tools you prefer. I like to use a small pneumatic sander that I have just developed, it can be used in a power carver with a flex shaft or stationary in a drill or drill press, I just like the control it gives me during the shaping. A flap sander works well for the sanding. I don't sand past 220 grit anymore. I don't feel it's necessary to create any more line sawdust; than I have to. This fine dust creates the greatest health hazard; and is it really necessary for an intar-sia project to feel glass smooth? If I catch people rubbing their hands over my work and complaining, I jusf hang the project higher on the wall. As for the sawdust hazard, get a dust collection system; it will be a great investment in your health, J want you to stay healthy so you can keep buying my patterns. I'm saving up for a '64 Corvette. I used a RAZERTIP SS-D Detail Burning System wood-burning tool.. You don't need that particular tool; I just like the way it works. It provides a steady, uniform heat to the tip. I used an FXH-JL pen with a fixed large skew. Stock selection The woods I used for the project are easy to find for the most pan. The only exception might be blue spruce (BS). It isn't the actual wood species, but rather spruce or pine that has started to spait and taken on a blue/gray look. It can be found most often in cheaper grades of wood such as those cut for fencing. The green wood (G) is found in poplar boards that will also have green streaks through them. Like the blue spruce, you have to hunt them out. In my book, The Art of Intarsia, I devoted an entire chapter, with color pictures, to all the different colored woods used in intarsia. The different colored woods are the palette the intarsia artist has to work with. The more you know about the different colored woods, the more creative you can be with your projects. Making the project l will assume that if you are going to tackle this project, you have some experience doing intarsia, so I won't spend too much time on the basics. Transfer the pattern to the wood by whichever method you prefer. If you will allow me some more shameless self promotion, I cover a variety of methods in my book, The Art of Intarsia (I won't mention it again . . . well maybe once or twice). Cut carefully on the line. The best blades I have found to date for accurate cutting of intarsia projects are the Olson Assembly I like to cut out the back, assemble the pieces on it, and start the glue up. I use ordinary carpenter's glue. Glue and clamp the frame pieces first, then continue gluing up the smaller inside pieces (they won't need to be clamped). The best material I have found for the back is 1/4" Baltic birch plywood, but if you can't find it, 1/4" oak or birch plywood will also be fine, just keep it flat. Use whatever finish you like the look of. I used a water-based polyurethane on the white pieces to preserve the white color and Minwax Satin Durathan on the rest of the project. During the glue up, I didn't glue in the white pieces. After thirty minutes, I removed the white pieces and finished them separately. When I had applied the finish to the complete project, I glued the white pieces back in. It worked well. If you want to use a gel type finish, you will have to apply the finish before glue up. The eyes are padauk. To make a 3/16" dowel for eye of small loon, I started with 1/4" stock and reduced a piece down to 3/16" in the drill press. Use a wood rasp or coarse sandpaper and turn it down as in a lathe. Well, that should just about do it. Cut carefully and enjoy this challenging project. Be well and keep your blade tight. Garnet Hall has written a great book about intarsia. Entitled The Art of Intarsia, it features 20 great projects, and tons of helpful tips and info. It is available from PS Wood Machines, 10 Downing Street, Suite #3, South Park, PA 15129; 1-800-939-4414. Price is $17.95 plus $4.50 (S&H)/U.S. or can be ordered directly from Garnet Hall, Box 549, Stoughton, Sk, Canada SOG 4T0; 1-800-729-2473 Creative Woodworks S Crafts June 2001 • 47 |


