Creative Woodworks & crafts 2001-08, страница 31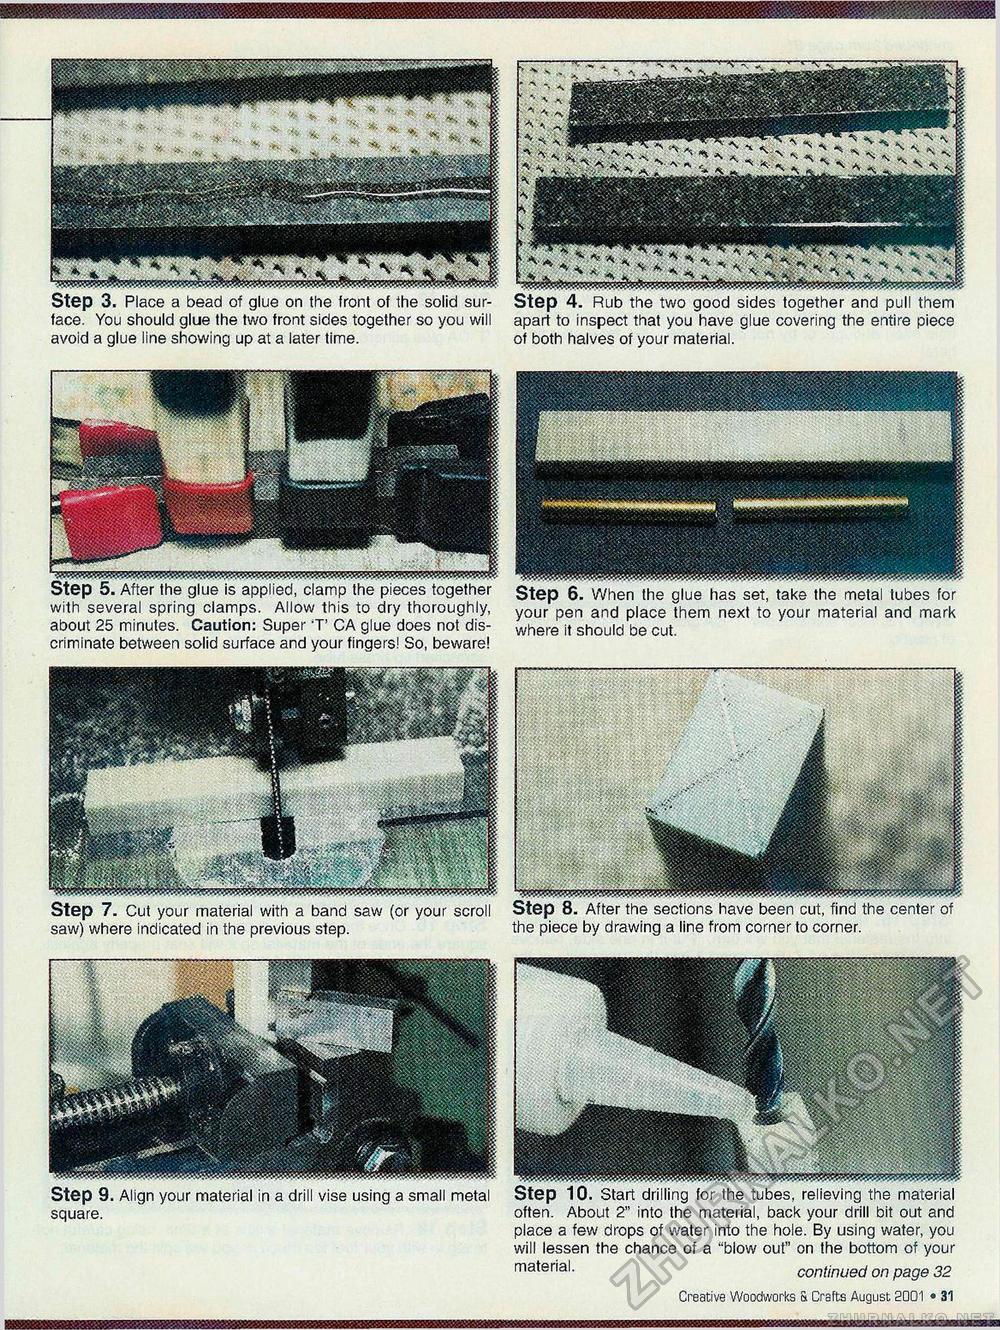
4. Rub the two good sides together and pull them :o inspect that you have glue covering the entire piece ot both halves of your material. 3. Place a bead of glue on the front of the solid surface. You should glue the two front sides together so you will avoid a glue line showing up at a later time. Step 5. After the glue is applied, clamp the pieces together with several spring clamps. Allow this to dry thoroughly, about 25 minutes. Caution: Super T CA glue does not discriminate between solid surface and your fingers! So, beware! Step 7. Cut your material with a band saw (or your scroll saw) where indicated in the previous step. Step 9. Align your material in a drill vise using a small metal square. Creative Woodworks & Crafts August. 2001 • 31 Step 6. When the glue has set, take the metal tubes for your pen and place them next to your material and mark where it should be cut. Step 8. After the sections have been cut, find the center of the piece by drawing a line from corner to corner. 10. Start drilling for the tubes, relieving the material About 2" into the material, back your drill bit out and place a few drops of water into the hole. By using water, you will lessen the chance of a "blow out" on the bottom of your material ■ continued on page 32 |


