Creative Woodworks & crafts 2001-11, страница 62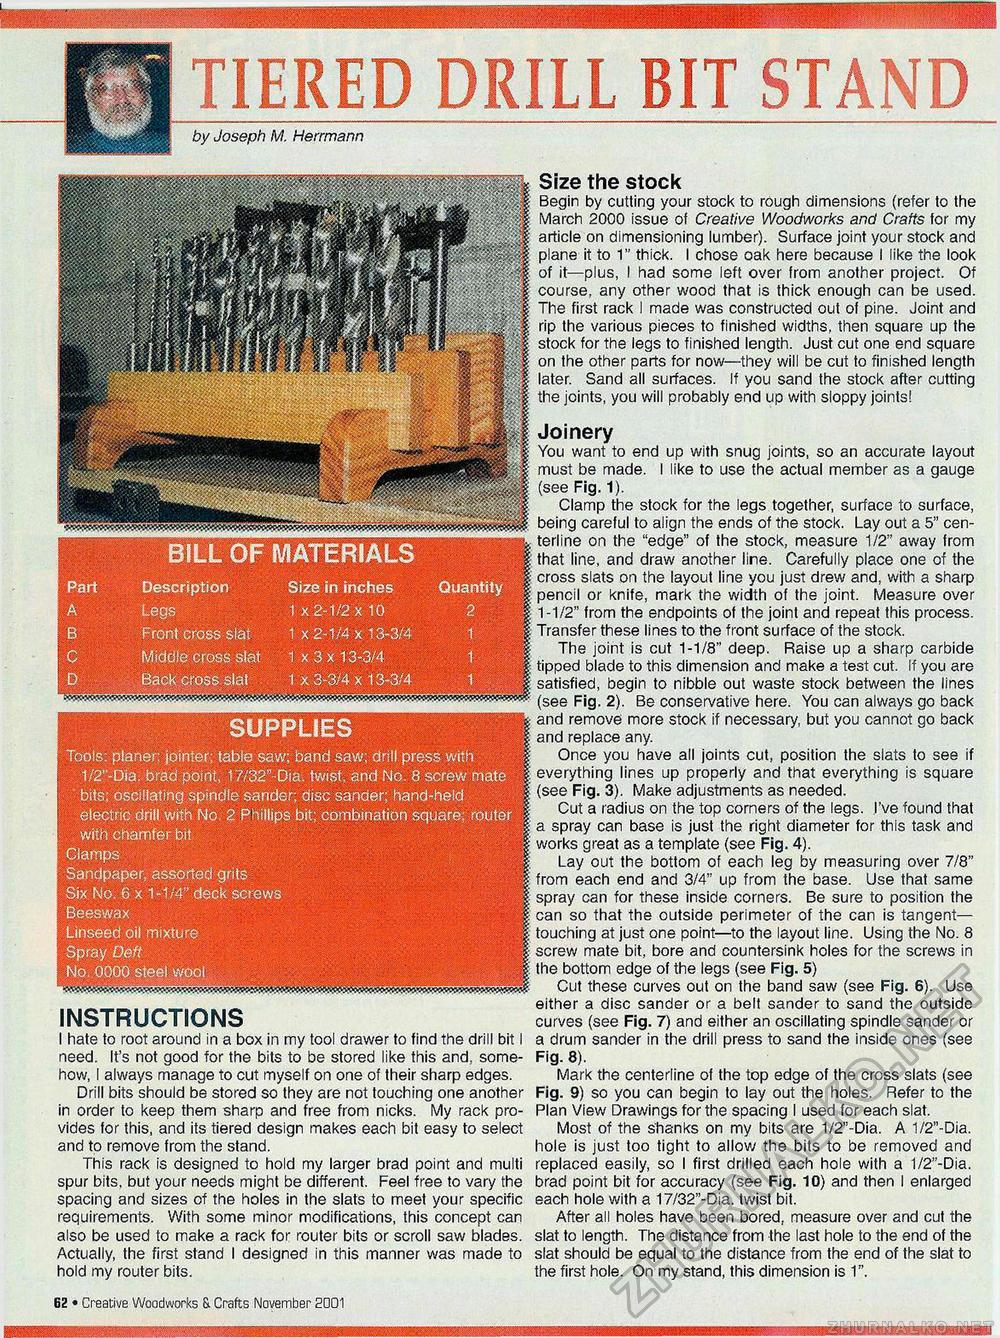
HHHMH^H
DRILL BIT STAND SUPPLIES Tools: planer; jointer; table saw; band saw; drill press with 1/2"~Dia brad point, 17/32"-Dia. twist, and No. 8 screw mate bits; oscillating spindle sander; disc sander; hand-held electric drill with No. 2 Phillips bit; combination square; router with chamfer bit Clamps Sandpaper, assorted grits Six No. 6 x 1-1/4" deck screws Beeswax Linseed oil mixture Spray Deft No. 0000 steel wool INSTRUCTIONS I hate to root around in a box in my tool drawer to find the drill bit I need. It's not good for the bits to be stored like this and, somehow, I always manage to cut myself on one of their sharp edges. Drill bits should be stored so they are not touching one another in order to keep them sharp and free from nicks. My rack provides for this, and its tiered design makes each bit easy to select and to remove from the stand. This rack is designed to hold my larger brad point and multi spur bits, but your needs might be different. Feel free to vary the spacing and sizes of the holes in the slats to meet your specific requirements. With some minor modifications, this concept can also be used to make a rack for router bits or scroll saw blades. Actually, the first stand I designed in this manner was made to hold my router bits. BILL OF MATERIALS Description Legs Front cross slat Middle cross slat Back cross slat Size in inches 1 x 2-1/2 x 10 1 x 2-1/4x13-3/4 1x3x13-3/4 1 x 3-3/4 x 13-3/4 Size the stock Begin by cutting your stock to rough dimensions (refer to the March 2000 issue of Creative Woodworks and Crafts for my article on dimensioning lumber). Surface joint your stock and plane it to 1" thick. I chose oak here because I like the look of it—plus, I had some left over from another project. Of course, any other wood that is thick enough can be used. The first rack I made was constructed out of pine. Joint and rip the various pieces to finished widths, then square up the stock for the legs to finished length. Just cut one end square on the other parts for now—they will be cut to finished length later. Sand all surfaces. If you sand the stock after cutting the joints, you will probably end up with sloppy joints! Joinery You want to end up with snug joints, so an accurate layout must be made. I like to use the actual member as a gauge (see Fig. 1). Clamp the stock for the legs together, surface to surface, being careful to align the ends of the stock. Lay out a 5" cen-terline on the "edge" of the stock, measure 1/2" away from that line, and draw another line. Carefully place one of the cross slats on the layout line you just drew and, with a sharp pencil or knife, mark the width of the joint. Measure over 1-1/2" from the endpoints of the joint and repeat this process. Transfer these lines to the front surface of the stock. The joint is cut 1-1/8" deep. Raise up a sharp carbide tipped blade to this dimension and make a test cut. If you are satisfied, begin to nibble out waste stock between the lines (see Fig. 2). Be conservative here. You can always go back and remove more stock if necessary, but you cannot go back and replace any. Once you have all joints cut, position the slats to see if everything lines up properly and that everything is square (see Fig. 3). Make adjustments as needed. Cut a radius on the top corners of the legs. I've found that a spray can base is just the right diameter for this task and works great as a template (see Fig. 4). Lay out the bottom of each leg by measuring over 7/8" from each end and 3/4" up from the base. Use that same spray can for these inside corners. Be sure to position the can so that the outside perimeter of the can is tangent— touching at just one point—to the layout line. Using the No. 8 screw mate bit, bore and countersink holes for the screws in the bottom edge of the legs (see Fig. 5) Cut these curves out on the band saw (see Fig. 6). Use either a disc sander or a belt sander to sand the outside curves (see Fig. 7) and either an oscillating spindle sander or a drum sander in the drill press to sand the inside ones (see Fig. 8). Mark the centerline of the top edge of the cross slats (see Fig. 9) so you can begin to lay out the holes. Refer to the Plan View Drawings for the spacing I used for each slat. Most of the shanks on my bits are 1/2"-Dia. A 1/2"-Dia. hole is just too tight to allow the bits to be removed and replaced easily, so I first drilled each hole with a 1/2"-Dia. brad point bit for accuracy (see Fig. 10) and then I enlarged each hole with a 17/32"-Dia. twist bit. After all holes have been bored, measure over and cut the slat to length. The distance from the last hole to the end of the slat should be equal to the distance from the end of the slat to the first hole. On my stand, this dimension is 1". Quantity 2 62 • Creative Woodworks & Crafts November 2001 continued on page 18 |
|||||||||||||||||||||


