Creative Woodworks & crafts 2002-01, страница 16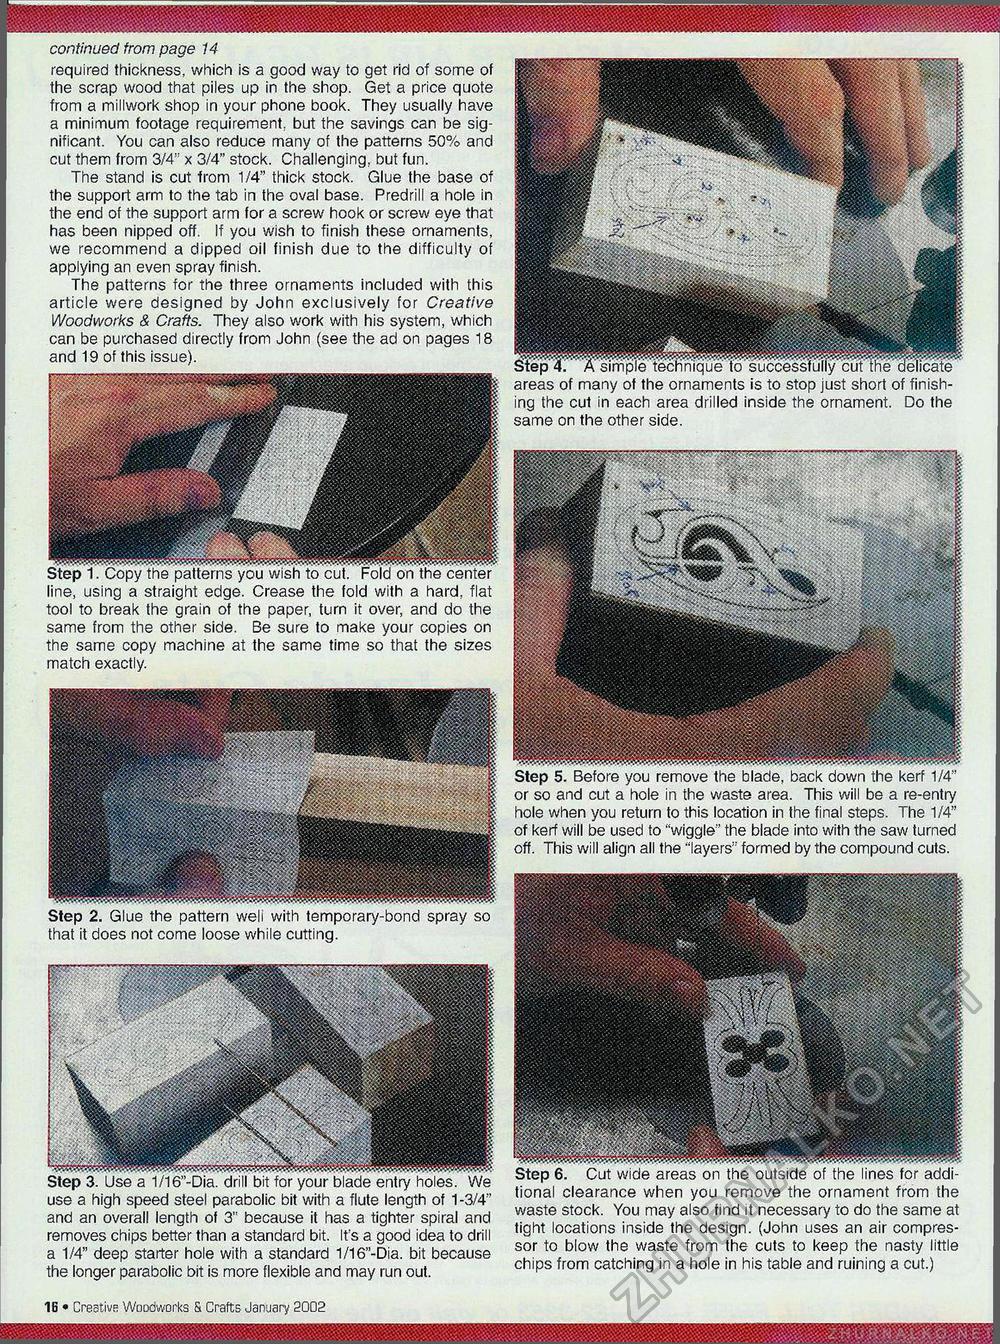
continued from page 14 required thickness, which is a good way to get rid of some of the scrap wood that piles up in the shop. Get a price quote from a millwork shop in your phone book. They usually have a minimum footage requirement, but the savings can be significant. You can also reduce many of the patterns 50% and cut them from 3/4" x 3/4" stock. Challenging, but fun. The stand is cut from 1/4" thick stock. Glue the base of the support arm to the tab in the oval base. Predrill a hole in the end of the support arm for a screw hook or screw eye that has been nipped off. If you wish to finish these ornaments, we recommend a dipped oil finish due to the difficulty of applying an even spray finish. The patterns for the three ornaments included with this article were designed by John exclusively for Creative Woodworks & Crafts. They also work with his system, which can be purchased directly from John (see the ad on pages 18 and 19 of this issue). wivf/ i • v^wjjjr li io i iv? y vw «» hji ■ iv/ v/uu i wiu vi i «•■ iv/ v^wI ILWI line, using a straight edge. Crease the fold with a hard, flat tool to break the grain of the paper, turn it over, and do the same from the other side. Be sure to make your copies on the same copy machine at the same time so that the sizes match exactly. Step 2. Glue the pattern weli with temporary-bond spray so that it does not come loose while cutting. use a high speed steel parabolic bit with a flute length of 1 -3/4 and an overall length of 3" because it has a tighter spiral and removes chips better than a standard bit. It's a good idea to drill a 1/4" deep starter hole with a standard 1/16"-Dia. bit because the longer parabolic bit is more flexible and may run out. areas of many of the ornaments is to stop just short of finishing the cut in each area drilled inside the ornament. Do the same on the other side. or so and cut a hole in the waste area. This will be a re-entry hole when you return to this location in the final steps. The 1/4" of kerf will be used to "wiggle" the blade into with the saw turned off. This will align all the "layers" formed by the compound cuts. tional clearance when you remove the ornament from the waste stock. You may also find it necessary to do the same at tight locations inside the design. (John uses an air compressor to blow the waste from the cuts to keep the nasty little chips from catching in a hole in his table and ruining a cut.) Creative Woodworks S. Crafts January 2002 • 16 |


