Creative Woodworks & crafts 2002-06, страница 53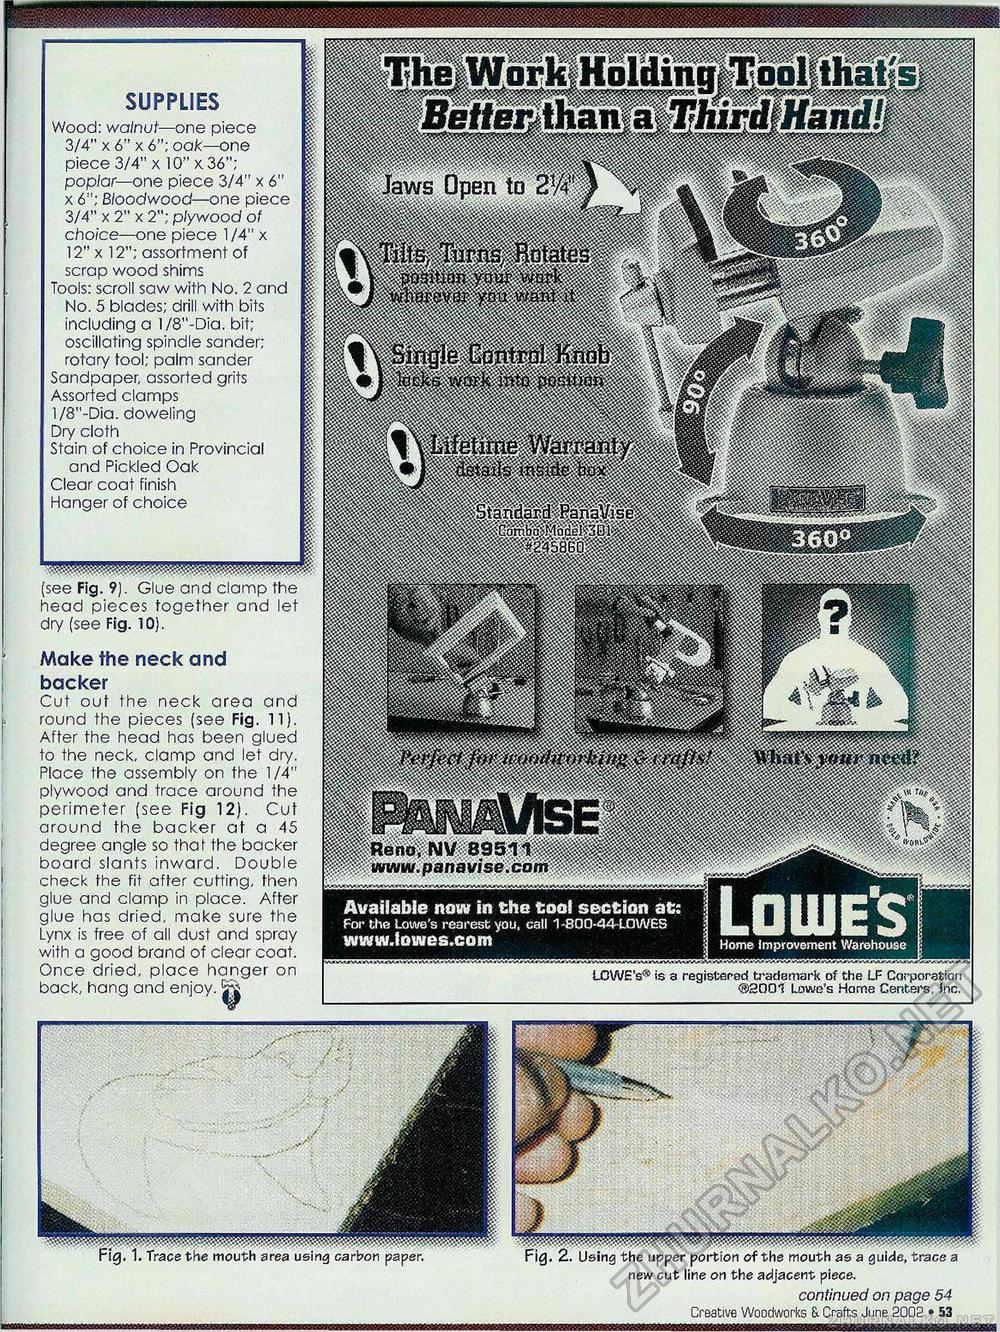
Ldujes Home Improvement Warehouse " The Work Holdiiig Tool that s I I ~ Be^^^^l^mMM Jaws Open to 2V4' ) s , \ M j|| m c, mmm - * MMM iiiiiililtii»ii Reno.NV 89511 www.panavise.com LOWE'S® is a registered trademark of the LF Corporation ®20Q1 Lowe's Home Centers, !nc. SUPPLIES Wood: walnut—one piece 3/4" x 6" x 6"; oak—one piece 3/4" x I0"x36"; poplar— one piece 3/4" x 6" x 6"; Bloodwood—one piece 3/4" x 2" x 2"; plywood of choice—one piece I /4" x 12" x 12"; assortment of scrap wood shims Tools: scroll saw with No. 2 and No. 5 blades; drill with bits including a l/8"-Dia. bit; oscillating spindle sander; rotary tool; palm sander Sandpaper, assorted grits Assorted clamps l/8"-Dia. doweling Dry cloth Stain of choice in Provincial and Pickled Oak Clear coat finish Hanger of choice (see Fig. 9). Glue and clamp the head pieces together and let dry (see Fig. 10). Make the neck and backer Cut out the neck area and round the pieces (see Fig. 11). After the head has been glued to the neck, clamp and let dry. Place the assembly on the 1/4" plywood and trace around the perimeter (see Fig 12). Cut around the backer at a 45 degree angle so that the backer board slants inward. Double check the fit after cutting, then glue and clamp in place. After glue has dried, make sure the Lynx is free of all dust and spray with a good brand of clear coat. Once dried, place hanger on back, hang and enjoy. Available now in the tool section at: For the Lowe's rearest you, call 1-80O-44-LOWES . Z. Using the upper portion of the mouth as a guide, trace a new cut lire on the adjacent piece. continued on page 54 Creative Woodworks & Crafts June 2002 • 53 Fig, 1. Trace the mouth area using carbon paper. |


