Creative Woodworks & crafts 2002-06, страница 52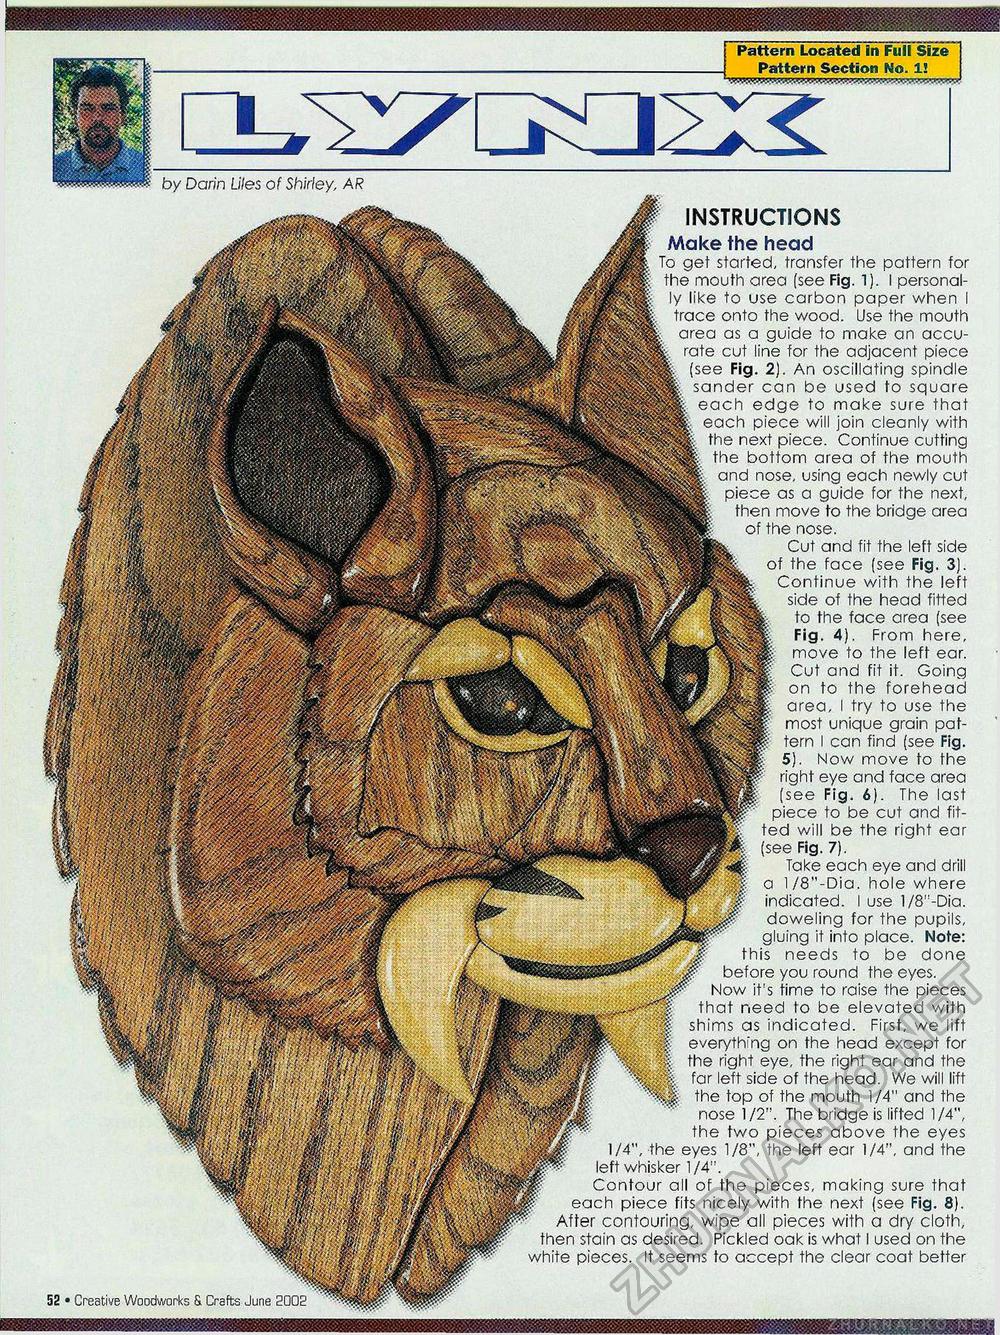
Patterns Located in Full Size Pattern Section No. 1! 52 • Creative Woodworks & Crafts June 2002 INSTRUCTIONS Make the head To get started, transfer the pattern for the mouth area (see Fig. 1). I personally like to use carbon paper when I trace onto the wood. Use the mouth area as a guide to make an accurate cut line for the adjacent piece (see Fig. 2). An oscillating spindle sander can be used to square each edge to make sure that each piece will join cleanly with the next piece. Continue cutting the bottom area of the mouth and nose, using each newly cut piece as a guide for the next, then move to the bridge area of the nose. Cut and fit the left side of the face (see Fig. 3). Continue with the left side of the head fitted to the face area (see Fig. 4). From here, move to the left ear. Cut and fit it. Going on to the forehead area, I try to use the most unique grain pattern I can find (see Fig. 5). Now move to the right eye and face area (see Fig. 6). The last piece to be cut and fitted will be the right ear (see Fig. 7). Take each eye and drill a l/8"-Dia. hole where indicated. I use 1/8"-Dia. doweling for the pupils, gluing it into place. Note: this needs to be done before you round the eyes. Now it's time to raise the pieces that need to be elevated with shims as indicated. First, we lift everything on the head except for the right eye, the right ear and the far left side of the head. We will lift the top of the mouth 1/4" and the nose 1/2". The bridge is lifted 1/4", the two pieces above the eyes 1/4", the eyes 1/8", the left ear 1/4", and the left whisker 1/4". Contour all of the pieces, making sure that each piece fits nicely with the next (see Fig. 8). After contouring, wipe all pieces with a dry cloth, then stain as desired. Pickled oak is what I used on the white pieces. It seems to accept the clear coat better by Darin Li/es of Shirley, AR |


