Creative Woodworks & crafts 2003-03, страница 55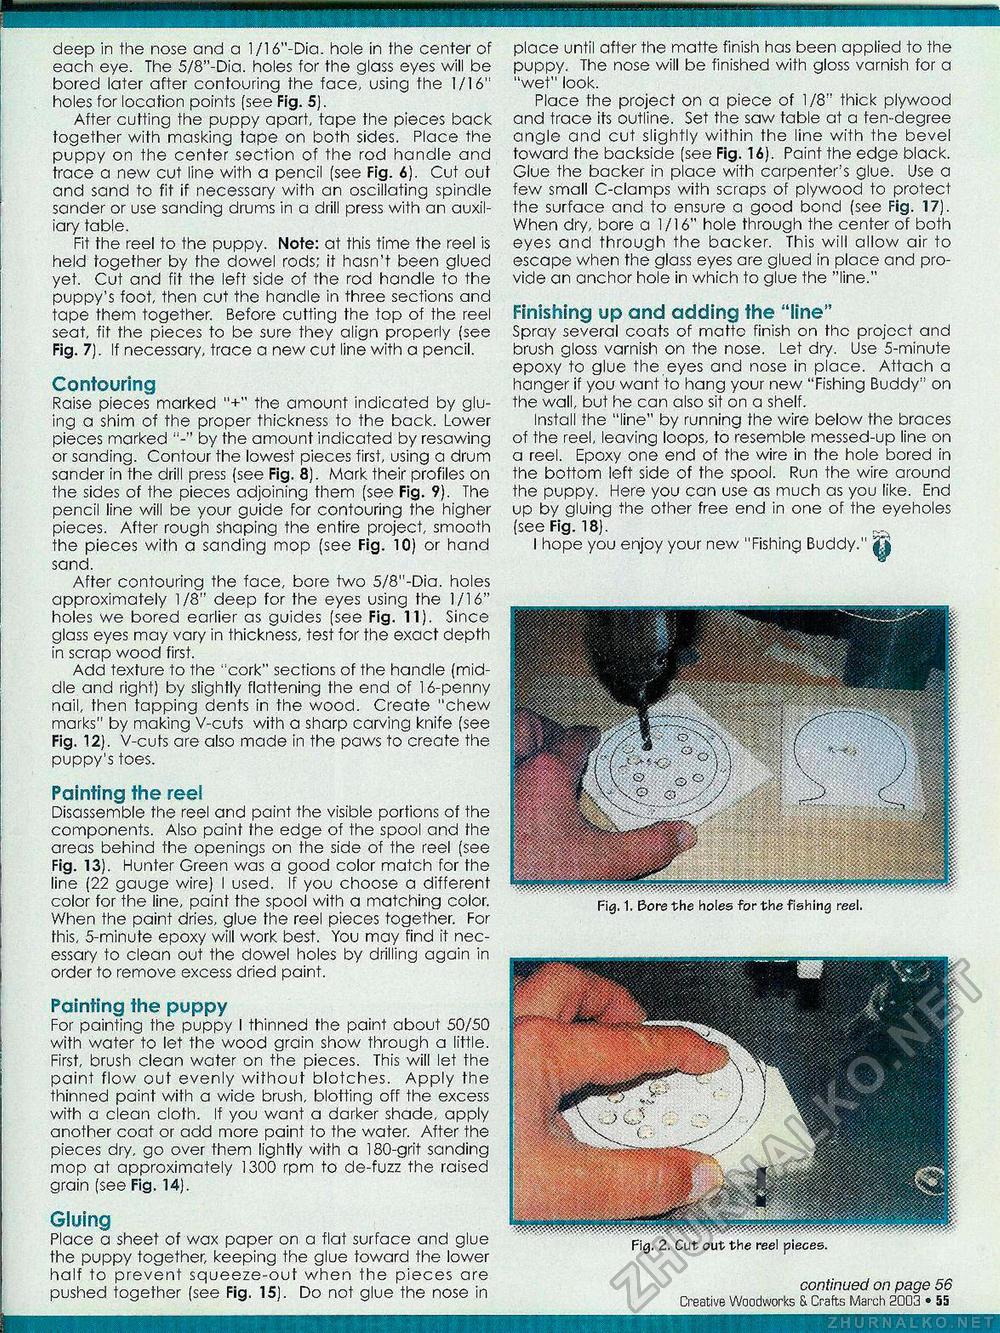
deep in the nose and a 1/16"-Dia. hole in the center of each eye. The 5/8"-Dia. holes for the glass eyes will be bored later after contouring the face, using the 1/16" holes for location points (see Fig. 5). After cutting the puppy apart, tape the pieces back together with masking tape on both sides. Place the puppy on the center section of the rod handle and trace a new cut line with a pencil (see Fig. 6). Cut out and sand to fit if necessary with an oscillating spindle sander or use sanding drums in a drill press with an auxiliary table. Fit the reel to the puppy. Note: at this time the reel is held together by fhe dowel rods; it hasn't been glued yet. Cut and fit the left side of the rod handle to the puppy's foot, then cut the handle in three sections and tape fhem together. Before cutting the top of the reel seat, fit the pieces to be sure they align properly (see Fig. 7). If necessary, trace a new cut line with a pencil. Contouring Raise pieces marked "+" the amount indicated by gluing a shim of the proper thickness to the back. Lower pieces marked "-" by the amount indicated by resawing or sanding. Contour the lowest pieces first, using a drum sander in the drill press (see Fig. 8). Mark their profiles on the sides of the pieces adjoining them (see Fig. 9). The pencil line will be your guide for contouring the higher pieces. After rough shaping the entire project, smooth the pieces with a sanding mop (see Fig. 10) or hand sand. After contouring the face, bore two 5/8"-Dia. holes approximately 1/8" deep for the eyes using the 1/16" holes we bored earlier as guides (see Fig. 11). Since glass eyes may vary in thickness, test for the exact depth in scrap wood first. Add texture to the "cork" sections of the handle (middle and right) by slightly flattening the end of 16-penny nail, then tapping dents in the wood. Create "chew marks" by making V-cuts with a sharp carving knife (see Fig. 12). V-cuts are also made in the paws to create the puppy's toes. Painting the reel Disassemble the reel and paint the visible portions of the components. Also paint the edge of the spool and the areas behind the openings on the side of the reel (see Fig. 13). Hunter Green was a good color match for the line (22 gauge wire) I used. If you choose a different color for the line, paint the spool with a matching color. When the paint dries, glue the reel pieces together. For this, 5-minute epoxy will work best. You may find it necessary to clean out the dowel holes by drilling again in order to remove excess dried paint. Painting the puppy For painting the puppy I thinned the paint about 50/50 with water to let the wood grain show through a little. First, brush clean water on the pieces. This will let the paint flow out evenly without blotches. Apply the thinned paint with a wide brush, blotting off the excess with a clean cloth. If you want a darker shade, apply another coat or add more paint to the water. After the pieces dry, go over them lightly with a 180-grit sanding mop at approximately 1300 rpm to de-fuzz the raised grain (see Fig, 14). Gluing Place a sheet of wax paper on a flat surface and glue the puppy together, keeping the glue toward the lower half to prevent squeeze-out when the pieces are pushed together (see Fig. 15). Do not glue the nose in place until after the matte finish has been applied to the puppy. The nose will be finished with gloss varnish for a "wet" look. Place the project on a piece of 1/8" thick plywood and trace its outline. Set the saw table at a ten-degree angle and cut slightly within the line with the bevel toward the backside (see Fig. 16). Paint the edge black. Glue the backer in place with carpenter's glue. Use a few small C-clamps with scraps of plywood to protect the surface and to ensure a good bond (see Fig. 17). When dry, bore a 1/16" hole through the center of both eyes and through the backer. This will allow air to escape when the glass eyes are glued in place and provide an anchor hole in which to glue the "line." Finishing up and adding the "line" Spray several coats of matte finish on the projcct and brush gloss varnish on the nose. Let dry. Use 5-minute epoxy to glue the eyes and nose in place. Attach a hanger if you want to hang your new "Fishing Buddy" on the wall, but he can also sit on a shelf. Install the "line" by running the wire below fhe braces of the reel, leaving loops, to resemble messed-up line on a reel. Epoxy one end of the wire in the hole bored in the bottom left side of the spool. Run the wire around the puppy. Here you can use as much as you like. End up by gluing the other free end in one of the eyeholes (see Fig. 18). _ I hope you enjoy your new "Fishing Buddy." | Fig. 1. Bore the holes for the fishing reel. continued on page 56 Creative Woodworks & Crafts March 2003 • 55 |


