Creative Woodworks & crafts 2003-03, страница 8
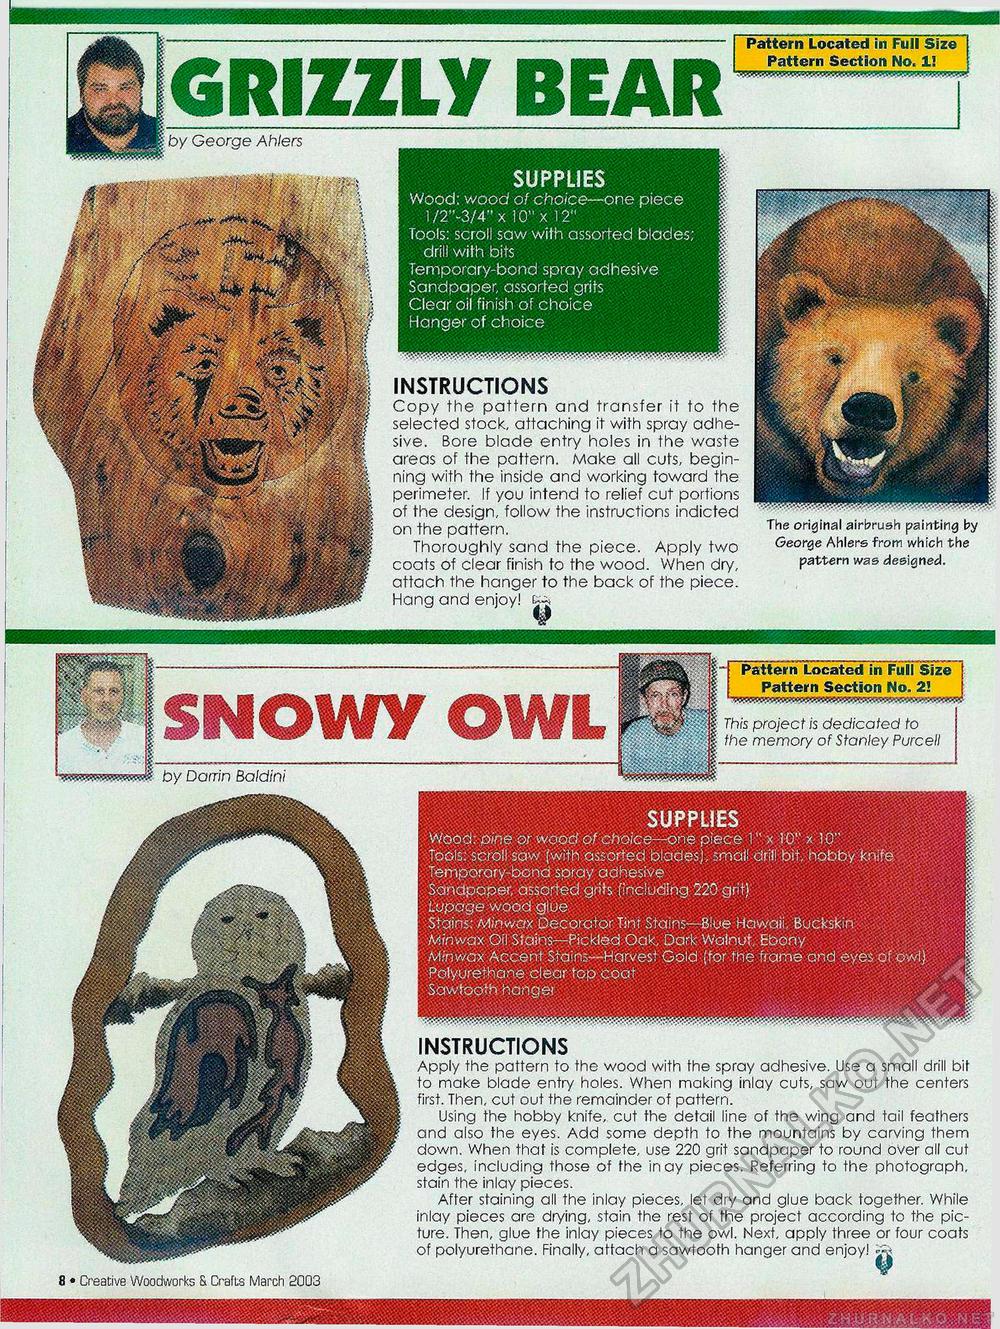
SUPPLIES Wood: pine or wood of choice—one piece % x 10" x 10" Tools: scroll saw [with assorted blades], small drill bit, hobby knife Temporary-bond spray adhesive Sdndpoper, assorted grits [including 220 grit) La page wood glue Stains: Minwax Decorator Tint Stains—Blue Hawaii, Buckskin; Mnwax Oil Stains—Pickled Oak, Dark Walnut, Ebony Minwax Accent Stains—Harvest Gold (for .the frame and eyes of owl) Polyurethane clear top coat Sawtooth hanger SUPPLIES Wood: wood of choice—one piece 1 /2"-3/4" x 10" x 12" Tools: scroll saw with assorted blades; drill with bits Temporary-bond spray adhesive Sandpaper, assorted grits Clear oil finish of choice Hanger of choice INSTRUCTIONS Copy the pattern and transfer it to the selected stock, attaching if with spray adhesive. Bore blade entry holes in the waste areas of the pattern. Make all cuts, beginning with the inside and working toward the perimeter. If you intend to relief cut portions of the design, follow the instructions indicted on the pattern. Thoroughly sand the piece. Apply two coats of clear finish to the wood. When dry, attach the hanger to the back of the piece. Hang and enjoyl ¥ ---Pattern Located in Full Size ^^ HH^fek rn mmm mmmr wm sm HI m m MMfe Pattern Section No. 1! GRIZZLY BEAR by George Ahlers The original airbrush painting by George Ahlers from which the pattern was designed. 12 • Creative Woodworks & Crafts March 2003 Base INSTRUCTIONS Apply the pattern to the wood with the spray adhesive. Use a small drill bit to make blade entry holes. When making inlay cuts, saw out the centers first. Then, cut out the remainder of pattern. Using the hobby knife, cut the detail line of the wing and tail feathers and also the eyes. Add some depth to the mountains by carving them down. When that is complete, use 220 grit sandpaper to round over all cut edges, including those of fhe in ay pieces. Referring to the photograph, stain the inlay pieces. After staining all the inlay pieces, let dry and glue back together. While inlay pieces are drying, stain the rest of the project according to the picture. Then, glue the inlay pieces to the owl. Next, apply three or four coats of polyurethane. Finally, attach a sawtooth hanger and enjoy! jSj by Damn Baldini Pattern Located in Full Size Pattern Section No. 2! mmmivm^um mum aamiBimwmin IIUI mwiiwiiwnioiaiwwHM This project is dedicated to fhe memory of Stanley Purcell |


