Creative Woodworks & crafts 2003-04, страница 14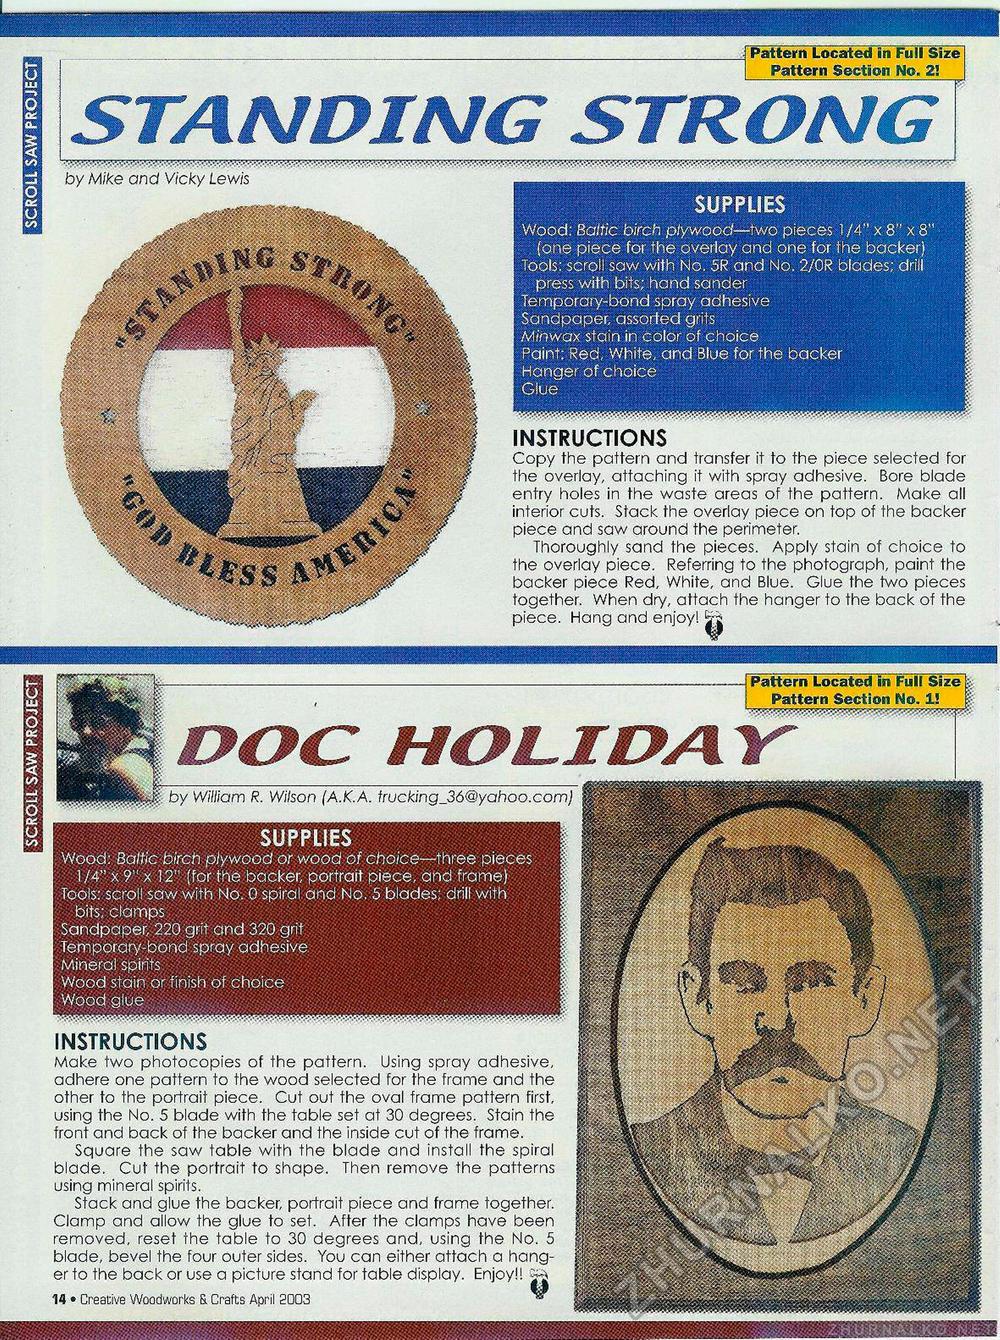
SUPPLIES Wood: Baltic birch plywood or wood of choice—three pieces 1/4" x 9" x 12" (for the backer, portrait piece, and frame) Tools: scroll saw with No. 0 spiral and No. 5 blades; drill with bits; clamps Sandpaper, 220 grit and 320 grit Temporary-bond spray adhesive Mineral spirits Wood stain or finish of choice Wood glue SUPPLIES Wood: Baltic birch plywood—two pieces 1/4" x 8" x 8" (one piece for the overlay and one for the backer) Tools: scroll saw with No. 5R and No. 2/OR blades; drill press with bits; hand sander Temporary-bond spray adhesive Sandpaper, assorted grifs Minwax stain in color of choice Paint; Red, White, and Blue for the backer Hanger of choice Glue INSTRUCTIONS Copy the pattern and transfer it to the piece selected for the overlay, attaching it with spray adhesive. Bore blade entry holes in the waste areas of the pattern. Make all interior cuts. Stack the overlay piece on top of the backer piece and saw around the perimeter. Thoroughly sand the pieces. Apply stain of choice to the overlay piece. Referring to the photograph, paint the backer piece Red, White, and Blue. Glue the two pieces together. When dry, attach the hanger to the back of the piece. Hang and enjoy! j Pattern Located in Full Size i Pattern Section No. 1! £ aac HOL.ID/K r by William R. Wilson (A.K.A. trucking_36@yahoo.com) Pattern Located in Full Size Pattern Section No. 2! by Mike and Vicky Lewis INSTRUCTIONS Make two photocopies of the pattern. Using spray adhesive, adhere one pattern to the wood selected for the frame and the other to the portrait piece. Cut out the oval frame pattern first, using the No. 5 blade with the table set at 30 degrees. Stain the front and back of the backer and the inside cut of the frame. Square the saw table with the blade and install the spiral blade. Cut the portrait to shape. Then remove the patterns using mineral spirits. Stack and glue the backer, portrait piece and frame together. Clamp and allow the glue to set. After the clamps have been removed, reset the table to 30 degrees and, using the No. 5 blade, bevel the four outer sides. You can either attach a hanger to the back or use a picture stand for table display. Enjoy!! ^ 14 • Creative Woodworks & Crafts April 2003 " |


