Creative Woodworks & crafts 2003-04, страница 48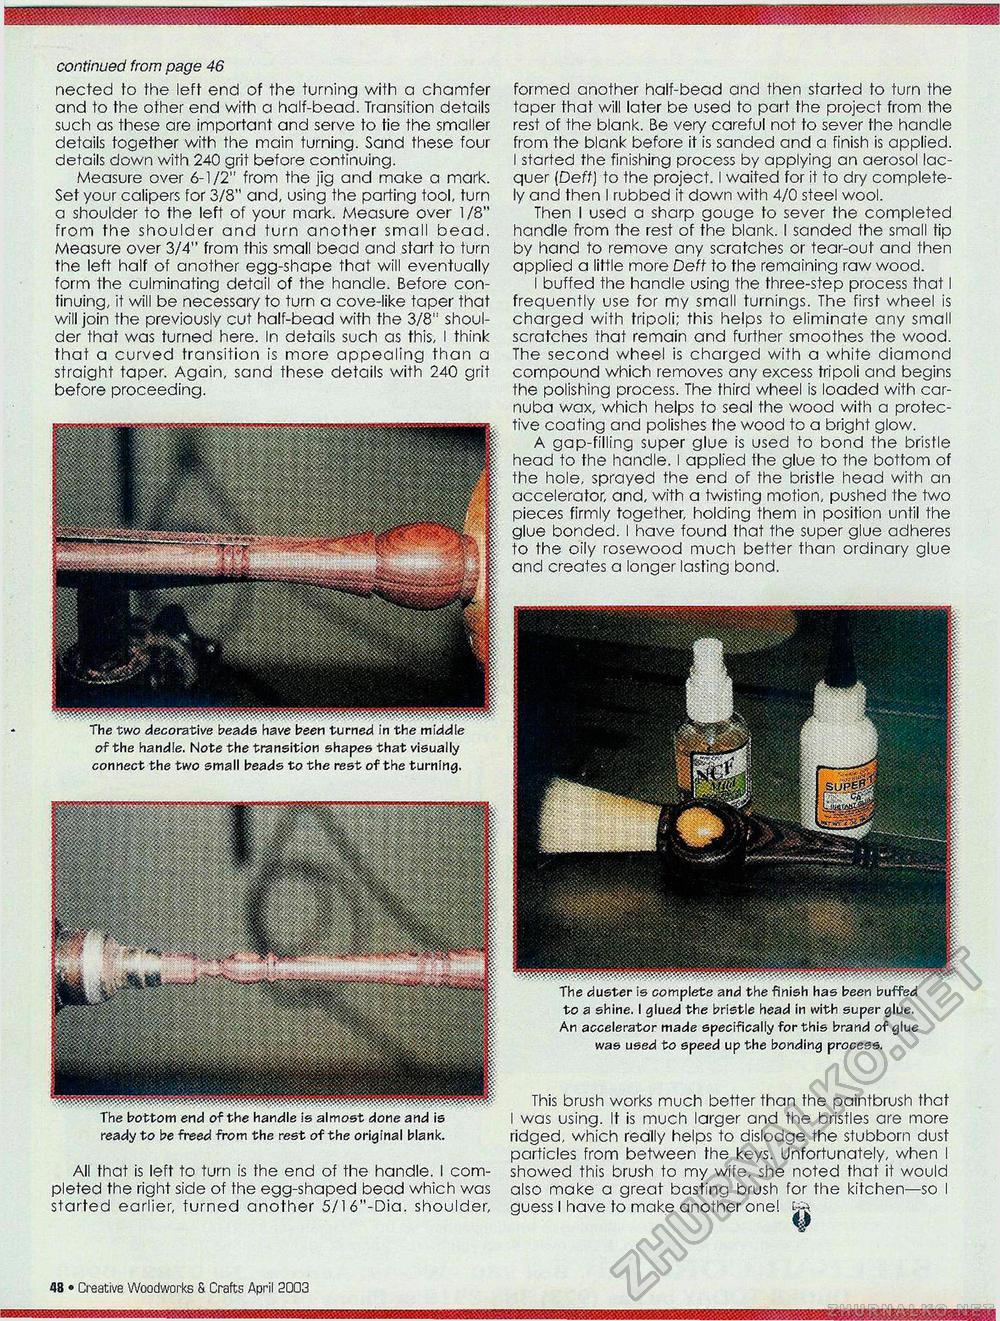
continued from page 48 nected to the left end of the turning with a chamfer and to the other end with a half-bead. Transition details such as these are important and serve to fie the smaller details together with the main turning. Sand these four details down with 240 grit before continuing. Measure over 6-1/2" from the jig and make a mark. Set your calipers for 3/8" and, using the parting tool, turn a shoulder to the left of your mark. Measure over 1/8" from the shoulder and turn another small bead. Measure over 3/4" from this small bead and start to turn the left half of another egg-shape that will eventually form the culminating detail of the handle. Before continuing, it will be necessary to turn a cove-like taper that will join the previously cut half-bead with the 3/8" shoulder that was turned here. In details such as this, I think that a curved transition is more appealing than a straight taper. Again, sand these details with 240 grit before proceeding. of the handle. Note the transition shapes that visually connect the two small beads to the rest of the turning. All that is left to turn is the end of the handle. I completed the right side of the egg-shaped bead which was started earlier, turned another 5/16"-Dia. shoulder, formed another half-bead and then started to turn the taper that will later be used to part the project from the rest of the blank. Be very careful not to sever the handle from the blank before it is sanded and a finish is applied. I started the finishing process by applying an aerosol lacquer (Deft) to the project. I waited for it to dry completely and then I rubbed it down with 4/0 steel wool. Then I used a sharp gouge to sever the completed handle from the rest of the blank. I sanded the small tip by hand to remove any scratches or tear-out and then applied a little more Deft to the remaining raw wood. I buffed the handle using the three-step process that I frequently use for my small turnings. The first wheel is charged with tripoli; this helps to eliminate any small scratches that remain and further smoothes the wood. The second wheel is charged with a white diamond compound which removes any excess tripoli and begins the polishing process. The third wheel is loaded with car-nuba wax, which helps to seal the wood with a protective coating and polishes the wood to a bright glow. A gap-filling super glue is used to bond the bristle head to the handle. I applied the glue to the bottom of the hole, sprayed the end of the bristle head with an accelerator, and, with a twisting motion, pushed the two pieces firmly together, holding them in position until the glue bonded. I have found that the super glue adheres to the oily rosewood much better than ordinary glue and creates a longer lasting bond. The duster is complete and the finish has been buffed to a shine. I glued the bristle head in with super glue. An accelerator made specifically for this brand of glue was used to speed up the bonding process. This brush works much better than the paintbrush that I was using. It is much larger and the bristles are more ridged, which really helps to dislodge the stubborn dust particles from between the keys. Unfortunately, when I showed this brush to my wife, she noted that it would also make a great basting brush for the kitchen—so I guess I have to make another onel ^ The bottom end of the handle is almost done and is ready to be freed from the rest of the original blank. fl4 • Creative Woodworks & Crafts April 2003 |


