Creative Woodworks & crafts 2003-09, страница 58
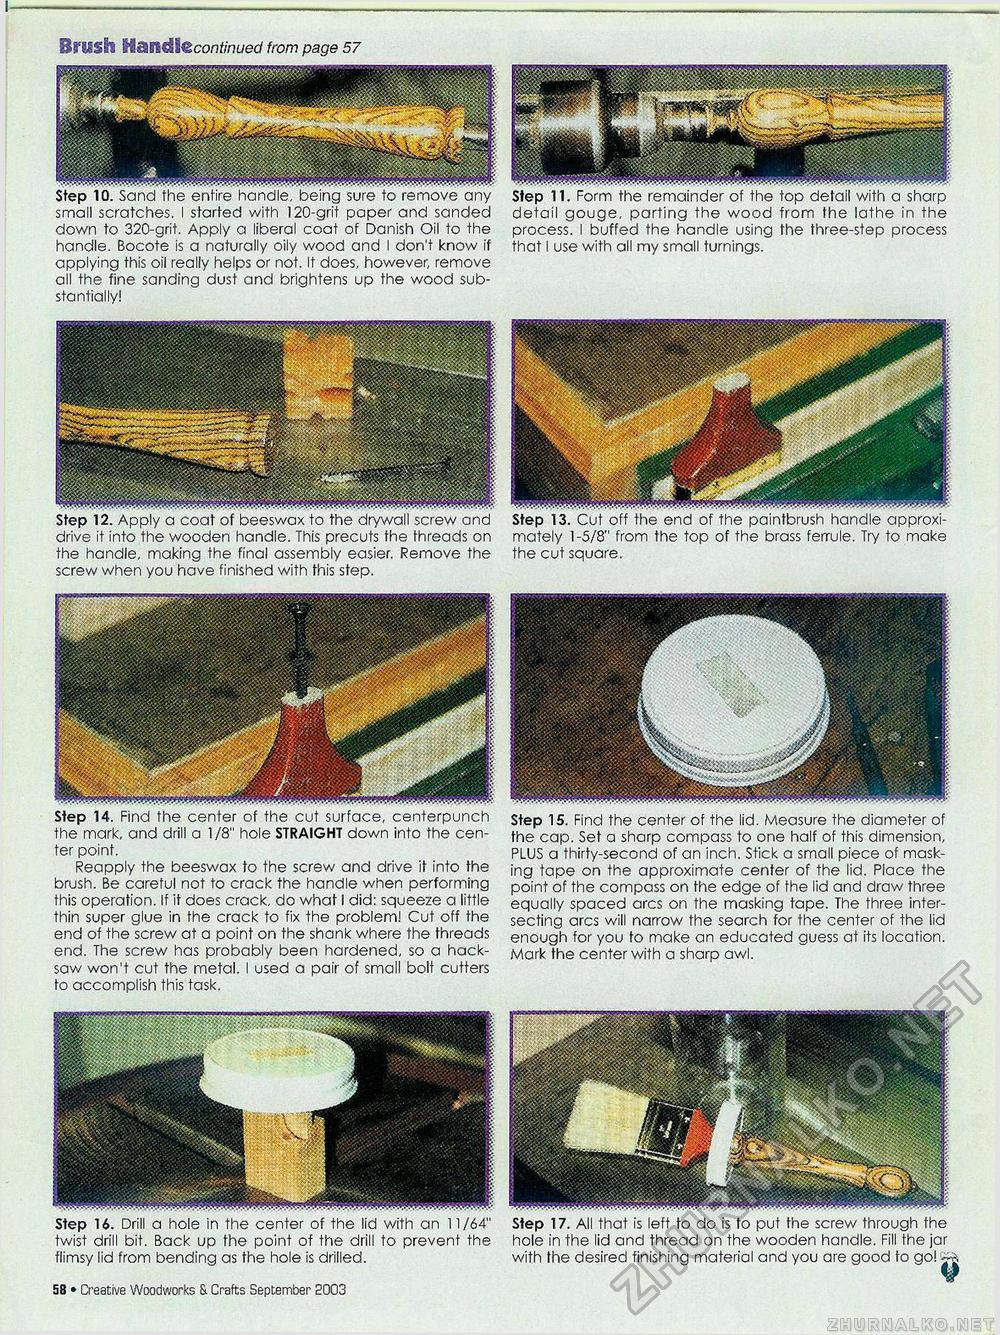
Brush Handleconf/nuec/ from page 57 small scratches. I started with 120-grit paper and sanded down to 320-grit. Apply a liberal coat of Danish Oil to the handle. Bocote is a naturally oily wood and I don't know if applying this oil really helps or not. It does, however, remove all the fine sanding dust and brightens up the wood substantially! drive it into the wooden handle. This precuts the threads on the handle, making the final assembly easier. Remove the screw when you have finished with this step. Step 11. Form the remainder of the top detail witn a sharp detail gouge, parting the wood from the lathe in the process. I buffed the handle using the three-step process that I use with all my small turnings. Step 13. Cut off the end of the paintbrush handle approximately 1-5/8" from the top of the brass ferrule. Try to make the cut square. Step 14. Find the center of the cut surface, centerpunch the mark, and drill a 1 /8" hole STRAIGHT down into the center point. Reapply the beeswax to the screw ana drive it into the brush. Be careful not to crack the handle when performing this operation. If it does crack, do what I did: squeeze a little thin super glue in the crack to fix the problem! Cut off the end of the screw at a point on the shank where the threads end. The screw has probably been hardened, so a hacksaw won't cut the metal. I used a pair of small bolt cutters to accomplish this task. Step 16. Drill a hole in the center of the lid with an 11/64" twist drill bit. Back up the point of the drill to prevent the flimsy lid from bending as the hole is drilled. 58 • Creative Woodworks & Crafts September 2003 the bottom supports. shelf supports. Step 15. Find the center of the lid. Measure the diameter of the cap. Set a sharp compass to one half of this dimension, PLUS a thirty-second of an inch. Stick a small piece of masking tape on the approximate center of the lid. Place the point of the compass on the edge of the lid and draw three equally spaced arcs on the masking tape. The three intersecting arcs will narrow the search for the center of the lid enough for you to make an educated guess at its location. Mark the center with a sharp awl. Step 17. All that is left to do is to put the screw through the hole in the lid and thread on the wooden handle. Fill the jar with the desired finishing material and you are good to go! ka |


