Creative Woodworks & crafts 2003-09, страница 6
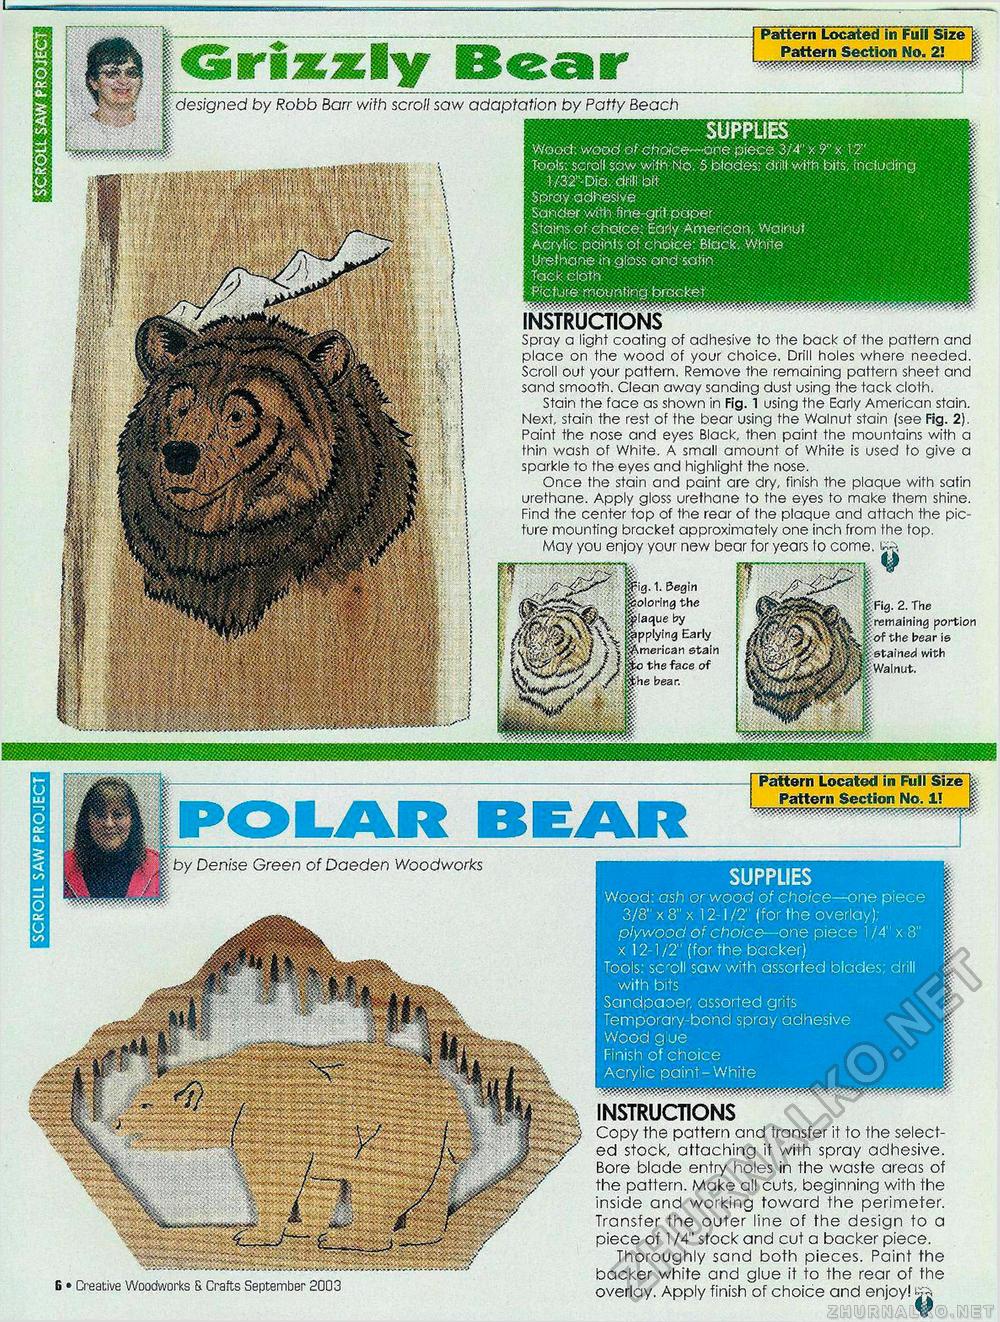
SUPPLIES Wood, wood of chdc&~«oc<3 piece 3/4" x x 1 2" Toots; scroll sow with No. 5 blades; drill with bits, including 1/32" Dio. ciflli bit Spray adhesive . Sander with fibre-grit paper Stdins of cfrorpe; Early American. Walnut Acrylic partis of chdic^: Black. . Whit© y-;efr>arre h <j-d$$ and sarin Tcio; eipth Picture: rfibyhtinci bracket Pattern Located in Full Size Pattern Section No. 2! INSTRUCTIONS Spray a light coating of adhesive to the back of the pattern and place on the wood of your choice. Drill holes where needed. Scroll out your pattern. Remove the remaining pattern sheet and sand smooth. Clean away sanding dust using the tack cloth. Stain the face as shown in Fig. 1 using the Early American stain. Next, stain the rest of the bear using the Walnut stain (see Fig. 2). Paint the nose and eyes Black, then paint the mountains with a thin wash of White. A small amount of White is used to give a sparkle to the eyes and highlight the nose. Once the stain and paint are dry, finish the plaque with satin urethane. Apply gloss urethane to the eyes to make them shine. Find the center top of the rear of the plaque and attach the picture mounting bracket approximately one inch from the top. May you enjoy your new bear for years lo come, 2. The portion the bear is with CSriaczly Hcsar designed by Robb Barr with scroll saw adaptation by Patty Beach SUPPLIES Wood: ash or wood of choice—one piece 3/8" x 8" x 12-1 /2" (for the overlay); plywood of choice—one piece 1 /4" x 8" x 12-1/2" (for the backer) Tools: scoll saw with assorted blades; drill with bits Sandpaoer, assorted grits Temporary-bond spray adhesive Wood g ue Finish of choice Acrylic paint-White Pattern Located in Full Size Pattern Section No. 1! oy Denise Green of Daeden Woodworks 6 • Creative Woodworks & Crafts September 2003 the bottom supports. shelf supports. INSTRUCTIONS Copy the pattern and transfer it to the selected stock, attaching if with spray adhesive. Bore blade entry holes in the waste areas of the pattern. Make all cuts, beginning with the inside and working toward the perimeter. Transfer the outer line of the design to a piece of 1 /4" stock and cut a backer piece. Thoroughly sand both pieces. Paint the backer white and glue it to the rear of the overlay. Apply finish of choice and enjoy! |


