Creative Woodworks & crafts 2003-11, страница 8
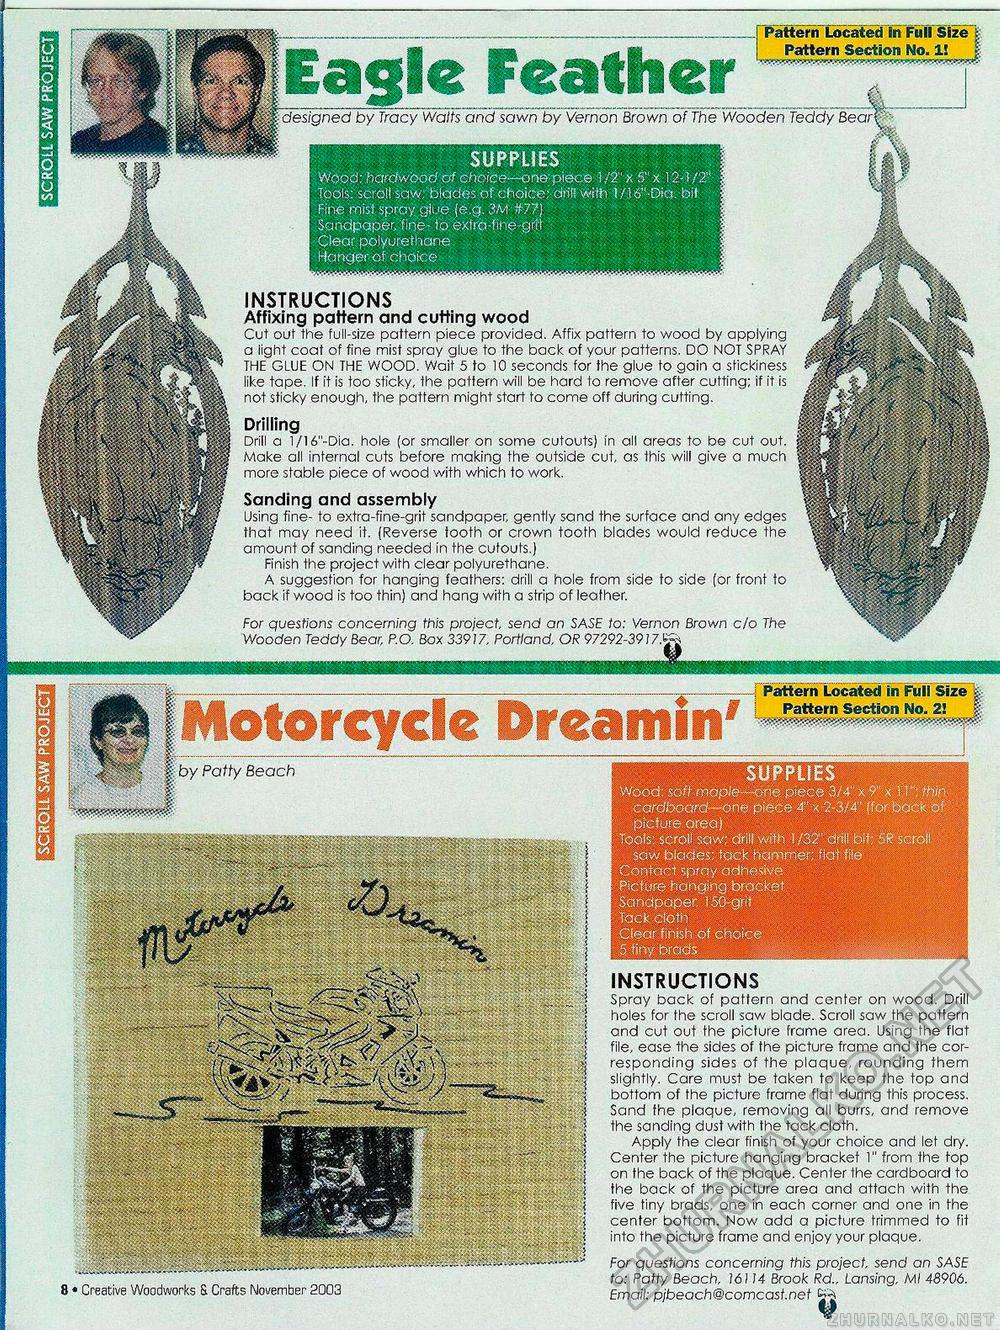
SUPPLIES Wood: hairM 'ood of choice—one' niece 1/2" x 5" x 12-1 !T Tools scroll saw blcStes of choice dnHnlti I /Iff1 Oki bit . Fine mis} spray giue (e <$ SM #7?) Sandpaper, Tine - io exiratinegrii Clear polyurethane, Hanger of choice . . . le Feather Pattern Located In Full Size j Pattern Section No. 12 Walts and sawn by Vernon Brown of The Wooden Teddy Drilling Drill a l/16"-Dia. hole (or smaller on some cutouts) in all areas to be cut out. Make all internal cuts before making the outside cut, as this will give a much more stable piece of wood with which to work. For questions concerning this project, send an SASE to: Vernon Brown c!o The Wooden Teddy Bear, P.O. Box 33917, Portland, OR 97292-39J7.CS* fAotorevcle Df&«iifiiiif miW^mmmmm Hkff wm^m ^mmmmmmmMm Pattern Located in Full Size & Pattern Section No. 2! Sanding and assembly Using fine- to extra-fine-grit sandpaper, gently sand the surface and any edges that may need it. (Reverse tooth or crown tooth blades would reduce the amount of sanding needed in the cutouts.) Finish the project with clear polyurethane. A suggestion for hanging feathers: drill a hole from side to side (or front to back if wood is too thin) and hang with a strip of leather. 56 • Creative Woodworks 8. Crafts November 2003 INSTRUCTIONS Affixing pattern and cutting wood Cut out the full-size pattern piece provided. Affix pattern to wood by applying a light coat of fine mist spray glue to the back of your patterns. DO NOT SPRAY THE GLUE ON THE WOOD. Wait 5 to 10 seconds for the glue to gain a stickiness like tape. If it is too sticky, Ihe pattern will be hard to remove after cutting; if it is not sticky enough, the pattern might start to come off during cutting. For questions concerning this project, send an SASE to: Patty Beach, 16114 Brook Rd„ Lansing, Ml 48906. Email: pjbeach@comcast.net INSTRUCTIONS Spray back of pattern and center on wood. Drill holes for the scroll saw blade. Scroll saw the pattern and cut out the picture frame area. Using the flat file, ease the sides of the picture frame and the corresponding sides of the plaque, rounding them slightly. Care must be taken to keep the top and bottom of the picture frame flat during this process. Sand the plaque, removing all burrs, and remove the sanding dust with the tack cloth. Apply the clear finish of your choice and let dry. Center the picturc hanging bracket 1" from the fop on the back of the plaque. Center the cardboard to the back of the picture area and attach with the five tiny brads, one in each corner and one in the center bottom. Now add a picture trimmed to fit into the picture frame and enjoy your plaque. |


