Creative Woodworks & crafts 2004-01, страница 12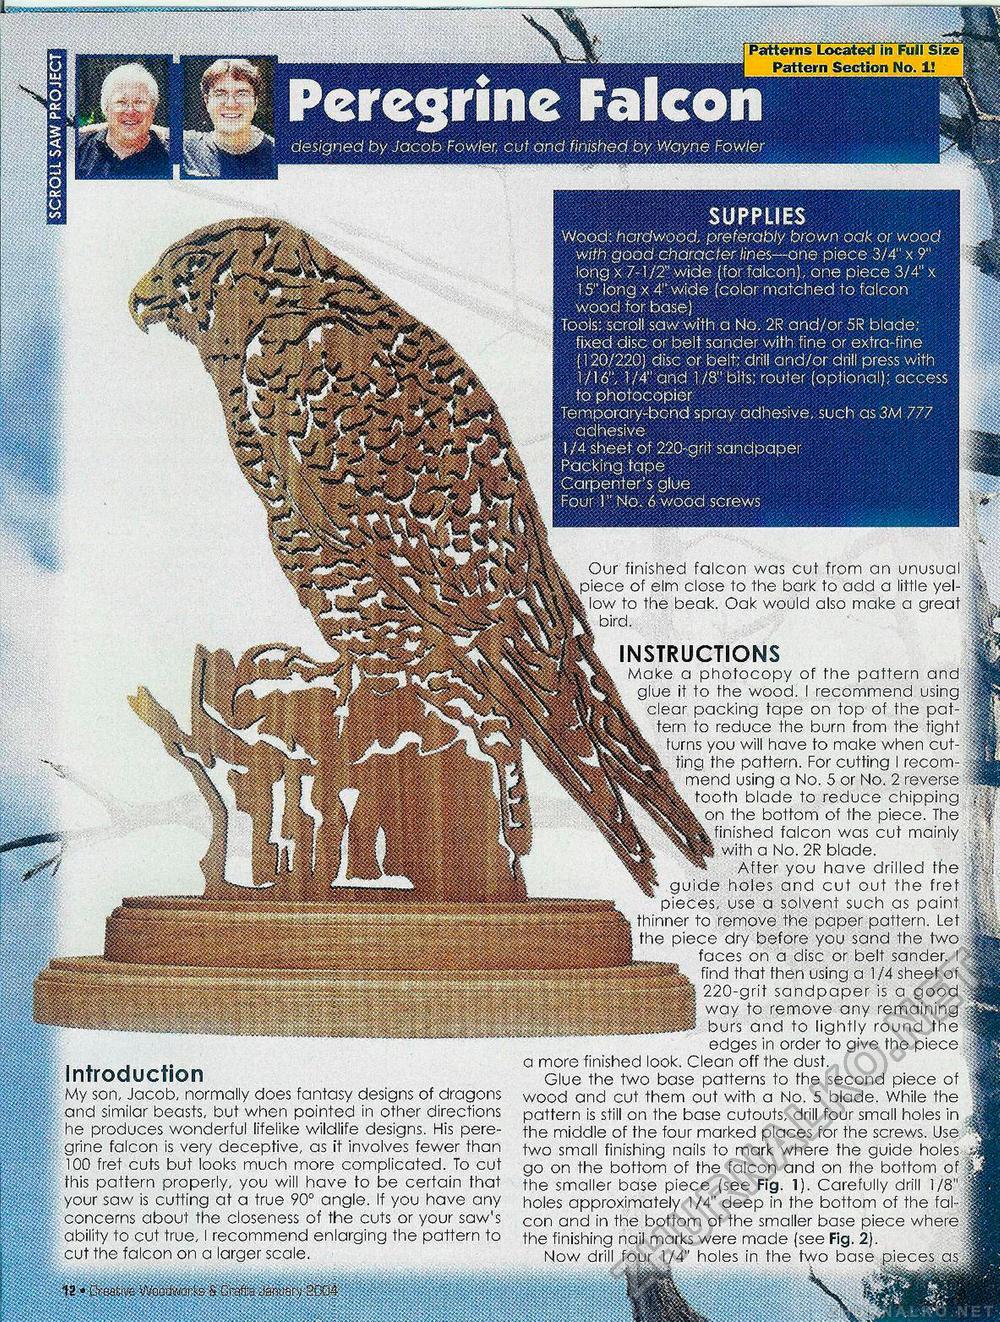
SUPPLIES Wood: hardwood, preferably brown oak or wood with good character lines--one piece 3/4" x 9" long x 7-1 IT wide (for falcon), one piece 3/4" x 15" long x 4" wide (color matched to falcon ■ wood for base) Tools: scroll saw with a No. 2R and/or 5R blade; fixed disc or belt sander with, fine or extra-fine (120/220) disc or belt; drill and/or drill press with 1 /16", 1 /4" and 1 /8" bits; router (optional); access to photocopier Temporary-bond spray adhesive, such a$3M 777 adhesive 11A sheet of 220-grit sandpaper Packing tape Carpenter's glue Four 1" No. 6 wood screws Patterns Located in Full Size Pattern Section No. 1! Our finished falcon was cut from an unusual % |pp|k piece of elm close to the bark to add a little yel- % Tijlpklow to the beak. Oak would also make a great 'f jjj|J\bird- §||BpL INSTRUCTIONS Make a photocopy of the pattern and $ ^^^^^^^ glue it to the wood. I recommend using 1 clear packing tape on top of the pat- | tern to reduce the burn from the tight If turns you will have to make when cut- jl I ting the pattern. For cutting I recom- v|g I mend using a No. 5 or No. 2 reverse tooth blade to reduce chipping f; M ^Mfe on the bottom of the piece. The 'Wi finished falcon was cut mainly i ''^ifi with a No. 2R blade. i After you have drilled the J?; | guide holes and cut out the fret |||§|g§g||pp, pieces, use a solvent such as paint | thinner to remove the paper pattern. Let | the piece dry before you sand the two Jf i^H^I^^Se-aw ... faces on a disc or belt sander. I ■ jSpSpr • • " find that then using a 1/4 sheet of m 220-grit sandpaper is a good f| way to remove any remaining g| burs and to lightly round the | edges in order to give the piece M a more finished look. Clean off the dust. Glue the two base patterns to the second piece of | wood and cut them out with a No. 5 blade. While the | pattern is still on the base cutouts, drill four small holes in J the middle of the four marked places for the screws. Use % two small finishing nails to mark where the guide holes go on the bottom of the falcon and on the bottom of |L the smaller base piece (see Fig. 1). Carefully drill 1/8" .If holes approximately 1 /4" deep in the bottom of the fat- || con and in the bottom of the smaller base piece where ||t the finishing nail marks were made (see Fig. 2). Now drill four 174" holes in the two base pieces asja fisifiiiiiiiiiiiiii Introduction My son, Jacob, normally does fantasy designs of dragons and similar beasts, but when pointed in other directions he produces wonderful lifelike wildlife designs. His peregrine falcon is very deceptive, as it involves fewer than 100 fret cuts but looks much more complicated. To cut this pattern properly, you will have to be certain that your saw is cutting at a true 90° angle. If you have any concerns about the closeness of the cuts or your saw's ability to cut true, I recommend enlarging the pattern to cut the falcon on a larger scale. B5SK |


