Creative Woodworks & crafts 2004-01, страница 32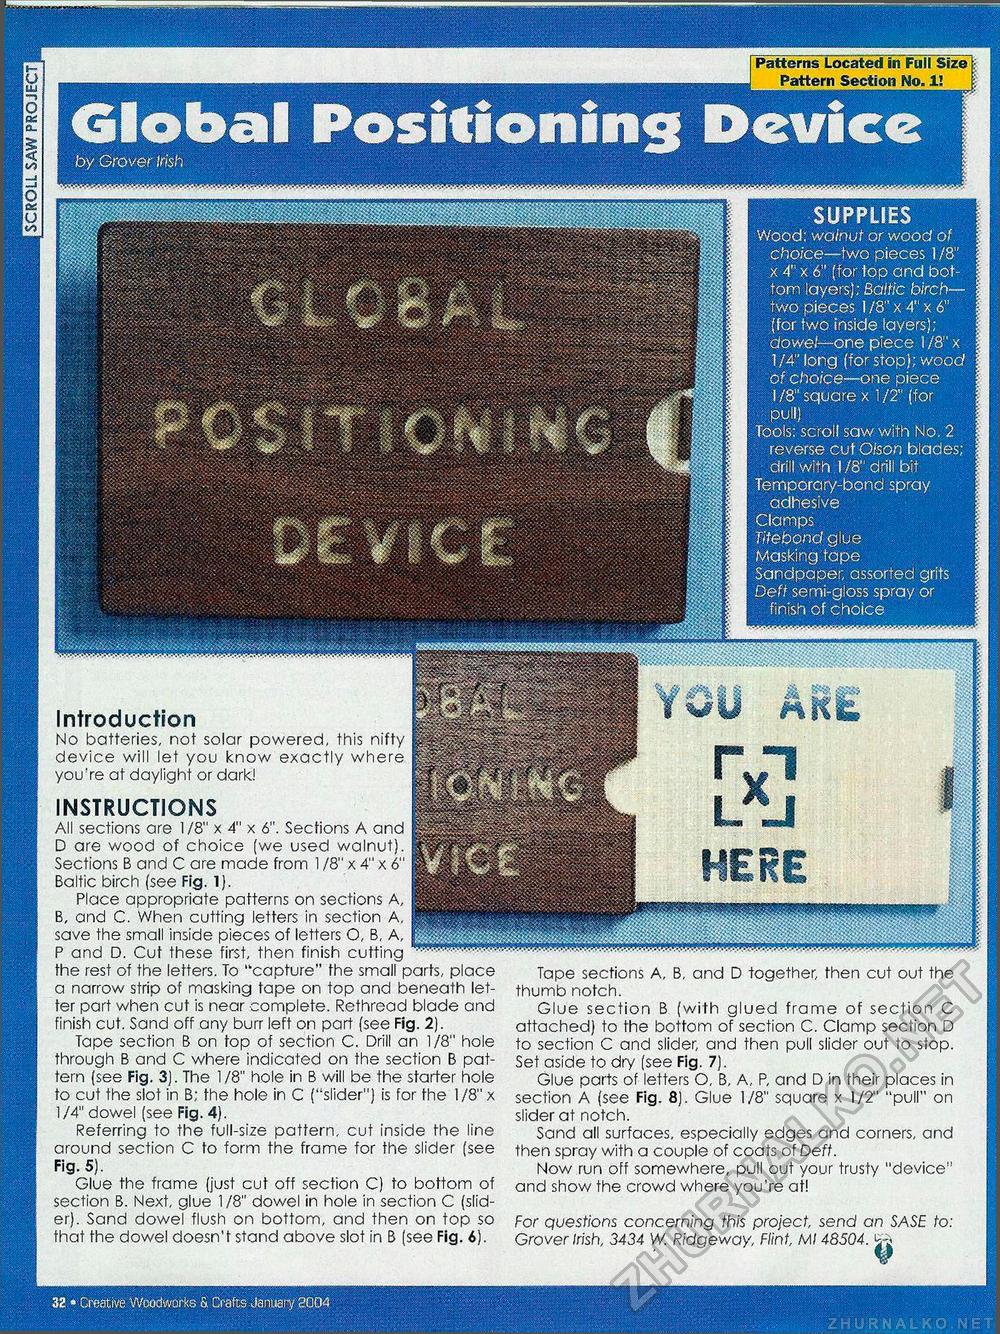
wmmmrnmmmmmmmm§M [Patterns Located in Full Size [ Pattern Section No. 1! Global Positioning Deviceby Grover Irish SUPPLIES Wood: walnut or wood of choice—two pieces 1/8" ;x 4" x 6" (for top and bottom layers); Baltic birch-two pieces 1 /8" x 4" x 6" (for two inside layers); dowel—one piece 1 /8" x 1/4" long (for stop); wood of choice—one piece 1/8" square x 1/2" (for pull) Tools: scroll saw with No. 2 reverse cut Ofson blades; drill with 1/8" drill bit Temporary-bond spray adhesive Clamps Titebond glue Masking tape Sandpaper, assorted grits Deft semi-gloss spray or finish of choice Introduction No batteries, not solar powered, this nifty device will let you know exactly where you're at daylight or dark! INSTRUCTIONS All sections are 1/8" x 4" x 6". Sections A and D are wood of choice (we used walnut). Sections B and C are made from 1 /8" x 4" x 6" Baltic birch (see Fig. 1). Place appropriate patterns on sections A, B, and C. When cutting letters in section A, save the small inside pieces of letters O, B, A, P and D. Cut these first, then finish cutting the rest of the letters. To '"capture" the small parts, place a narrow strip of masking tape on top and beneath letter part when cut is near complete. Rethread blade and finish cut. Sand off any burr left on part (see Fig. 2). Tape section B on top of section C. Drill an 1/8" hole through B and C where indicated on the section B pattern (see Fig. 3). The 1 /8" hole in B will be the starter hole to cut the slot in B; the hole in C ("slider") is for the 1/8" x 1/4" dowel (see Fig. 4). Referring to the full-size pattern, cut inside the line around section C to form the frame for the slider (see Fig. 5). Glue the frame (just cut off section C) to bottom of section B. Next, glue 1 /8" dowel in hole in section C (slider). Sand dowel flush on bottom, and then on top so that the dowel doesn't stand above slot in B (see Fig. 6). Tape sections A, B, and D together, then cut out the thumb notch. Glue section B (with glued frame of section C attached) to the bottom of section C. Clamp section D to section C and slider, and then pull slider out to stop. Set aside to dry (see Fig. 7). Glue parts of letters O, B, A, P, and D in their places in section A (see Fig. 8). Glue 1/8" square x 1/2" "pull" on slider at notch. Sand all surfaces, especially edges and corners, and then spray with a couple of coats of Deft. Now run off somewhere, pull out your trusty "device" and show the crowd where you're at! For questions concerning this project, send an SASE to: Grover Irish, 3434 W. Ridgeway, Flint, Ml 48504. ft 32 ' Creative Woodworks & drafts January 8004 |


