Creative Woodworks & crafts 2004-09, страница 15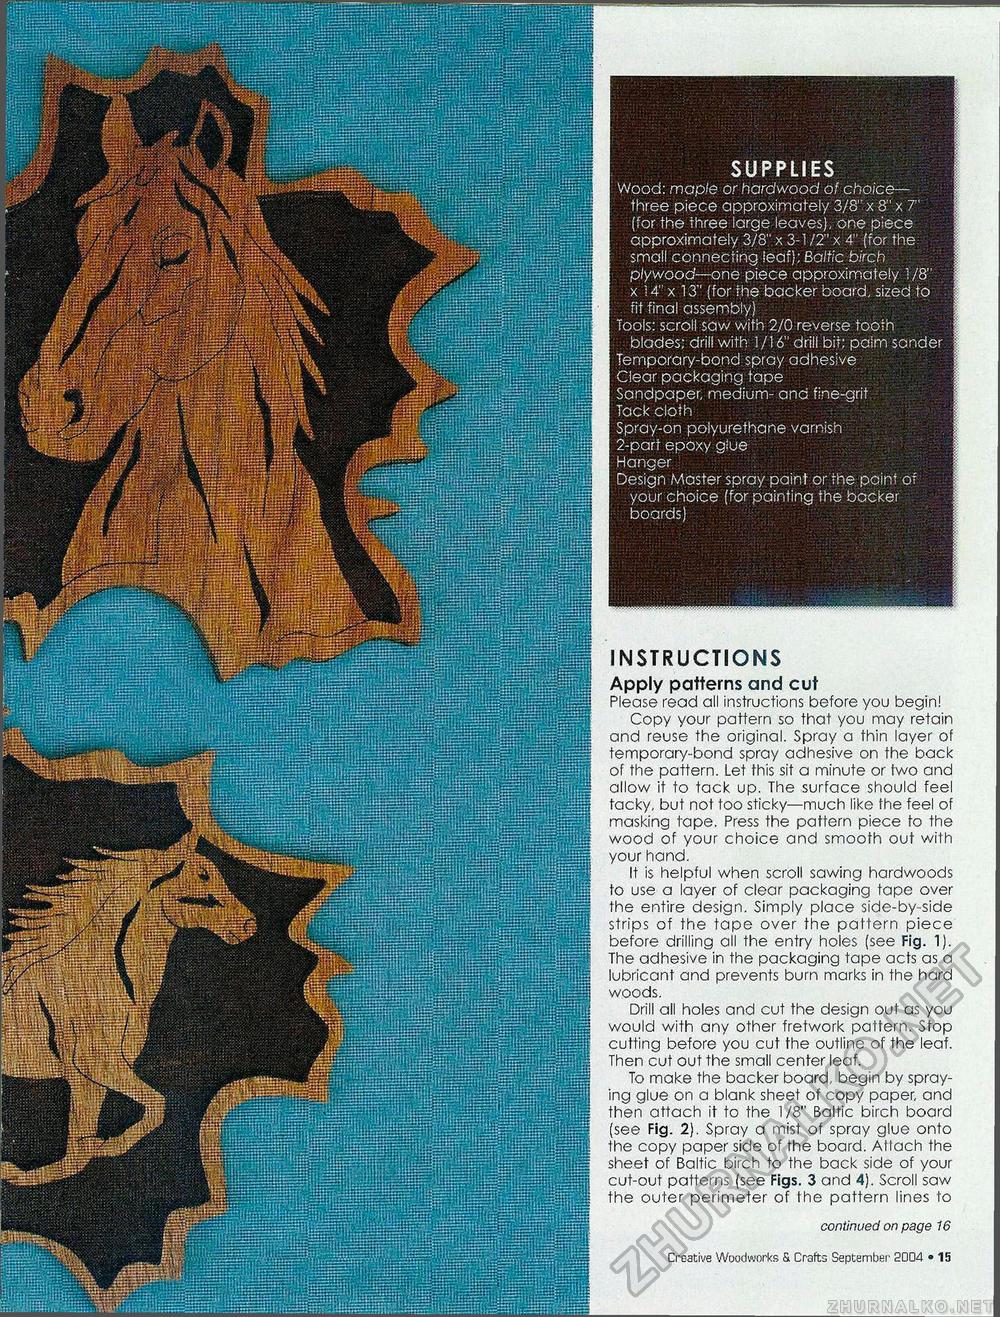
SUPPLIES Wood: maple or hardwood of choice-three piece approximately 3/8" x 8" x 7" (for the three large leaves), ore piece approximately 3/8" x 3-1 /2" x 4" (for the small connecting leaf); Baltic birch plywood—one piece approximately 1/8" x ! 4" x 13" (for the backer board, sized to fit final assembly) Tools: scroll saw with 2/0 reverse tooth blades; drill with 1 /16" drill bit: palm sender Temporary-bond spray adhesive Clear packaging tape Sandpaper, medium- and fine-grit Tack cloth Spray-on polyurethane varnish 2-part epoxy glue Hanger Design Master spray paint or the paint of your choice (for painting the backer boards)
Apply patterns and cut Please read all instructions before you begin! Copy your pattern so that you may retain and reuse the original. Spray a thin layer of temporary-bond spray adhesive on the back of the pattern. Let this sit a minute or two and allow it to tack up. The surface should feel tacky, but not too sticky—much like the feel of masking tape. Press the pattern piece to the wood of your choice and smooth out with your hand. It is helpful when scroll sawing hardwoods to use a layer of clear packaging tape over the entire design. Simply place side-by-side strips of the tape over the pattern piece before drilling all the entry holes (see Fig. 1). The adhesive in the packaging tape acts as a lubricant and prevents burn marks in the hard woods. Drill all holes and cut the design out as you would with any other fretwork pattern. Stop cutting before you cut the outline of the leaf. Then cut out the small center leaf. To make the backer board, begin by spraying glue on a blank sheet of copy paper, and then attach it to the 1/8" Baltic birch board (see Fig. 2). Spray a mist of spray glue onto the copy paper side of the board. Attach the sheet of Baltic birch to the back side of your cut-out patterns (see Figs. 3 ana 4). Scroll saw the outer perimeter of the pattern lines to continued on page 16 Creative Woodworks & Crafts September 2004 • 15 INSTRUCTIONS |
||||||||||||


