Creative Woodworks & crafts 2004-11, страница 68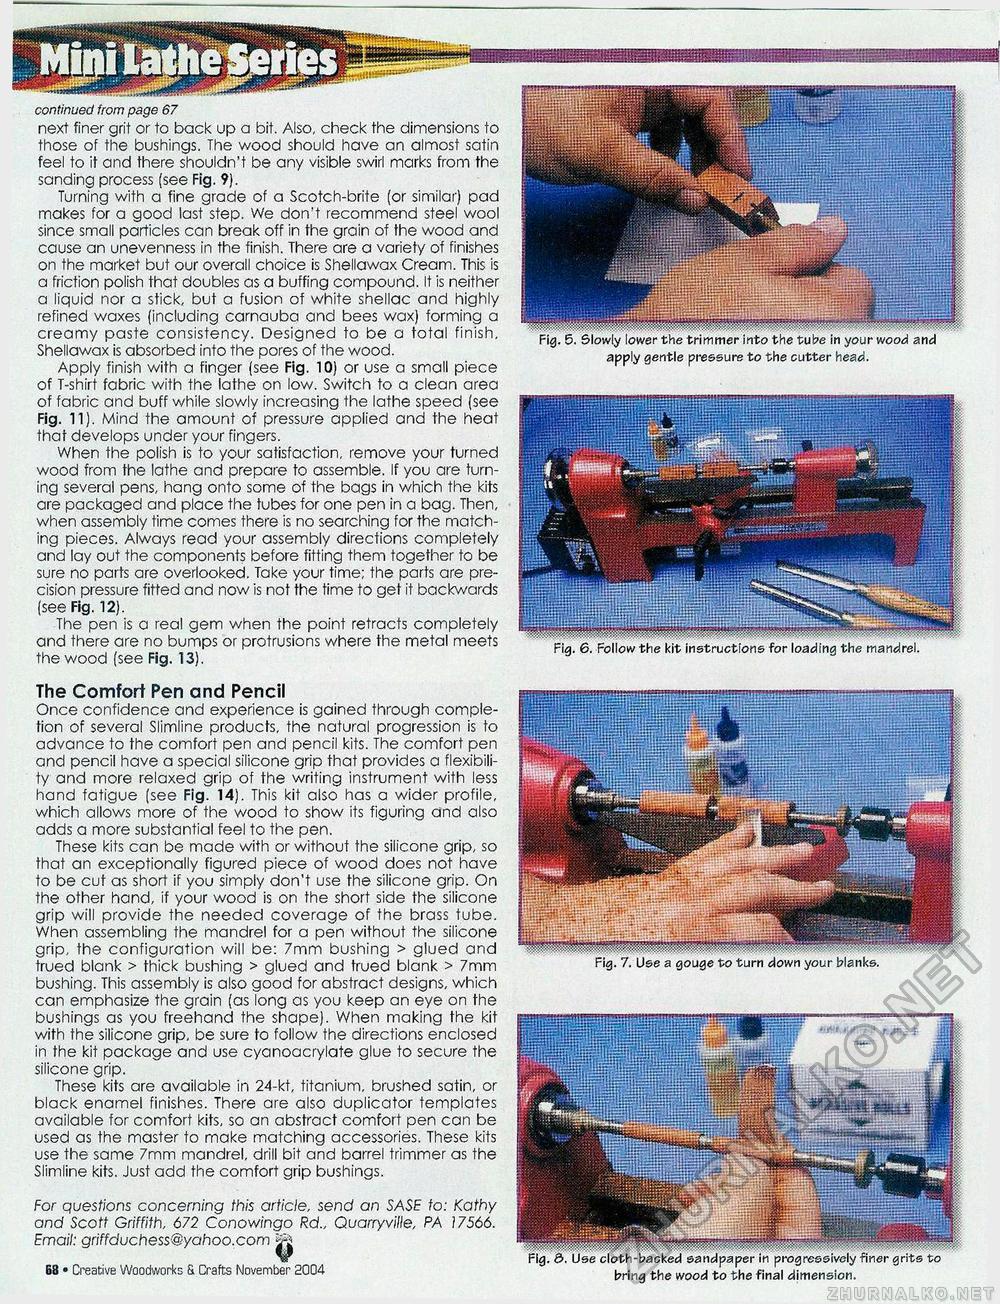
continued from page 67 next finer grit or to back up a bit. Also, check the dimensions to those of the bushings. The wood should have an almost satin feel to it and there shouldn't be any visible swirl marks from the sanding process (see Fig. 9). Turning with a fine grade of a Scotch-brite (or similar) pad makes for a good last step. We don't recommend steel wool since small particles can break off in the grain of the wood and cause an unevenness in the finish. There are a variety of finishes on the market but our overall choice is Shellawax Cream. This is a friction polish that doubles as a buffing compound. It is neither a liquid nor a stick, but a fusion of white shellac and highly refined waxes (including carnauba and bees wax) forming a creamy paste consistency. Designed to be a total finish. Shellawax is absorbed into the pores of the wood. Apply finish with a finger (see Fig. 10) or use a small piece of T-shirt fabric with the lathe on low. Switch to a clean area of fabric and buff while slowly increasing the lathe speed (see Fig. 11). Mind the amount of pressure applied and the heat that develops under your fingers. When the polish is to your satisfaction, remove your turned wood from the lathe and prepare to assemble. If you are turning several pens, hang onto some of the bags in which the kits are packaged and place the tubes for one pen in a bag. Then, when assembly time comes there is no searching for the matching pieces. Always read your assembly directions completely and lay out the components before fitting them together to be sure no parts are overlooked. Take your time; the parts are precision pressure fitted and now is not the time to get it backwards (see Fig. 12). The pen is a real gem when the point retracts completely and there are no bumps or protrusions where the metal meets the wood (see Fig. 13). apply gentle pressure to the cutter head. Fig. 6. Follow the kit instructions for loading the mandrel. The Comfort Pen and Pencil Once confidence and experience is gained through completion of several Slimline products, the natural progression is to advance to the comfort pen and pencil kits. The comfort pen and pencil have a special silicone grip that provides a flexibility and more relaxed grip of the writing instrument with less hand fatigue (see Fig. 14). This kit also has a wider profile, which allows more of the wood to show its figuring and also adds a more substantial feel to the pen. These kits can be made with or without the silicone grip, so that an exceptionally figured piece of wood does not have to be cut as short if you simply don't use the silicone grip. On the other hand, if your wood is on the short side the silicone grip will provide the needed coverage of the brass tube. When assembling the mandrel for a pen without the silicone grip, the configuration will be: 7mm bushing > glued and trued blank > thick bushing > glued and trued blank > 7mm bushing. This assembly is also good for abstract designs, which can emphasize the grain (as long as you keep an eye on the bushings as you freehand the shape). When making the kit with the silicone grip, be sure to follow the directions enclosed in the kit package and use cyanoacrylate glue to secure the silicone grip. These kits are available in 24-kt, titanium, brushed satin, or black enamel finishes. There are also duplicator templates available for comfort kits, so an abstract comfort pen can be used as the master to make matching accessories. These kits use the same 7mm mandrel, drill bit and barrel trimmer as the Slimline kits. Just add the comfort grip bushings. For questions concerning this article, send an SASE to: Kathy and Scott Griffith, 672 Conowingo Rd„ Quarryville, PA 17566. Email: griffduchess@yahoo.com ^ 68 • Creative Woodworks S. Crafts November 2004 Fig. &. Use cloth-backed sandpaper in progressively finer grits to bring the wood to the final dimension. BBBBHIBB1 |»1« III '■<"« III m......... uwmii HWIIMMHIII wmiiwr Fig. 7. Use a gouge to turn down your blanks. |


