Creative Woodworks & crafts 2005-01, страница 76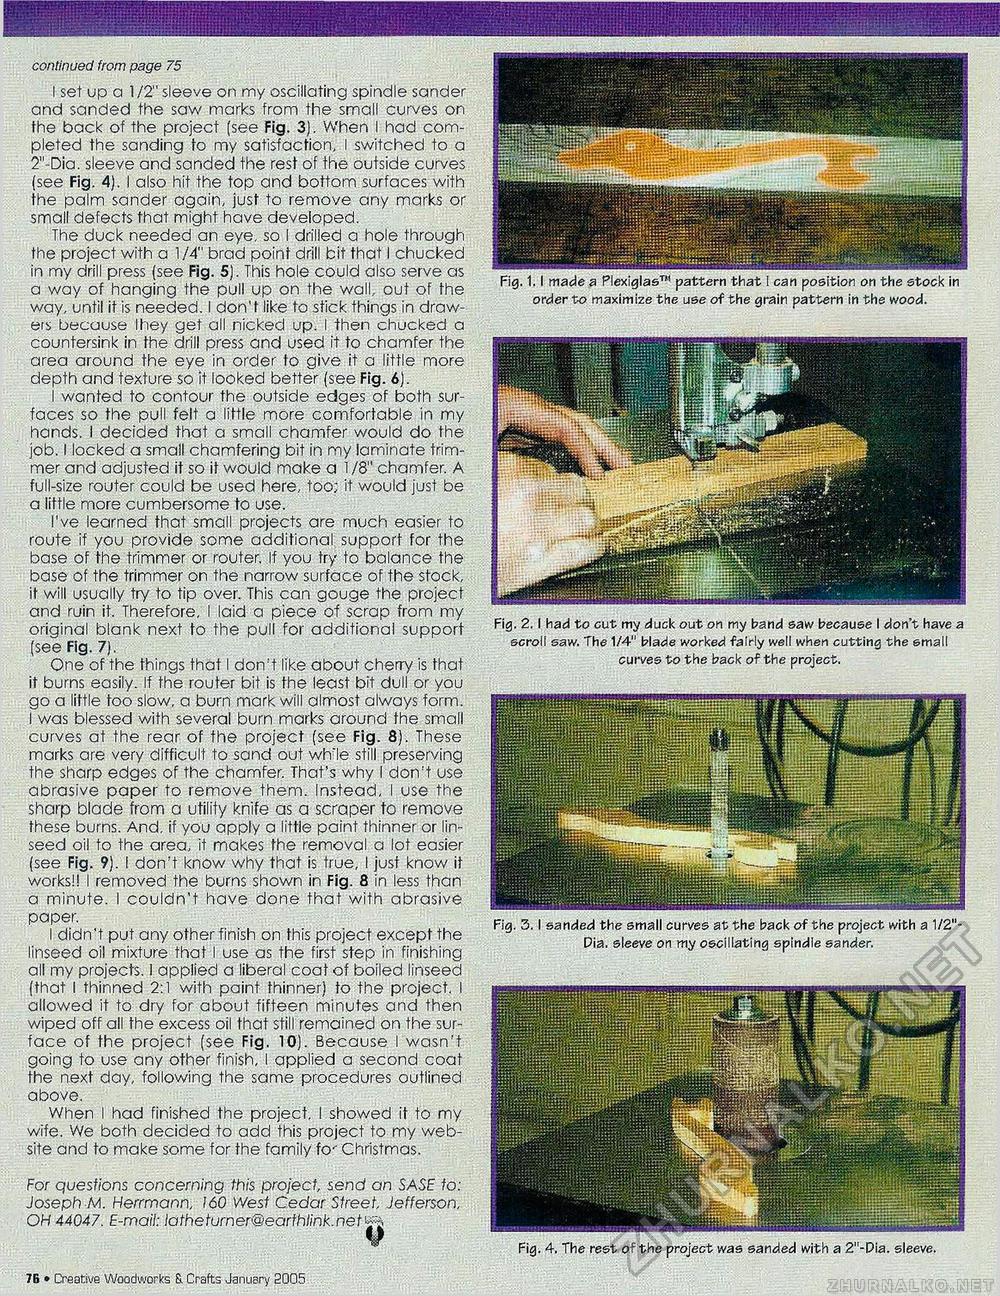
sSpHnfllP" For questions concerning this project, send an SASE fo: Joseph M. Herrmann, 160 West Cedar Street, Jefferson, OH 44047. E-mail: latheturner@earthlink.net i-B 7B • Creative Woodworks £. Crafts January 2005 continued from page 75 I set up a 1 /2" sleeve on my oscillating spindle sander and sanded the saw marks from the small curves on the back of the project (see Fig. 3). When I had completed the sanding to my satisfaction, I switched to a 2"-Dia. sleeve and sanded the rest of the outside curves (see Fig. 4). I also hit the top and bottom surfaces with the palm sander again, just to remove any marks or small defects that might have developed. The duck needed an eye, so I drilled a hole through the project with a 1/4" brad point drill bit that I chucked in my drill press (see Fig. 5). This hole could also serve as a way of hanging the pull up on the wall, out of the way, until it is needed. I don't like to stick things in drawers because Ihey get all nicked up, I then chucked a countersink in the drill press and used it to chamfer the area around the eye in order to give it a little more depth and texture so it looked better (see Fig. 6). I wanted to contour the outside edges of both surfaces so the pull felt a little more comfortable in my hands. I decided that a small chamfer would do the job. I locked a small chamfering bit in my laminate trimmer and adjusted it so it would make a 1/8" chamfer. A full-size router could be used here, too; it would just be a little more cumbersome to use. I've learned that small projects are much easier to route if you provide some additional support for the base of the trimmer or router. If you try to balance the base of the trimmer on the narrow surface of the stock, it will usually try to tip over. This can gouge the project and ruin it. Therefore, I laid a piece of scrap from my original blank next to the pull for additional support (see Fig. 7). One of the things that I don't like about cherry is that it burns easily. If the router bit is the least bit dull or you go a little too slow, a burn mark will almost always form. I was blessed with several burn marks around the small curves at the rear of fhe project (see Fig. 8). These marks are very difficult to sand out whrle still preserving the sharp edges of the chamfer. That's why I don't use abrasive paper to remove them. Instead, I use the sharp blade from a utility knife as a scraper to remove these burns. And. if you apply a little paint thinner or linseed oil to the area, it makes the removal a lot easier (see Fig. 9). I don't know why that is true, I just know it works!! I removed the burns shown in Fig. 8 in less than a minute. I couldn't have done that with abrasive paper. I didn't put any other finish on this project except the linseed oil mixture that I use as the first step in finishing all my projects. I applied a liberal coat of boiled linseed (that I thinned 2:1 with paint thinner) to the project. I allowed it to dry for about fifteen minutes and then wiped off all the excess oil that still remained on the surface of the project (see Fig. 10). Because I wasn't going to use any other finish, I applied a second coat the next day, following the same procedures outlined above. When I had finished the project, I showed it to my wife. We both decided to add this project to my website and to make some for the family fc Christmas. Fig. 1. I made a Plexiglas™ pattern that I can position on the stock in order to maximize the use of the grain pattern in the wood. Fig. 2. I had to cut my duck out on my band saw because I don't have a scroll saw. The 1/4" blade worked -fairly well when cutting the small curves to the back of the project. Fig. 3.1 sanded the small curves at the back of the project with a 1/2"-Dia, sleeve on my oscillating spindle sander. Fig. 4. The rest of the project was sanded with a 2"-Pia. sleeve. |


