Creative Woodworks & crafts 2005-03, страница 32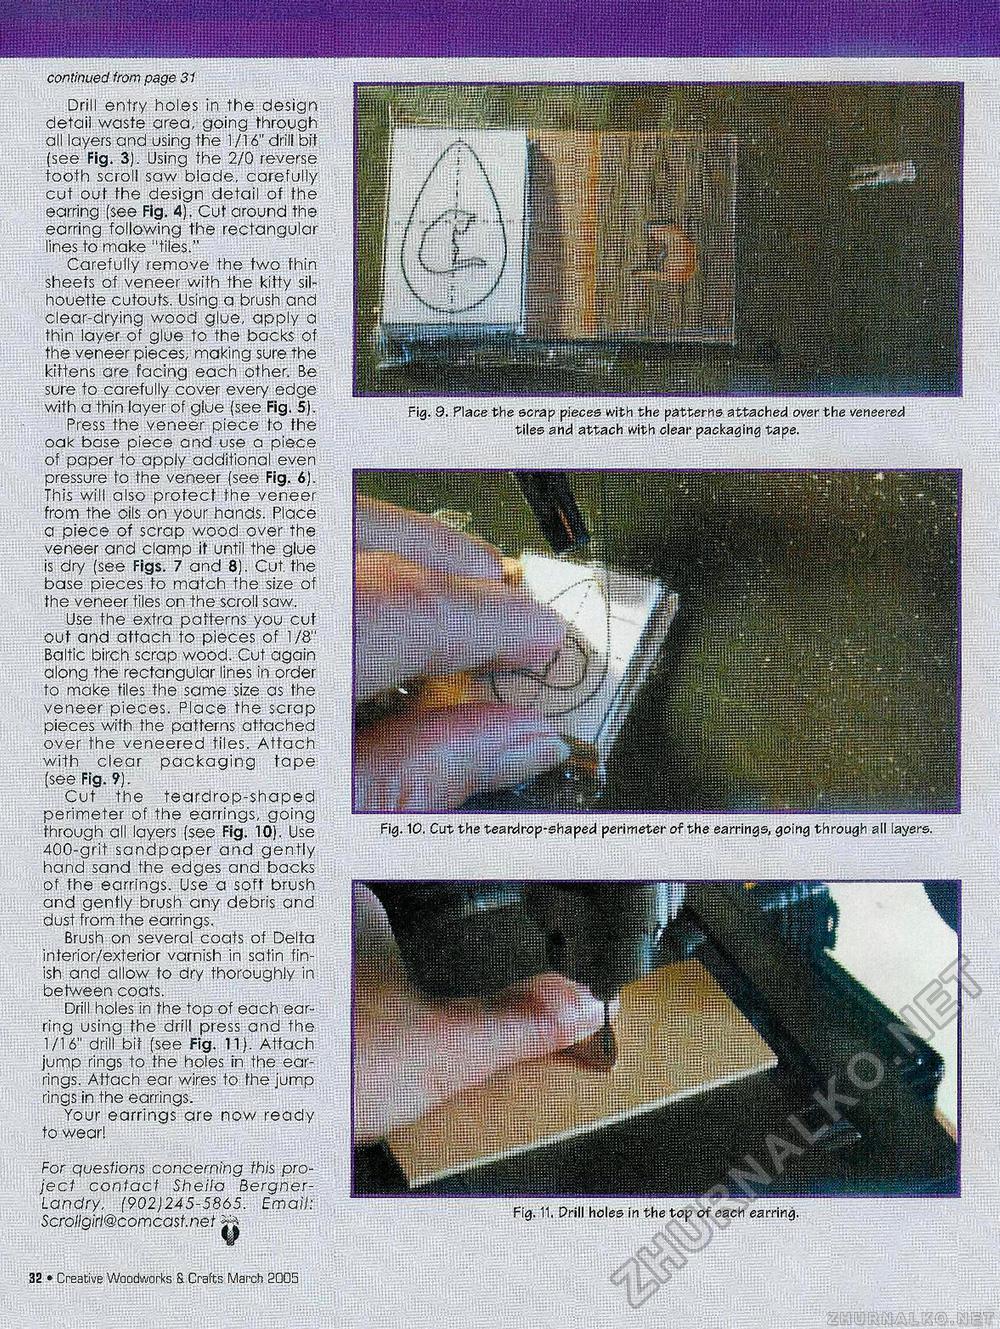
continued from page 31 Drill entry holes in the design detail waste area, going through all layers and using the 1/16" drill bit (see Fig. 3). Using the 2/0 reverse tooth scroll saw blade, carefully cut out the design detail of the earring (see Fig. 4). Cut around the earring following the rectangular lines to make "tiles." Carefully remove the two thin sheets of veneer with the kitty silhouette cutouts. Using a brush and clear-drying wood glue, apply a thin layer of glue to the backs of the veneer pieces, making sure the kittens are facing each other. Be sure to carefully cover every edge with a thin layer of glue (see Fig. 5). Press the veneer piece to the oak base piece and use a piece of paper to apply additional even pressure to the veneer (see Fig. 6). This will also protect the veneer from the oils on your hands. Place a piece of scrap wood over the veneer and clamp it until the glue is dry (see Figs. 7 and 8). Cut. the base pieces to match the size of the veneer tiles on the scroll saw. Use the extra patterns you cut out and attach to pieces of 1/8" Baltic birch scrap wood. Cut again along the rectangular lines in order to make tiles the same size as the veneer pieces. Place the scrap pieces with the patterns attached over the veneered tiles. Attach with clear packaging tape (see Fig. 9). Cut the teardrop-shaped perimeter of the earrings, going through all layers (see Fig. 10). Use 400-grit sandpaper and gently hand sand the edges and backs of the earrings. Use a soft brush and gently brush any debris and dust from the earrings. Brush on several coats of Delta interior/exterior varnish in satin finish and allow to dry thoroughly in between coats. Drill holes in the top of each earring using the drill press and the 1/16" drill bit (see Fig. 11). Attach jump rings to the holes in the earrings. Attach ear wires to the jump rings in the earrings. Your earrings are now ready to wear! Fig. 9. Place the scrap pieces with the patterns attached over the veneered tiles and attach with clear packaging tape. Fig. 10. Cut the teardrop-shaped perimeter of the earrings, going through all layers. For questions concerning this project contact Sheila Bergner-Landry, (902)245-5865. Email Scrollgirl@comcast.net Fig. 11. Prill holes in the top of each earring, 32 • Creative Woodworks & Crafts March 2005 |


