Creative Woodworks & crafts 2005-03, страница 6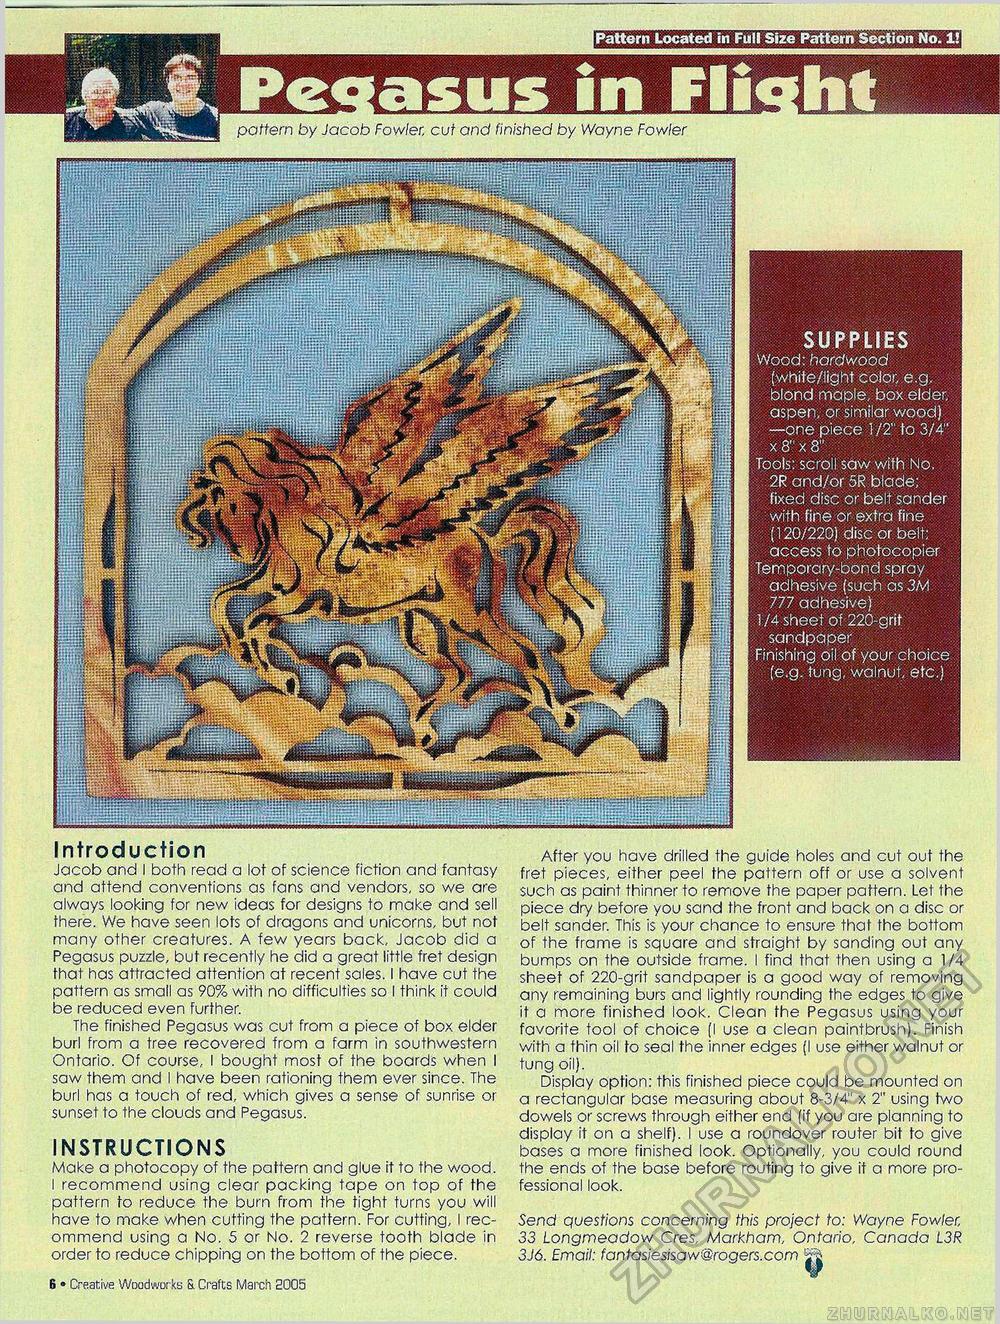
SUPPLIES Wood: hardwood (white/light color, e.g.. blond maple, box elder, aspen, or similar wood) —one piece 1 /2" to 3/4" x 8" x 8" Tools: scroll saw with No. 2R and/or 5R blade; fixed disc or belt sander with fine or extra fine (120/220) disc or belt; access to photocopier Temporary-bond spray adhesive (such as 3M 777 adhesive) 1 /4 sheet of 220-gnf sandpaper ! Finishing oil of your choice (e.g. tung, walnut, etc.) Introduction Jacob and I both read a lot of science fiction and fantasy and attend conventions as fans and vendors, so we are always looking for new ideas for designs to make and sell there. We have seen lots of dragons and unicorns, but not many other creatures. A few years back, Jacob did a Pegasus puzzle, but recently he did a great little fret design that has attracted attention at recent sales. I have cut the pattern as small as 90% with no difficulties so I think it could be reduced even further. The finished Pegasus was cut from a piece of box elder burl from a tree recovered from a farm in southwestern Ontario. Of course, I bought most of the boards when I saw them and I have been rationing them ever since. The burl has a touch of red, which gives a sense of sunrise or sunset to the clouds and Pegasus. INSTRUCTIONS Make a photocopy of the pattern and glue it to the wood. I recommend using clear packing tape on top of the pattern to reduce the bum from the tight turns you will have to make when cutting the pattern. For cutting, I recommend using a No. 5 or No. 2 reverse tooth blade in order to reduce chipping on the bottom of the piece. 28 • Creative Woodworks S. Crafts March 2005 After you have drilled the guide holes and cut out the fret pieces, either peel the pattern off or use a solvent such as paint thinner to remove the paper pattern. Let the piece dry before you sand the front and back on a disc or belt sander. This is your chance to ensure that the bottom of the frame is sguare and straight by sanding out any bumps on the outside frame. I find that then using a 1/4 sheet of 220-grit sandpaper is a good way of removing any remaining burs and lightly rounding the edges to give it a more finished look. Clean the Pegasus using your favorite tool of choice (I use a clean paintbrush). Finish with a thin oil to seal the inner edges (I use either walnut or tung oil). Display option: this finished piece could be mounted on a rectangular base measuring about 8-3/4" x 2" using two dowels or screws through either end (if you are planning to display it on a shelf). I use a roundover router bit to give bases a more finished look. Optionally, you could round the ends of the base before routing to give it a more professional look. Send questions concerning this project to: Wayne Fowler, 33 Longmeadow Cres, Markham, Ontario, Canada L3R 3J6. Email: fantasiesisaw@rogers.com 'jp pattern by Jacob Fowler, cut and finished by Wayne Fowler |


