Creative Woodworks & crafts 2005-04, страница 13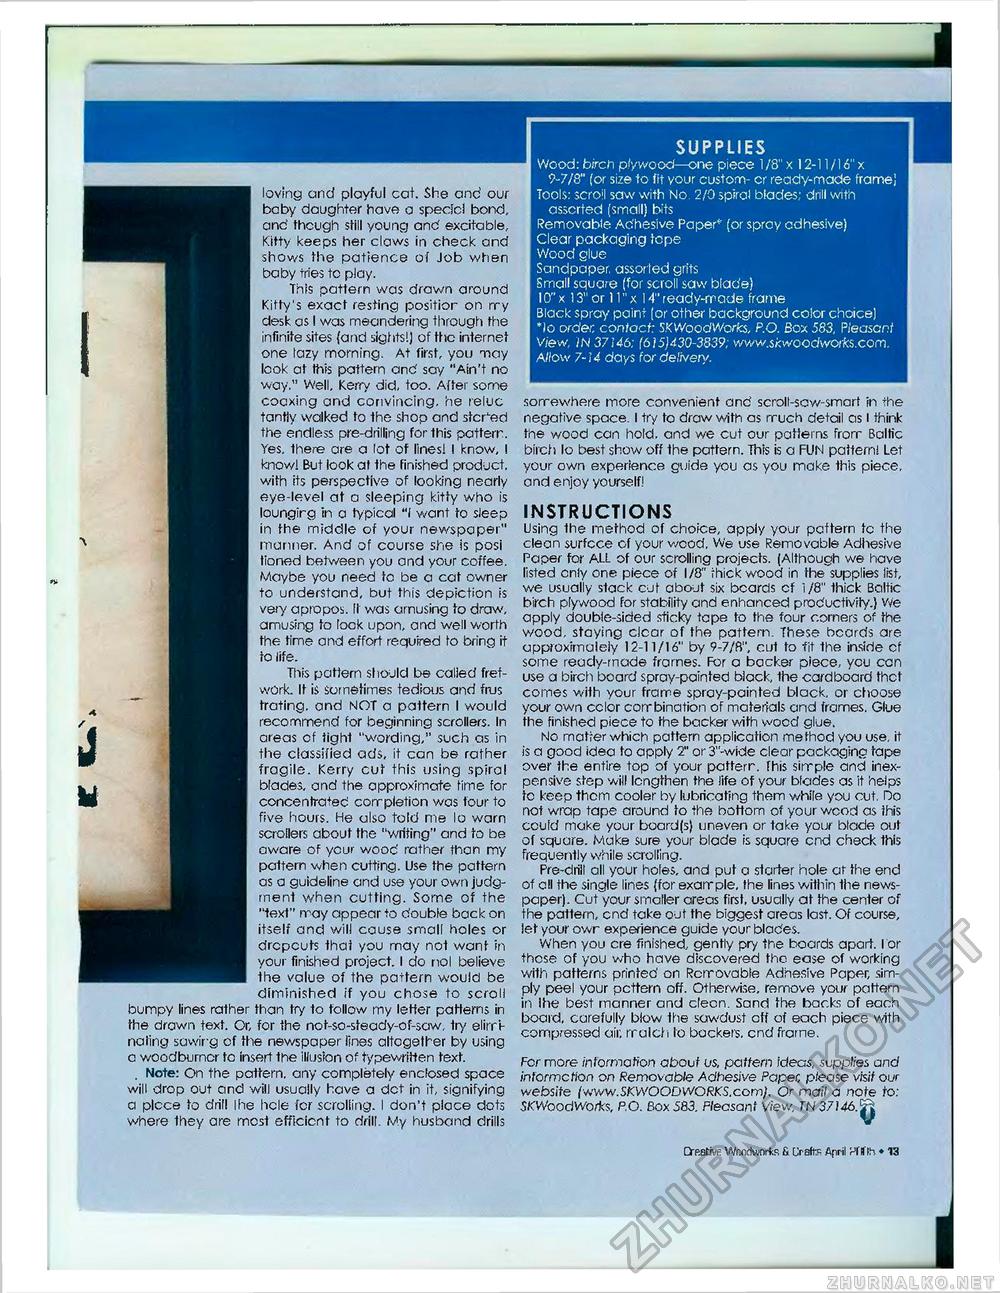
SUPPLIES Wood: birch plywood—one piece 1/8" x 12-11/16"x 9-7/8" (or size to fit vour custom- cr ready-made frame] Tools: scroll saw with No. 2/0 spiral blades; drill with asserted (small) bits Removable Adhesive Paper" (or sprcy cdhesive) Clear packaging tope Wood glue Sandpaper, assorted grits Small square (for scroll saw blade) I0"x 13" orlV'x 14" ready-made frame Black spray paint (or other background color choice) *)o order, contact: SKWoodWorks, P.O. Box 583, Pleasant View, IN 37146; 1615)430-3839; www.skwoodworks.com. A/low 7-i 4 days for delivery. loving and playful cat. She and our beby daughter have a specicl bond, and though still young and excitable, Kitty keeps her claws in check and shows the patience of Job when baby tries tc play. This pattern was drawn around Kitty's exact resting positior on rry desk as I was meandering through the infinite sites (and sights!) of the internet one lazy morning. At first, you may look at this pattern and say "Ain't no way." Well, Kerry did, too. After some coaxing and convincing, he reluc tantiy walked to the shop and stched the endless pre-drilling for this pattern. Yes. there are a lot of lines! I know, I know! But look at the finished product, with its perspective of looking nearly eye-level at a sleeping kitty who is loungirg in a typical "I want to sleep in the middle of your newspaper" manner. And of course she is posi tioned between you and your coffee. Maybe you need tc be a cat owner to understand, but this depiction is very apropos. II was amusing to draw, amusing to lock upon, and well worth the time and effort required to bring if to life. This pattern should be called fretwork. It is Sometimes tedious and frus trating. and NOT a pattern I would recommend for beginning scrollers. In areas of light "wording," such as in the classified ads, it can be rather fragile. Kerry cut this using spiral blades, and the approximate time for concentrated completion was four to five hours. He also told me lo warn scrollers about the "writing" and to be aware of your wood rather than my pattern when cutting. Use the pattern as a guideline and use your own judg-ment when cutting. Some of the "text" may appear to double back on itself and will cause small holes or dropouts that you may not want in your finished project. I do nol believe the value of the pattern would be diminished if you chose to scroll bumpy lines rather than try to follow my letfer patterns in the drawn text. Or, for the not-so-steady-of-saw, try eliminating sawing cf the newspaper lines altogether by using a woodbumor tc insert the illusion of typewritten text. . Note: On the pattern, any completely enclosed space will drop out and will usually have a dot in it, signifying a plcce to drill Ihe hole for scrolling. I don't place dots where they are most efficient to drill. My husband drills somewhere more convenient and scroll-saw-smarf in the negative space. I try to draw with as much detail as I think the wood can hold, and we cut our patterns from Baltic birch lo best show off the pattern. This is a FUN pattern! Let your own experience guide you as you make this piece, and enjoy yourself! INSTRUCTIONS Using the method of choice, apply your pattern tc the clean surfcce of your wood. We use Removable Adhesive Paper for ALL of our scrolling projects. (Although we have listed only one piece of 1/8" thick wood in the supplies list, we usually stack cut about six beards cf i/8" thick Baltic birch plywood for stability and enhanced productivity.) We apply double-sided sticky tape to the four corners of the wood, staying clear of the pattern. These beards are approximately 12-11/16" by 9-7/ft", cut to fit the inside cf some ready-made frames. For a backer piece, you can use a birch board spray-painted black, the cardboard thct comes with your frame spray-painted black, or choose your own color combination of materials and frames. Glue the finished piece to the backer with wood glue. No matter which pattern application method you use, it is a good idea to apply 2" or 3"-wide clear packaging tape over the entire top of your pattern. This simple and inexpensive step will lengthen the life of your blades as it helps tc keep them cooler by lubricating them while you cut. Do not wrap tape around to the bottom of your wood as this could make your board(s) uneven or take your blade out of square. Make sure your blade is square end check this frequently while scrolling. Pre-drill all your holes, and put a starter hole at the end of ell the single lines (for example, the lines within the newspaper). Cut your smaller areas first, usually at the center of the pattern, end take out the biggest areas last. Of course, let your owr experience guide your blades. When you ere finished, gently pry the boards apart. I or these of you who have discovered the ease of working with patterns printed on Removable Adhesive Paper, simply peel your pcttern off. Otherwise, remove your pattern in ihe best manner and clecn. Sand the backs of each board, carefully blow ttie sawdust ctf of each piece with compressed air. rralch io backer?, end frame. For more information about us, pattern ideas, supp/res and informcfion on Removable Adhesive Papei; ptease visit our website lwww.SKWOODWORKS.com/. Or mail a note to: SKWoodWorks, P.O. Box 583. F/ecsanf View, TN 37146.fi □restive Wraidivnrfcs & Urate April ^flflh. ♦ 13 |


