Creative Woodworks & crafts 2005-04, страница 6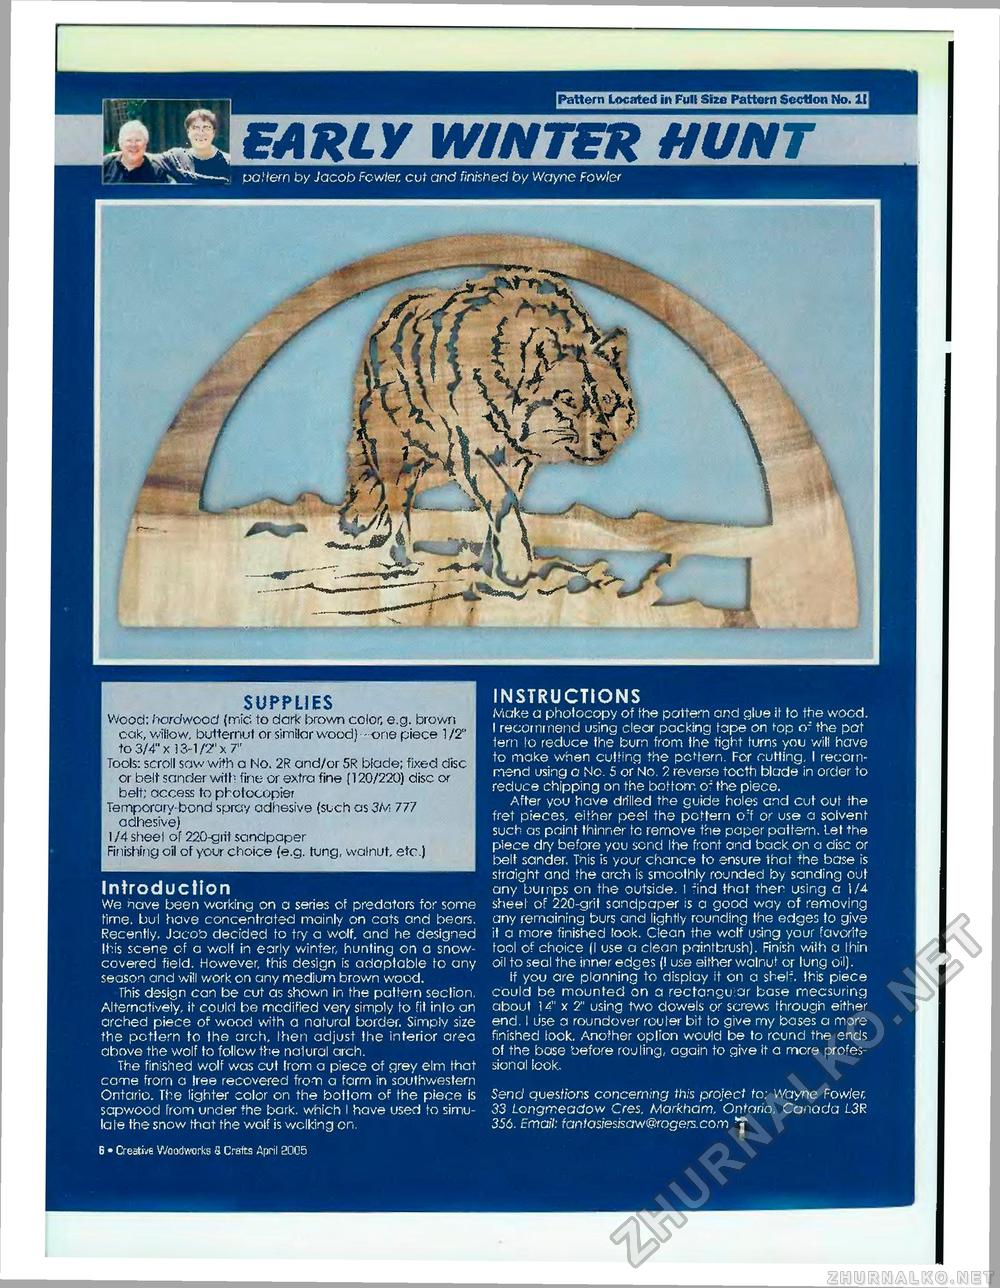
poffern by Jacob Fowler, cut and finished by Wayne Fov/ler SUPPLIES Wood: hardwood (mid to dark brown color, e.g. brown oak, willow, butternut or similar wood) - -one piece 1 /2" to 3/4" x ! 3-11'T x 7" Tools: scroll saw with a No. 2R and/or 5R biade; fixed disc or belt sander with fine or extra fine (120/220) disc or belt; access to photocopier Temporary-bond spray adhesive (such as 3M 777 adhesive) 1/4 sheel of 220-giit sandpaper Finishing oil of your choice (e.g. tung, walnut, etc.) Introduction We have been working on a series of predators for some time, but have concentrated mainly on cats and bears. Recently, Jacob decided to try a wolf, and he designed Ihis scene of a welt in early winter, hunting on a snow-covered field. However, this design is adaptable to any season and will work on any medium brown wood. This design can be cut as shown in the pattern section. Alternatively, it could be modified very simpiy to fit into an arched piece of wood with a natural border, Simply size the pattern to the arch, Ihen adjust the interior area above the wolf to follow the nalural arch. The finished wolf was cut from a piece of grey elm that came from a tree recovered from a farm in southwestern Ontario. The lighter color on the bottom of the piece is sapwood from under the bark, which I have used to simulate the snow that the wolf is walking on. INSTRUCTIONS Make a photocopy of the pattern and glue if to the wood. I recommend using clear packing tape on top o" the pat fern to reduce the burn from the tight turns you will have to make when cutting the pclem. For cutting, I recommend using a No. 5 or No. 2 reverse tocth blade in order to reduce chipping on the bottom of the piece. After you have drilled the guide holes and cut out the fret pieces, either peel the pattern o:f or use a solvent such as paint thinner to remove the paper pattern. Let the piece dry before you send the front and back on a disc or belt sander. This is your chance to ensure that the base is straight and the arch is smoothly rounded by sanding out any bumps on the outside. I find that then using a 1/4 sheel of 220-grit sandpaper is a good way of removing any remaining burs and lightly rounding the edges to give it a more finished look. Clean the wolf using your favorite tool of choice (I use a clean paintbrush). Finish wiih a Ihin oil to seal the inner edges (I use either walnut or tung oil). If you are planning to display it on a shelf, this piece could be mounted on a rectangular base measuring about 14" x 2" using two dowels or screws through either end. I use a roundover router bit to give my bases a more finished look. Another oplion would be to round the ends of the base before routing, again to give it a more professional icok. Send questions concerning this project to: Wayne Fowler. 33 Longmeadow Cres. Morkham, Ontario, Canada L3R 356. Email: fantasiesisaw@rogers.com ^J" 6 • Creative Woodworks S Crsfts April 2005 |


