Creative Woodworks & crafts 2005-04, страница 9
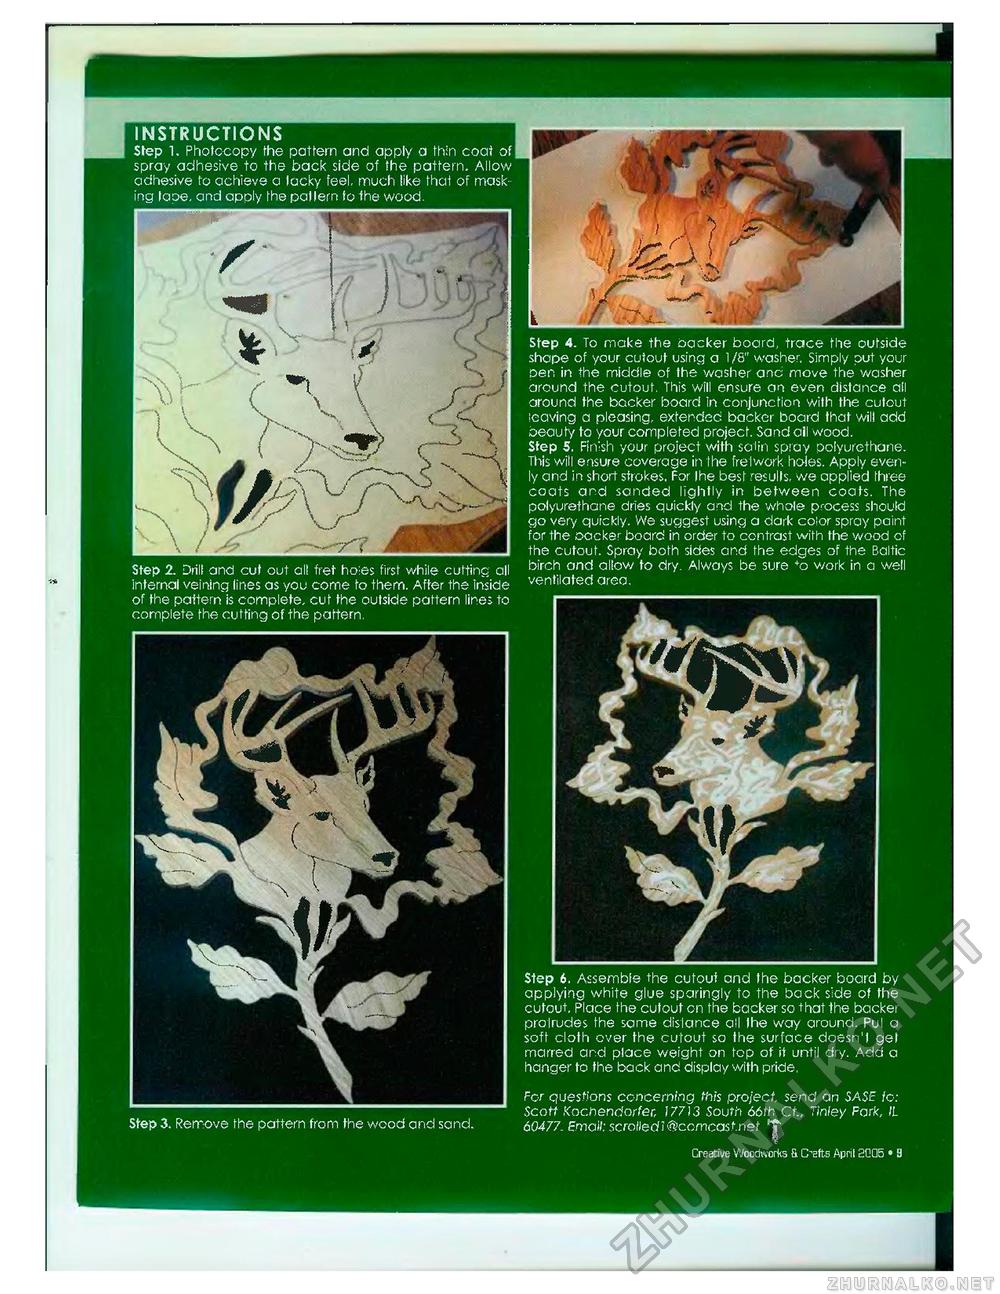
INSTRUCTIONS Step 1. Photocopy the pattern and apply a thin coat of spray adhesive to the back side of the pattern. Allow adhesive to achieve a tacky feel, much like thai of masking iape, and apply the pallem fo the wood. Step 2. Drill and cut out all fret ho;es first while cutting all internal veining lines as you come fo them. After the inside of the pattern is complete, cut the outside pattern lines to complete the cutting of the pattern. Step 4. To make the backer board, trace the outside shape of your cutout using a 1/S" washer. Simply put your pen in the middle of the washer and move the washer around the cutout. This will ensure an even distance ail around the backer board in conjunction with the cutout leaving a pleasing, extended backer board that will add beouty to your completed project. Sand oil wood. Step S. Finish your project with scrlin spray polyurethane. This will ensure coverage in the fretwork holes. Apply evenly and in short strokes. For |he best results, we applied fhree coats and sanded lightly in between coats. The polyurethane dries quickly and the whole process should go very quickly. We suggest using a dark color spray paint for the Docker board in order to contrast with the wood of the cutout. Spray both sides and the edges of the Baltic birch and allow to dry. Always be sure *o work in a well ventilated area. Step 3. Remove the pattern from the wood and sand. Step 6. Assemble the cutout and the backer board by applying white glue sparingly to the back side of the cutout. Place the cutout on the backer so that the backer protrudes the same distance all I he way around. Pul a soft cloth over the cutout so the surface doesn't get marred and place weight on top of it until dry. Add a hanger to the back and display with pride. For questions concerning this project, send an SA$E fo: Scoff Kochendorfer, 17713 South 66th Ct, Tinley Fork, IL 60477. Email: scro/)edi@comcasf.nsf 'T1 Creative Woodworks 5 Clefts April 2C05 • 3 |


