Creative Woodworks & crafts 2005-08, страница 61
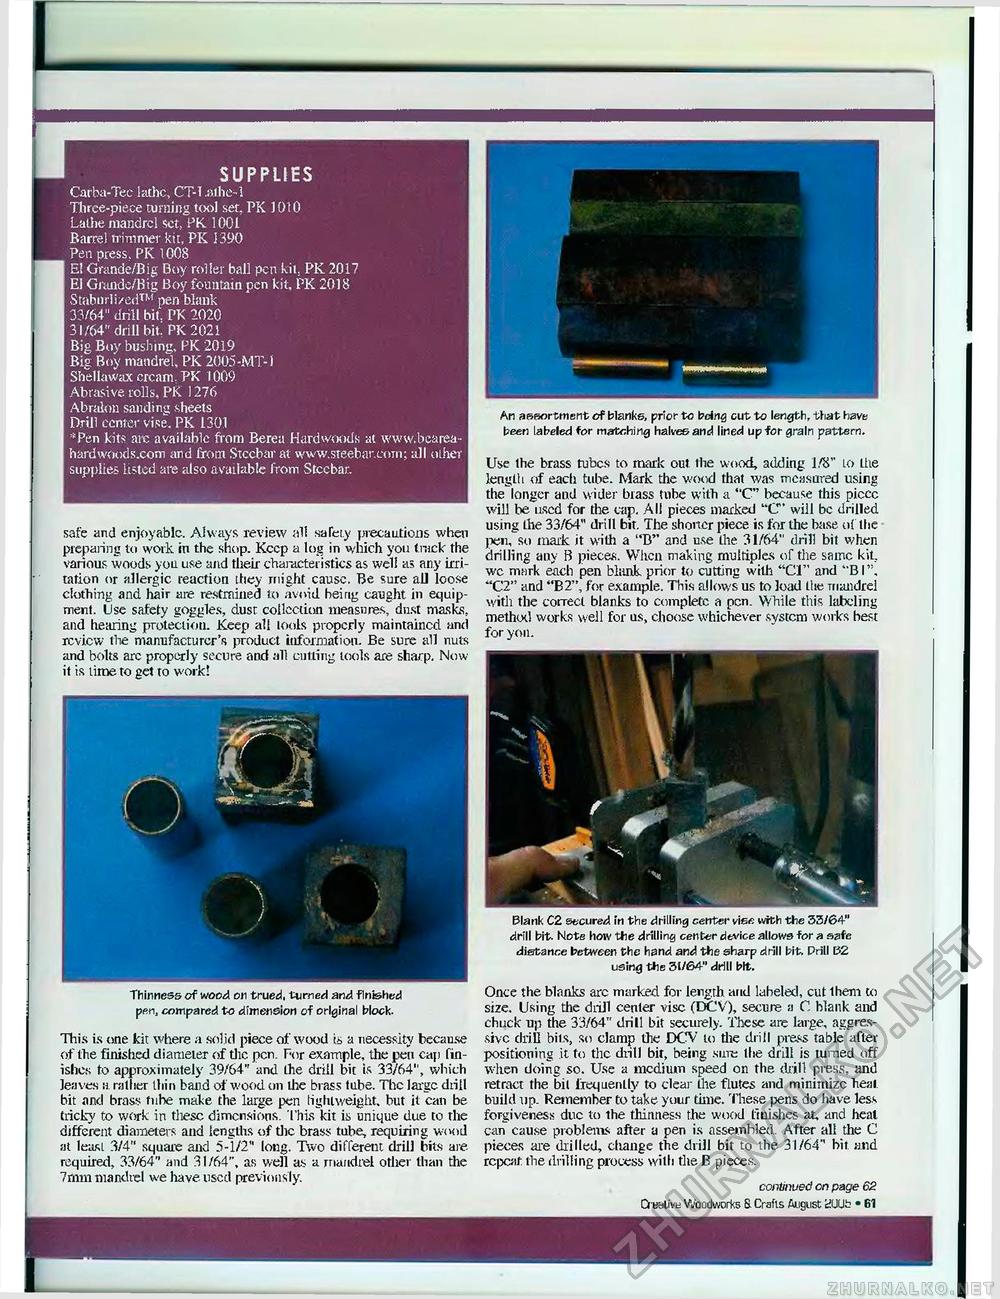
SUPPLIES Carba-Tee lathe, CT-T.aihe-1 Tliree-piece turning tool set. PK 1010 Lathe mandrel set, PK 1001 Barrel trimmer kit, PK 1390 Pen press. PK 1008 El Grande/Big Boy roller ball pen kit, PK 2017 El Grande/Big Boy fountain pen kit, PK 2018 Stabnrli/ed™ pen blank 33/64" drill bit. PK 2020 31/64" drill bit. PK 2021 Big Boy bushing, PK 2019 Big Boy mandrel, PK 2005 ■-MT-i Shellawax ercam. PK 1009 Abrasive rolls, PK 1276 Abritlon sanding sheets Drill ccnter vise. PK 1301 Pen kits arc available from Berea Hardwoods at www.bearea-hardwoods.com and from Steebar at www.steebar.coTn; all other supplies listed are also available from Steebar. An assortment of blanks, prior to being cut to length, that have been labeled for matching halves and lined up for grain pattern. Blank C2 secured in the drilling center vise with the 33/64" drill bit. Note how the drilling center device allows for a safe distance between the hand and the sharp drill bit. Prill B2 using the 31/64" drill bit. Thinness of wood on trued, turned and finished pen, compared to dimension of original block. This is one kit where a solid piece off wood ts a necessity because of the finished diameter of the pen. For example, the pen cap finishes to approximately 39/64" and ihe drill bit is 33/64", which leaves h rather thin band of wood on the brass tube. The large drill bit and brass tube make the large pen lightweight, but it can be tricky to work in these dimensions. This kit is unique due to the different diameters and lengths of the brass tube, requiring wood at least 3/4" square and 5-1/2" long. Two different drill bits are required, 33/64" and 31/64", as well as a mandrel other than the 7mm mandrel we have, used previously. Once the blanks arc marked for length and labeled, cut them to size. Using the drill center vise (DCV), secure a C. blank and chuck up the 33/64" drill bit securely. These are large, aggressive drill bits, so clamp the DCV to the drill press table after positioning it to the drill bit, being sure the drill is turned off when doing so. Use a medium speed on the drill press, and retract the bit frequently to clear the flutes and minimize heal build up. Remember to take your time. These pens do have less forgiveness due to the thinness the wood ftuishes at, and heat can cause problems after a pen is assembled. After all the C pieces are drilled, cliange the drill bit to the. 31/64" bit and repeat the drilling process with the B pieces. continued on page 62 Chstiw Woodworks S. Crafts August ciUUi: • 61 safe and enjoyable. Always review all safety precautions when preparing to work in the shop. Keep a log in which you track the various woods you use and their characteristics as well as any irritation or allergic reaction ihey might cause. Be sure all loose clothing and hair are restrained to avoid being caught in equipment. Use safety goggles, dust collection measures, dust masks, and hearing protection. Keep all tools properly maintained antl review the manufacturer's product information. Be sure all nuts and bolts arc properly secure and all cutting tools are sharp. Now it is lime to get to work! Use the brass tubes to mark out the wood, adding 1/8" lo Ihe length of each tube. Mark the wood that was measured using the longer and wider brass tube with a "C" because this piccc will be used for the cap. All pieces marked "C" will be drilled using the 33/64" drill bit. The shorter piece is for the base of the pen, so mark it wilh a "B" and use the 31/64" drill bit when drilling any B pieces. When making multiples of the same kit, we mark each pen blank prior to cutting with "CI" and "BI", "C2" and "B2", for example. This allows us to load the mandrel with the correct blanks to complete a pen. While this labeling method works well for us, choose whichever system works best for yon. |


