Creative Woodworks & crafts 2005-08, страница 71
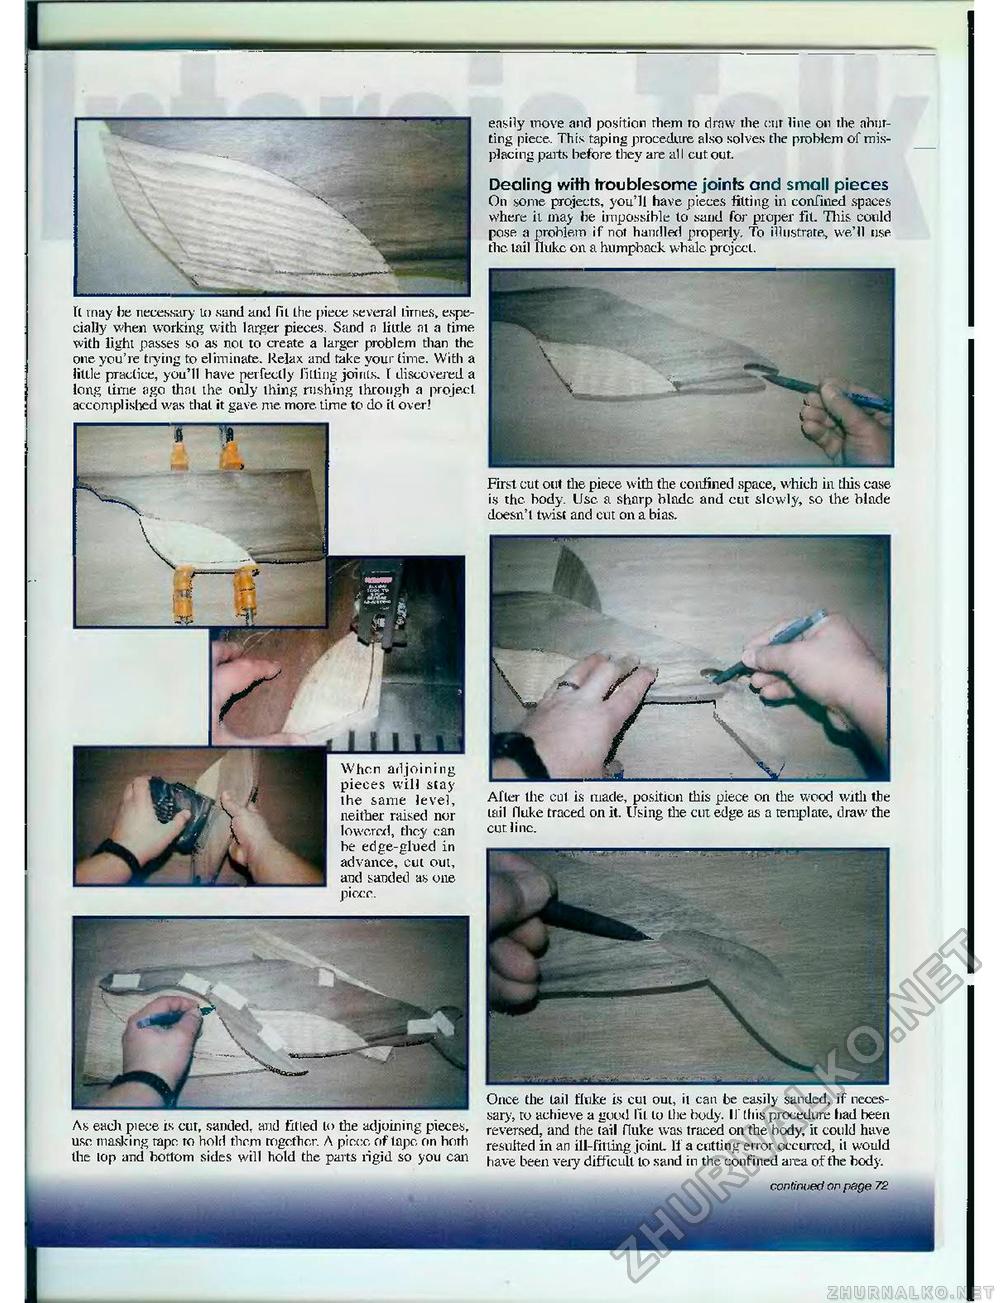
easily wove and position rhern to draw the cur line 011 the abutting piece. This taping procedure also solves the problem of misplacing pails before they are al I cut out Dealing with troublesome joints and small pieces On some projects, you'll have pieces fitting in confined spaces where it may be impossible to sand for proper fit. This conic! pose a problem if not handled property. To illustrate, we'll use the. tail fluke on a humpback whale, project. As each piece is cut, sanded, and fitted lo the adjoining pieces, use masking tape to hold them together. A piece of tape, on hoth the lop and bottom sides will hold the parts rigid so you can First cut out tlie piece with the confined space, which in this case is the. body. Use. a sharp blade and cut slowly, so the blade doesn't twist and cut on a bias. After the cut is made, position this piece on the wood with the tail fluke traced on it. Using tlie cut edge as a template, draw the cur line. Once the tail fluke is cut out, it can be easily sanded, if necessary, to achieve a good lit to the body. If this procedure had been reversed, and the tail fluke was traced on the body, it could have resulted in an ill-fitting joint If a cutting error occurred, it would have been very difficult to sand in the confined area of the body. ft may be necessary to sand and lit the piece several lirnes, especially when working with larger pieces. Sand n little m a time with light passes so as not to create a larger problem than the one you're trying to eliminate. Relax and take your time. With a little practice, you'll have perfectly filling joints. I discovered a long lime ago that the only thing rushing through a project accomplished was thai it gave me. more, time to do it over! When adjoining pieces will stay the same level, neither raised nor lowered, they can be edge-glued in advance, cut out, and sanded as one picce. continued on page 72 |


