Creative Woodworks & crafts 2005-11, страница 16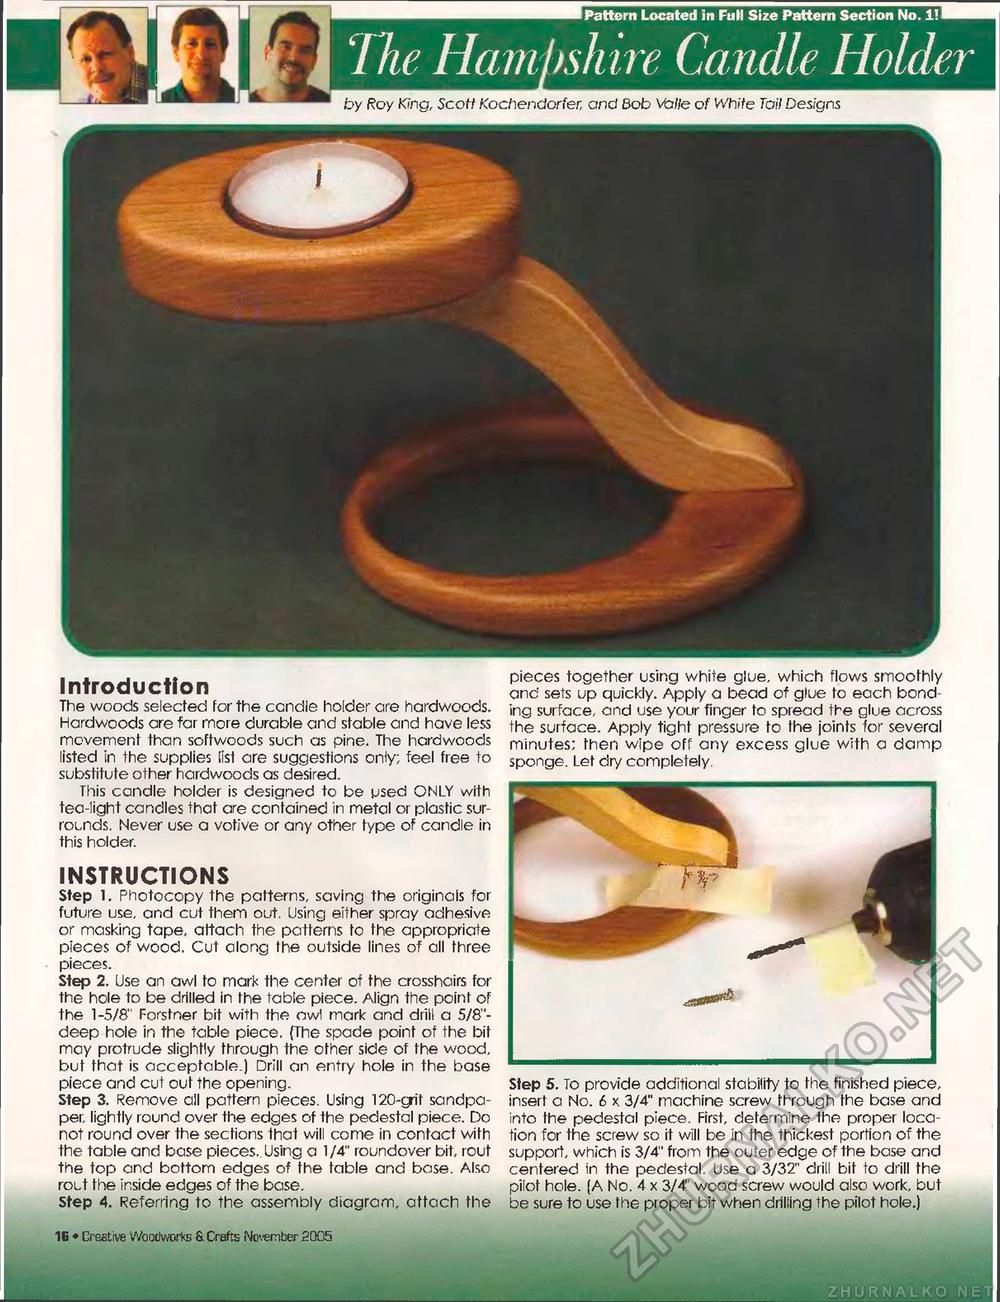
Pattern Located in Full Size Pattern Section No. i! The Hampshire Candle Holder a by Roy King, Scotf Kochendorfer, and Bob Valle of White Toil Designs Introduction The woods selected for the ccndle holder ore hardwoods. Hardwoods are far more durable and stable and have less movement than softwoods such as pine. The hardwoods listed in the supplies list are suggestions only; feel free to substitute other hardwoods as desired. This candle holder is designed to be used ONLY with tea-light candles that are contained in metal or plastic surrounds. Never use a votive or any other type of candle in this holder. INSTRUCTIONS Step 1. Photocopy the patterns, saving the originals for future use, and cut them out. Using either spray adhesive or masking tape, attach the patterns to fhe appropriate pieces of wood. Cut along the outside lines of all three pieces. Step 2. Use an awl to mark the center of the crosshairs for the hole to be drilled in the table piece. Align the point of the 1-5/8" Forstner bit with the awl mark and drill a 5/8"-deep hole in the table piece. (The spade point of the bit may protrude slightly through the other side of the wood, but that is acceptable.) Drill an entry hole in the base piece and cut out the opening. Step 3. Remove all pattern pieces. Using 120-grif sandpaper, lightly round over the edges of the pedestal piece. Do not round over the sections that will come in contact with the table and base pieces.. Using a 1/4" roundover bit, rout the top and bottom edges of the table and base. Also rout the inside edges of the base. Step 4. Referring to the assembly diagram, attach the IB • Creative Woodworks & Crafts November 2005 pieces together using white glue, which flows smoothly and sets up quickly. Apply a bead of glue to each bonding surface, and use your finger to spread the glue across the surface. Apply tight pressure to the joints for several minutes; then wipe off any excess glue with a damp sponge. Let dry completely. Step 5. To provide additional stability to the finished piece, insert a No. 6 x 3/4" machine screw through the base and into fhe pedestal piece. First, determine the proper location for the screw so it will be in the thickest portion of the support, which is 3/4" from the outer edge of the base and centered in the pedestal. Use a 3/32" drill bit to drill the pilot hole. (A No. 4 x 3/4" wood screw would also work, but be sure to use the proper bit when drilling the pilot hole.) |


