Creative Woodworks & crafts 2005-11, страница 35
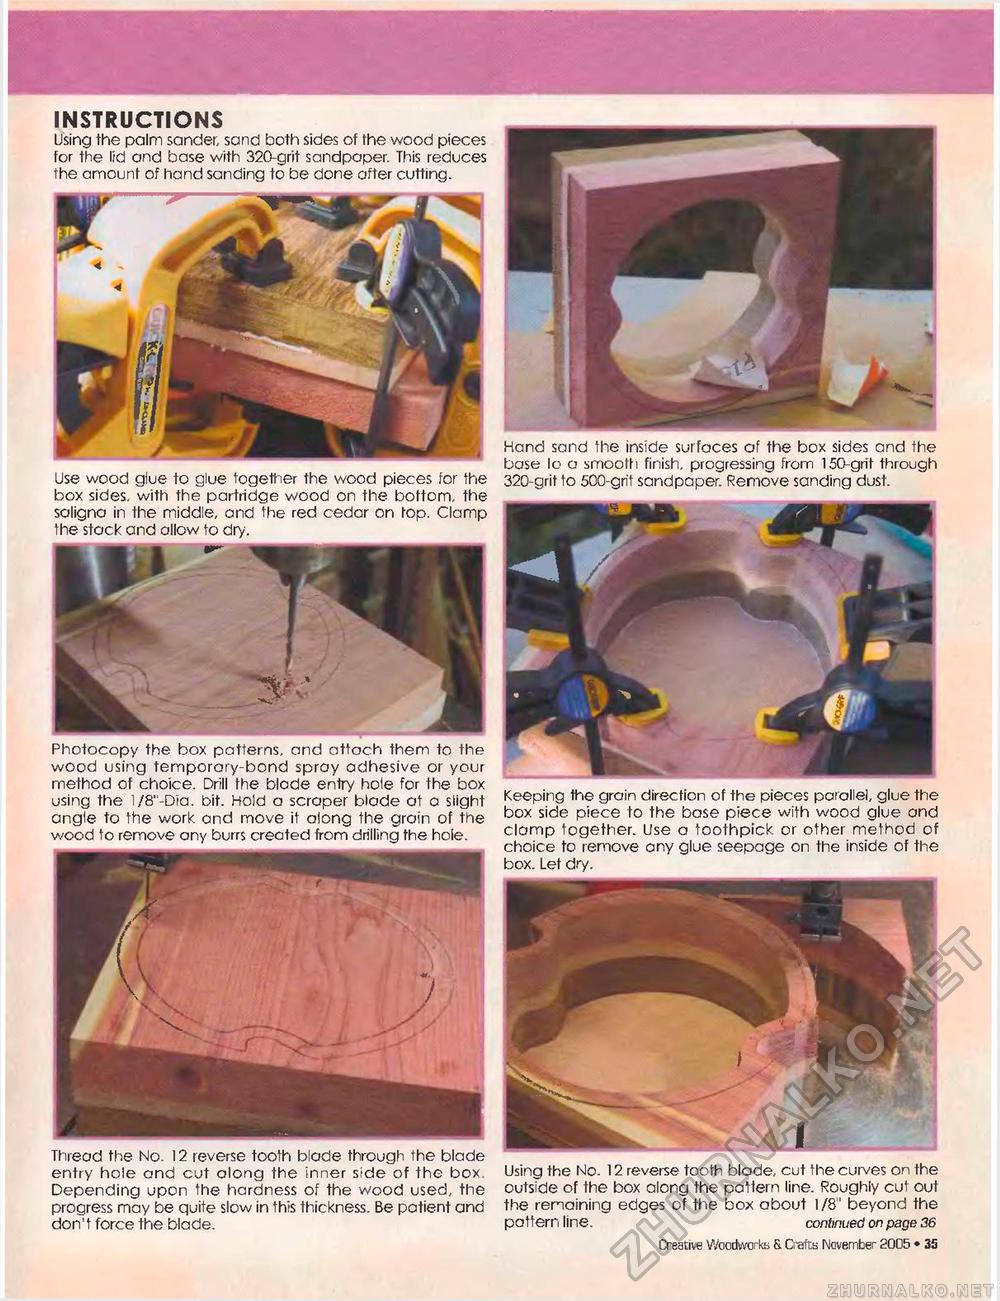
INSTRUCTIONS Using the palm sander, sand both sides of the wood pieces for the lid and base with 320-grit sandpaper. This reduces the amount of hand sanding to be done after cutting. Use wood giue to glue together the wood pieces for the box sides, with the partridge wood on the bottom, the saligna in the middle, and the red cedar on top. Clamp the stack and allow to dry. Photocopy the box patterns, and attach them to the wood using temporary-bond spray adhesive or your method of choice. Drill the blade enlry hole for the box using the l/8"-Dia. bit. Hold a scraper blade at a slight angle to the work and move it along the groin of the wood to remove ony burrs created from drilling the hole. Keeping ttie grain direction of the pieces parallel, glue the box side piece to the base piece with wood glue and clamp together. Use a toothpick or other method of choice to remove any glue seepage on the inside of the box. Let dry. Using the No. 12 reverse tooth blade, cut the curves on the outside of the box along the pattern line. Roughly cut out the remaining edges of the box about 1/8" beyond the pattern line. continued on page 36 Thread the No. 12 reverse tooth blade through the blade entry hole and cut along the inner side of the box Depending upon the hardness of the wood used, the progress may be quite slow in this thickness. Be patient and don't force the blade. Hand sand the inside surfaces of the box sides and the base lo a smooth finish, progressing from 150-grit through 320-grit to 500-grit sandpaper. Remove sanding dust. Creative Woodworks 6. Crafts November 2005 « 35 |


