Creative Woodworks & crafts 2005-11, страница 47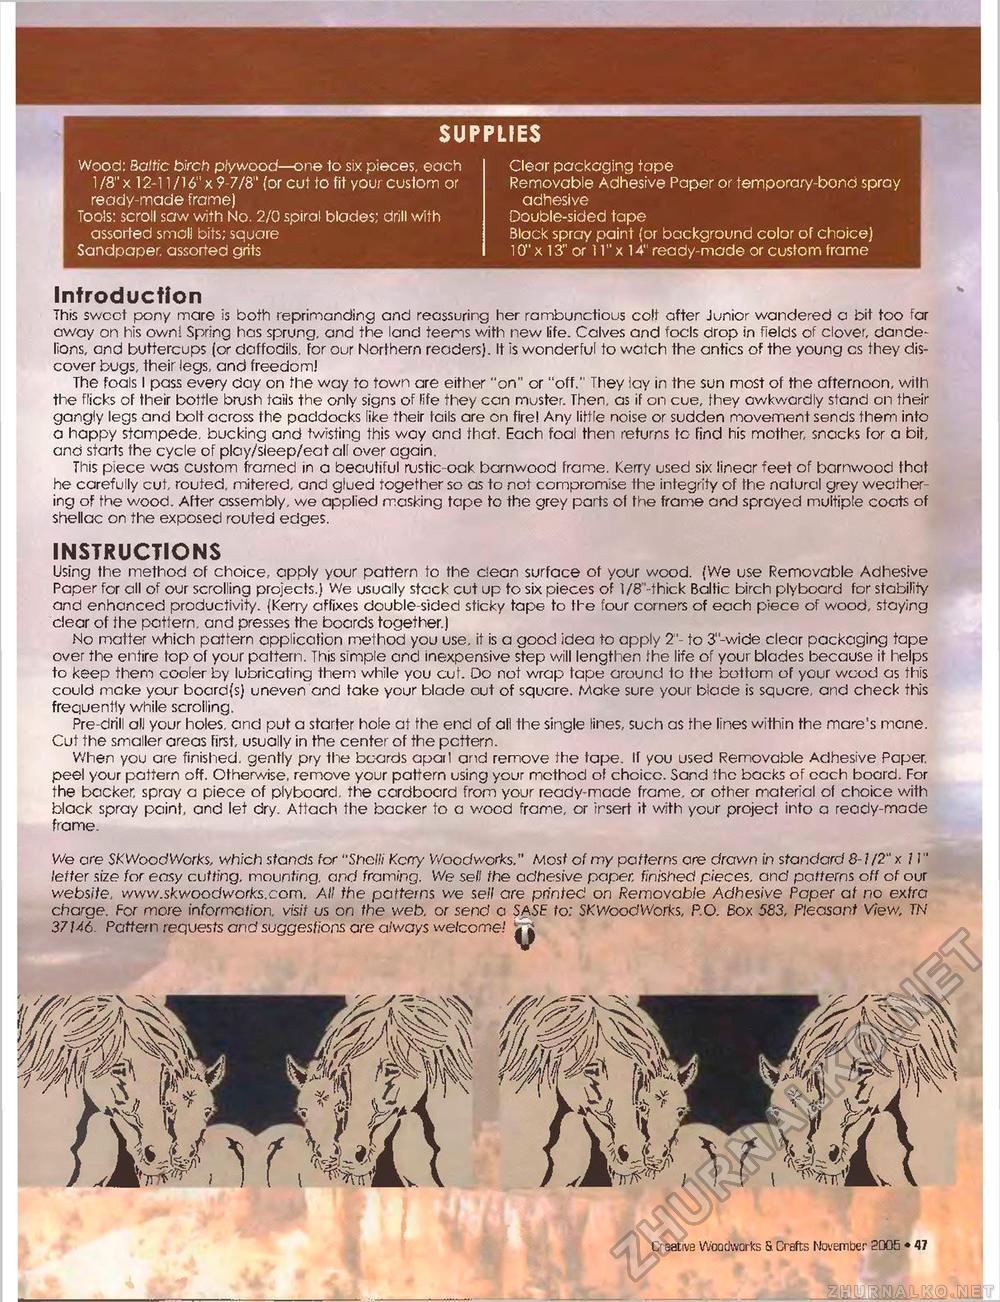
SUPPLIES Wood: Baltic birch plywood—one to six pieces, each 1 /8" X 12-11/16" X 9-7/8" (or cut lo fit your custom or ready-made frame) Tools: scroll saw with No. 2/0 spiral blades; drill with assorted small bits; square Sandpaper, assorted grits Clear packaging tape Removable Adhesive Paper or temporary-bond spray adhesive Double-sided tape Black spray paint (or background color of choice) 10" x 13" or 11" x 14" ready-made or custom frame Introduction This sweet pony mare is both reprimanding and reassuring her rambunctious colt after Junior wandered a bit too far away on his own! Spring has sprung, and the land teems with new life. Calves and focls drop in fields of clover, dandelions, and buttercups (or daffodils, for our Northern readers). It is wonderful to watch the antics of the young cs they discover bugs, their legs, and freedom! The foals I pass every day on the way to town are either "on" or "off." They lay in the sun most of the afternoon, with the flicks of their bottle brush tails the only signs of life they can muster. Then, as if on cue, they awkwardly stand on their gangly legs and bolt across the paddocks like their tails are on fire! Any little noise or sudden movement sends them info a happy stampede, bucking and twisting this way and that. Each foal then returns to find his mother, snacks for a bit, and starts the cycle of play/sleep/eat all over again. This piece was custom framed in a beautiful rustic-oak barnwood frame. Kerry used six linecr feet of bamwood that he carefully cut, routed, mite red, and glued together so as to not compromise the integrity of the natural grey weathering of the wood. After assembly, we applied masking tape to the grey parts of the frame and sprayed multiple coats of shellac on the exposed routed edges. INSTRUCTIONS Using the method of choice, apply your pattern to the clean surface of your wood. (We use Removable Adhesive Paper for all of our scrolling projects.) We usually stack cut up to six pieces of l/8"-thick Baltic birch plyboard for stability and enhanced productivity. (Kerry affixes double-sided sticky tape to the four corners of each piece of wood, staying clear of the pattern, and presses the boards together.) No matter which pattern application method you use, it is a good idea to apply 2'- to 3"-wide clear packaging tape over the entire top of your pattern. This simple and inexpensive step will lengthen the life of your blades because it helps to keep them cooler by lubricating them while you cut. Do not wrap tape around to the bottom of your wood as this could mcke your board(s) uneven and take your blade out of square. Make sure your blade is squcre, and check this frequently while scrolling. Pre-drill all your holes, and put a starter hole at the end of all the single lines, such as the lines within the mare's mane. Cut the smaller areas first, usually in the center of the pcttern. When you are finished, gently pry the boards aparl and remove the tape. II you used Removable Adhesive Paper, peel your pattern off. Otherwise, remove your pattern using your method of choice. Sand the backs of each board. For the backer, spray a piece of plyboard. the cardboard from your ready-made frame, or other material of choice with black spray paint, and let dry. Attach the backer to a wood frame, or irsert it with your project into a ready-made frame. We are SKWoodWorks, which stands for "Shelli Kerry Woodworks." Most of my patterns are drawn in standard 8-1/2" x II" letter size for easy cutting, mounting, and framing. We sell the adhesive paper, finished pieces, and patterns off of our website, www.skwoodworks.com. All the patterns we sell are printed on Removable Adhesive Paper at no extra charge. For more information, visit us on the web. or send a SASE to: SKWoodWorks, P.O. Box 583, Pleasant View, TN 37146. Pattern requests and suggestions are always welcome! Creative Woodworks 5. Crafts November 200E • 47 |


