Creative Woodworks & crafts 2005-11, страница 49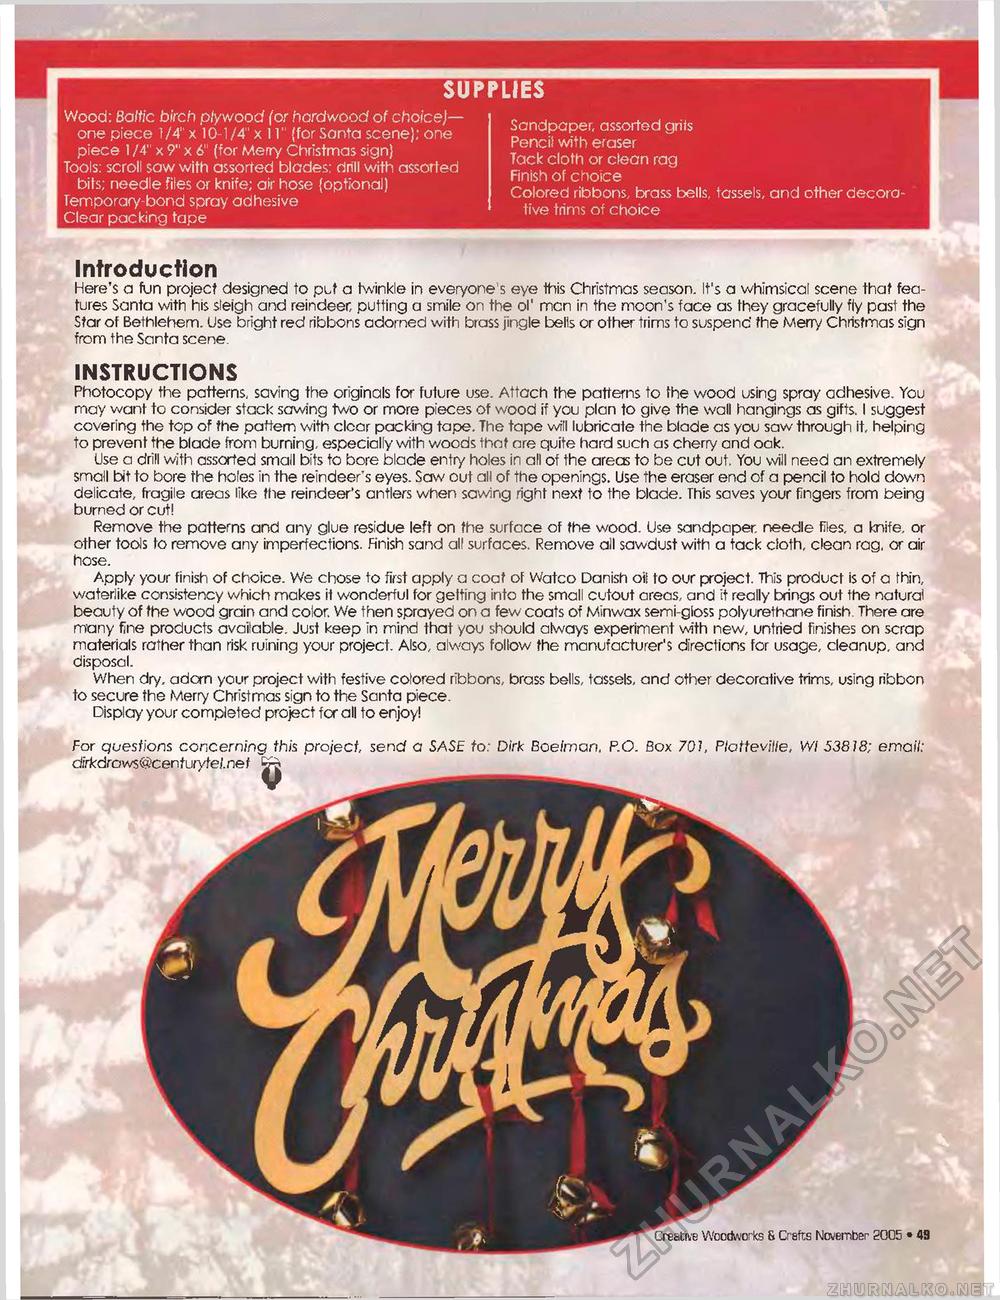
SUPPLIES Wood: Baltic birch plywood (or hardwood of choice)— one piece 1/4" x 10-1/4" x 11" (for Santa scene); one piece 1 /4" x 9" x A" (for Merry Christmas sign) Tools: scroll saw with assorted blades; drill with assorted bits; needle files or knife; air hose (optional) Temporary-bond spray adhesive Clear packing tape Introduction Here's a fun project designed to put a twinkle in everyone's eye this Christmas season. It's a whimsical scene that features Santa with his sleigh and reindeer, putting a smile on the ol' men in the moon's face as they gracefully fly past the Star of Bethlehem. Use bright red ribbons adorned with brass jingle belts or other trims to suspend the Merry Christmas sign from the Santa scene. INSTRUCTIONS Photocopy the patterns, saving the originals for future use. Attach the patterns to the wood using spray adhesive. You may want to consider stack sawing two or more pieces of wood if you plan to give the wall hangings as gifts. I suggest covering the top of the pattern with clcor packing tape. The tape will lubricate the blade as you saw through it, helping to prevent the blade from burning, especially with woods thot are quite hard such as cherry and oak. Use a drill with assorted small bits to bore blade entry holes in all of the areas to be cut out. You will need an extremely small bit to bore the holes in the reindeer's eyes. Saw out all of the openings. Use the eraser end of a pencil to hold down delicate, fragile areas like the reindeer's antlers when sawing right next to the blade. This saves your fingers from being burned or cut! Remove the patterns and any glue residue left on the surface of the wood. Use sandpaper, needle files, a knife, or other tools to remove any imperfections, finish sand all surfaces. Remove all sawdust with a tack cloth, clean rag, or air hose. Apply your finish of choice. We chose to first apply a coat of Watco Danish oil to our project. This product is of a thin, waterlike consistency which makes it wonderful for getting into the small cutout areas, and it really brings out the natural beauty of the wood grain and color. We then sprayed on a few coats of Minwax semi-gloss polyurethane finish There are many fine products available. Just keep in mind that you should always experiment with new, untried finishes on scrap materials rather than risk ruining your project. Also, always follow the manufacturer's directions for usage, cleanup, and disposal. When dry. adorn your project with festive colored ribbons, brass bells, tassels, and other decorative trims, using ribbon to secure the Merry Christmas sign to the Santa piece. Display your completed project for all to enjoy! For questions concerning this project, send a SASE to: Dirk Boelmon. P.O. Box 70J, Plotteville, Wl 53818; email; Sandpaper, assorted griis Pencil with eraser Tack cloth or clean rag Finish of choice Colored ribbons, brass bells, tassels, and other decorative trims of choice |


