Creative Woodworks & crafts 2005-11, страница 53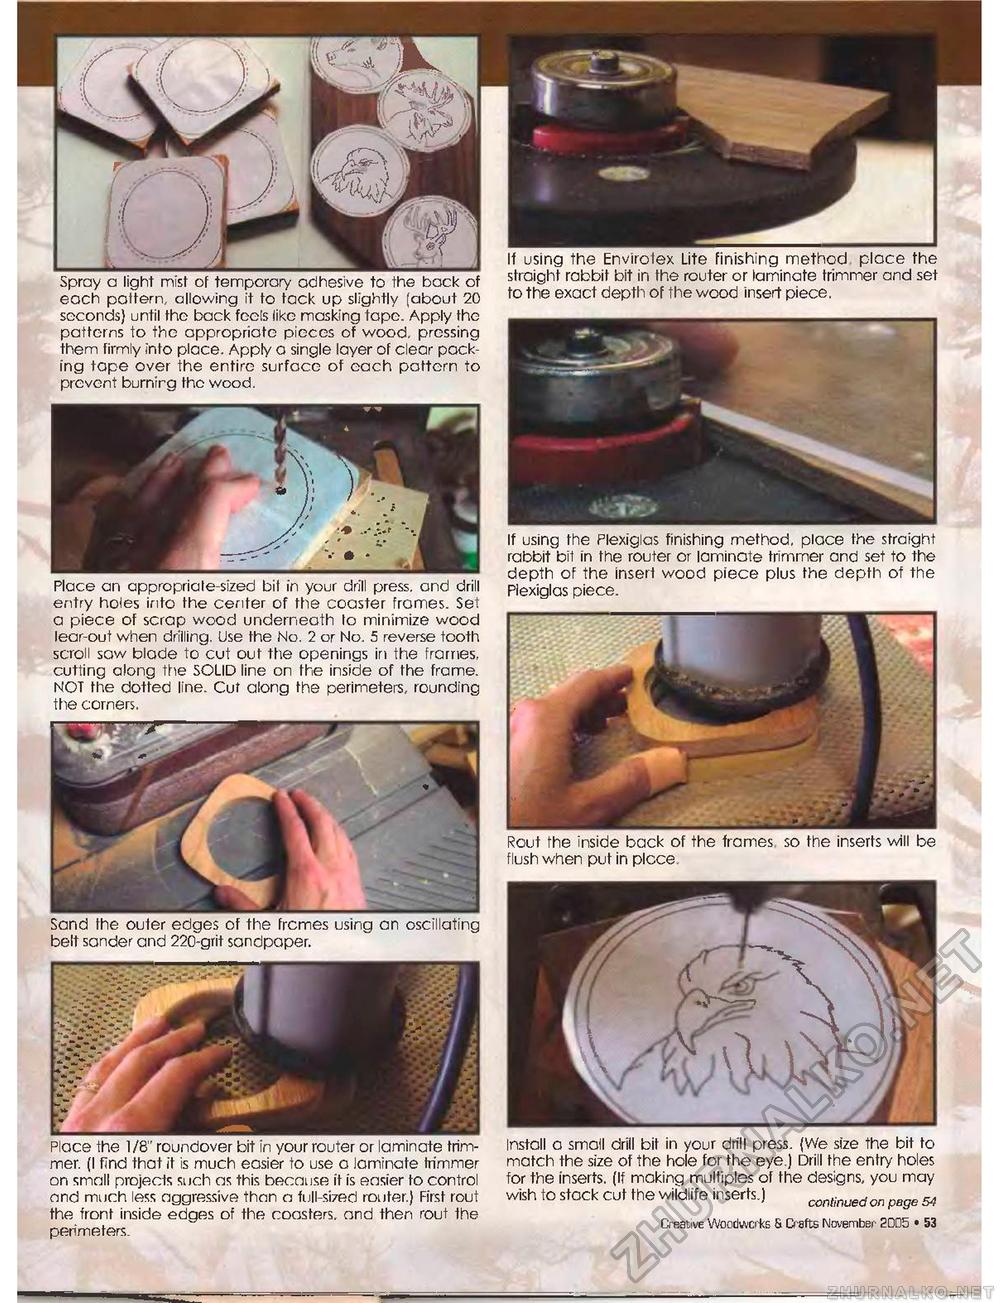
_L Spray a light mist of temporary adhesive to the back of each pattern, allowing it to tack up slightly (about 20 seconds} until the back feels like masking tope. Apply the patterns to the appropriate pieces of wood, pressing them firmly into place. Appty a single layer of clear pocking tape over the entire surface of each pattern to prevent burnirg tho wood. Place an appropriate-sized bit in your drill press, and drill entry holes into the center of the coaster frames. Set a piece of scrap wood underneath to minimize wood lear-out when drilling. Use the No. 2 or No. 5 reverse tooth scroll sow blade to cut out the openings iri the frames, cutting along the SOLID line on the inside of the frame. NOT the dotted line. Cut along the perimeters, rounding the corners. If using the Envirotex Lite finishing method place the straight rabbit bit in the router or laminate trimmer and set to the exact depth of the wood insert piece. If using the Plexiglas finishing method, place the straight rabbit bit in the router or laminate trimmer and set to the depth of the insert wood piece plus the depth of the Plexiglas piece. Rout the inside back of the frames so the inserts will be flush when put in plcce install a small drill bit in your drill press. (We size the bit to match the size of the hole for the eye.) Drill the entry holes for the inserts. (If makinq multiples of the designs, you may wish to stack cut the wildlife inserts.) continuedon pege & Creative Woodworks 6. Crafts November 2005 « 53 Sand the outer edges of the frcmes using an oscillating belt sander and 220-grit sandpaper. Place the 1/8" roundover bit in your router or laminate trimmer. (I find that it is much easier to use a laminate trimmer on small projects such as this because it is easier to control and much less aggressive than a full-sized router.} First rout the front inside edges of the coasters, and then rout the perimeters. |


